To simplify the last sub-section’s permutations to create the tower, I have categorized them by common freestyle mid-game situations.
This is the most common:
Diagram Set 15-6
1
2
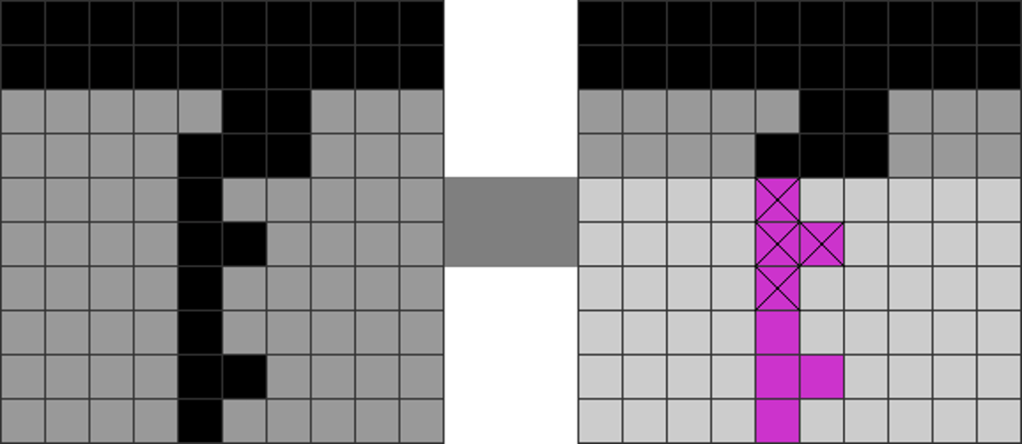
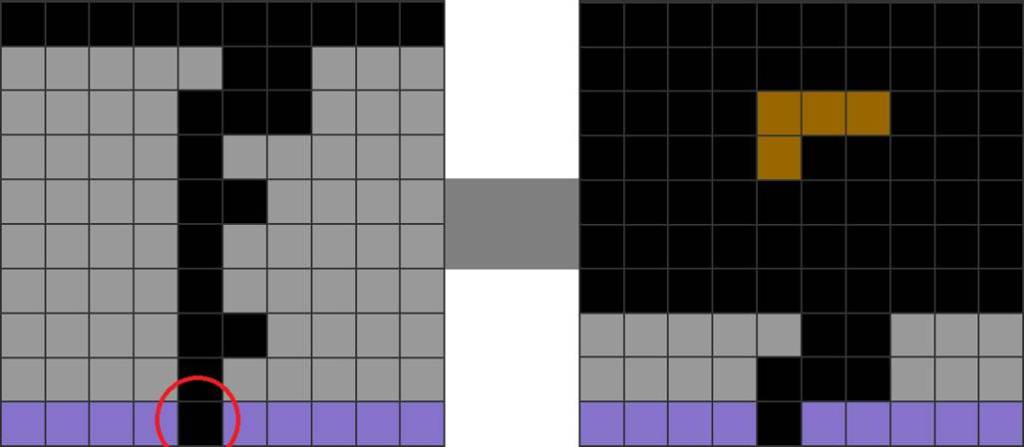
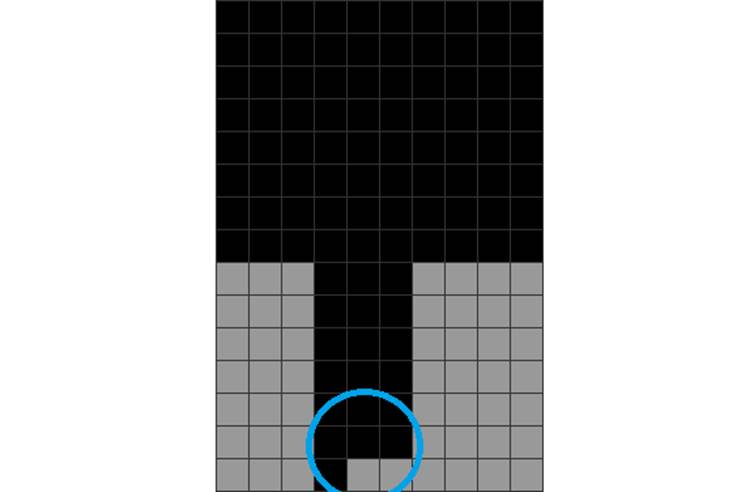
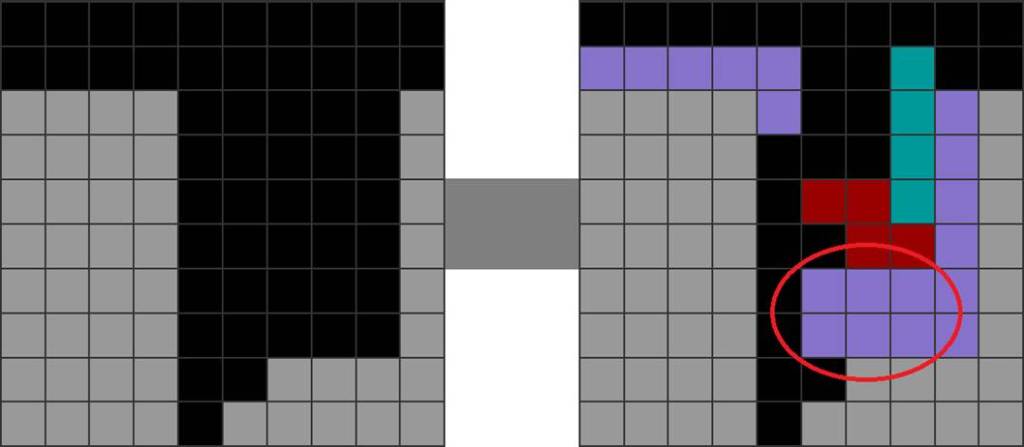
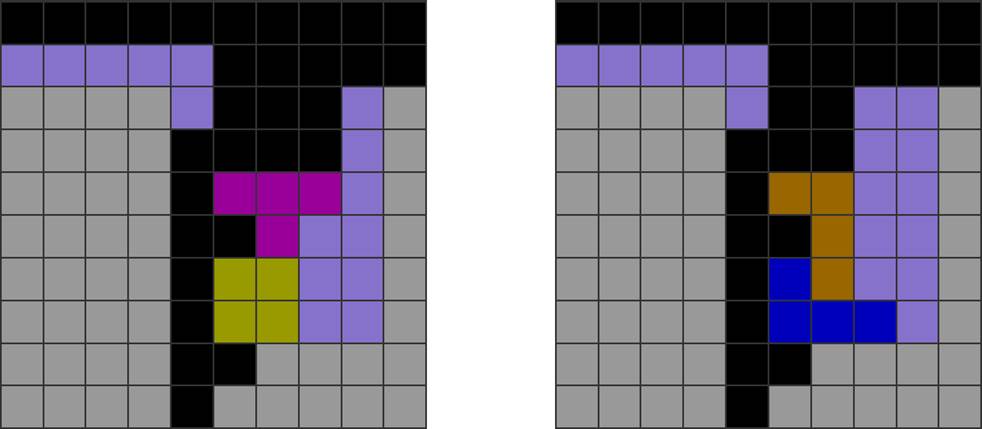
Beyond the S/L or Z/J prop, you can freestyle by creating a flat base with the lavender part (red circle), then stack a flat Z (S if mirrored) on top to form the TST tower.
This is another common set:
Diagram Set 15-7
A
B
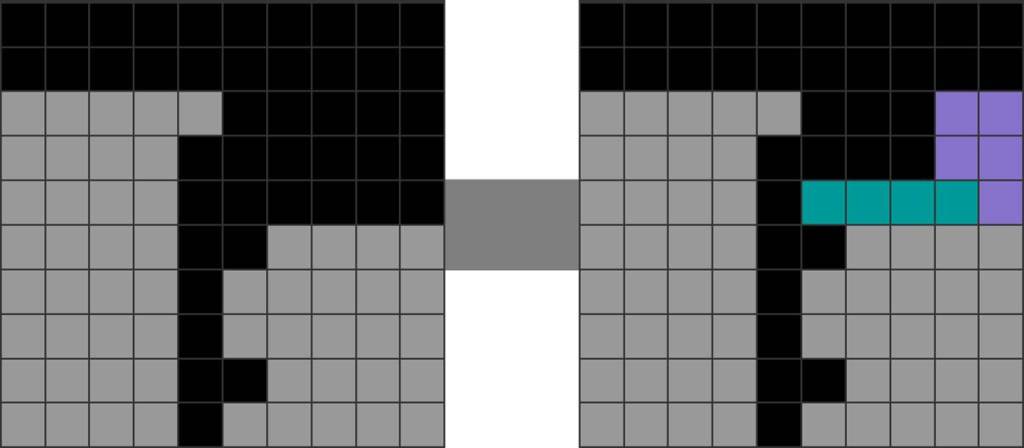
Here are other ways to freestyle the TST tower. The top 2 diagrams are among the most common configurations.
This sometimes happens:
Diagram Set 15-8
1
2
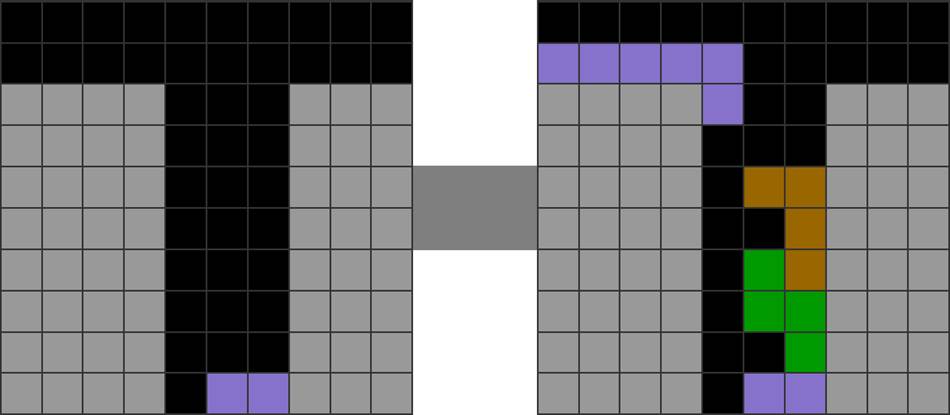
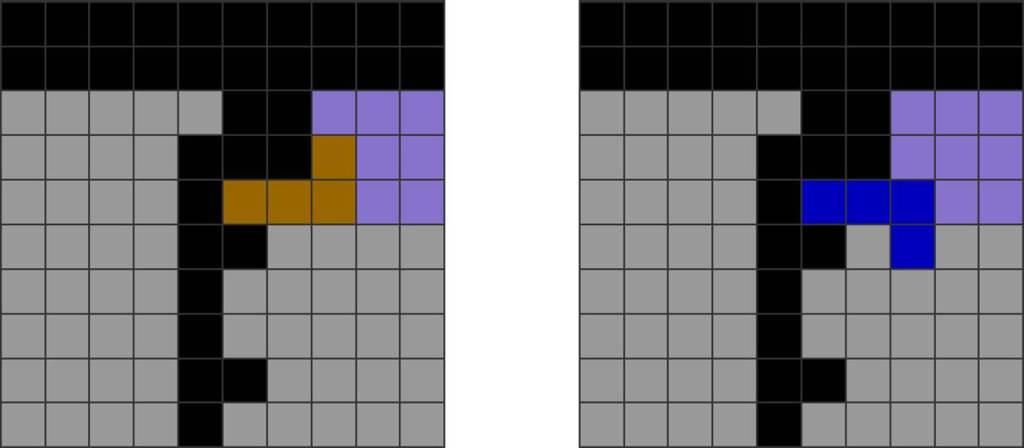
The top of the TST tower can sometimes be freestyled and topped off with a horizontal I piece.
These 2 are highly common situations:
Diagram Set 15-9
A
B
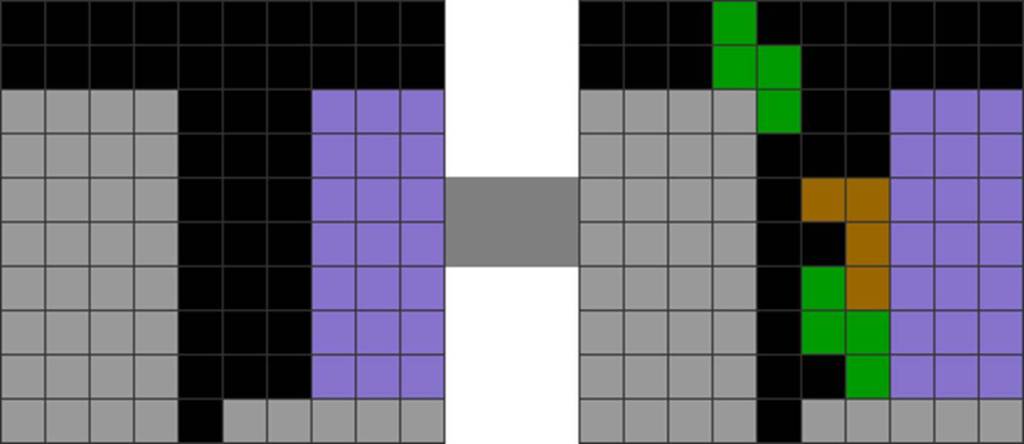
Here are other non-exhaustive ways to freestyle the top part.
Using it Opportunistically and Safely
Back-to-back T-spin triple towers should be used opportunistically for safety.
The lavender areas should be stacked almost entirely before making a back-to-back T-spin triple tower. When it is, you only have to put a few pieces (S and L, and the overhang) here to make the setup easily.
Suppose you see the above step 1’s opportunity, but the lavender areas are not pre-stacked. In that case, you must spend an excessive amount of time upstacking them before setting them up.
This makes you vulnerable to being spiked. Therefore, this method should only be used opportunistically unless you are faster than your opponent.
Continuations and Follow-Ups
TST Towers can be easily followed up by the following:
1. STSD to TST Tower Follow-Up
Diagram Set 15-11
1
2
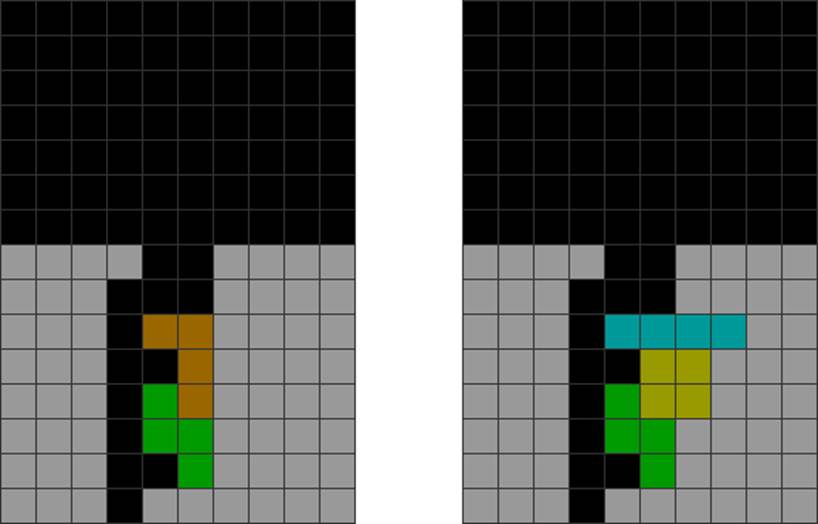
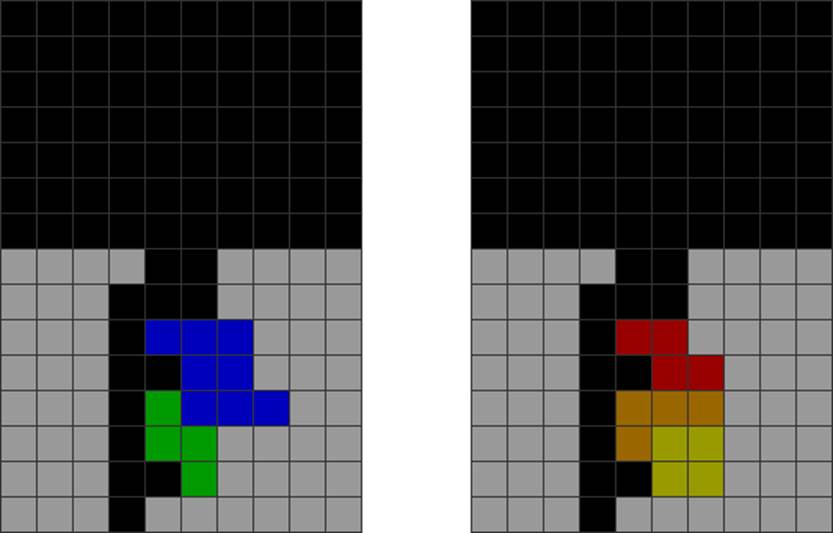
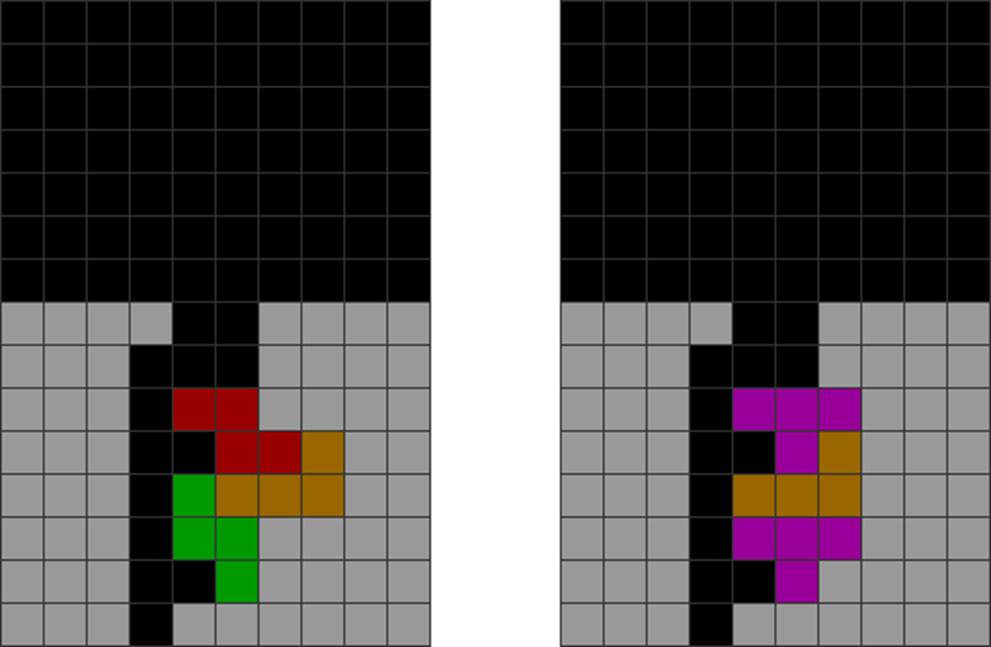
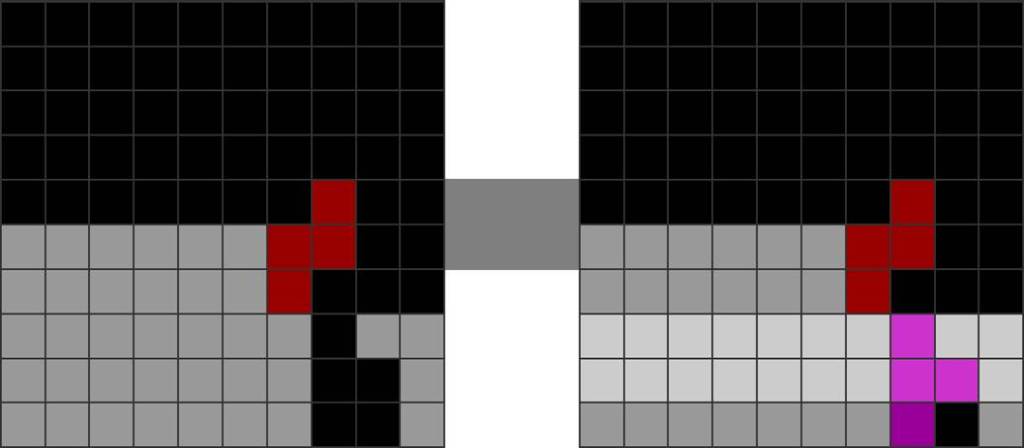
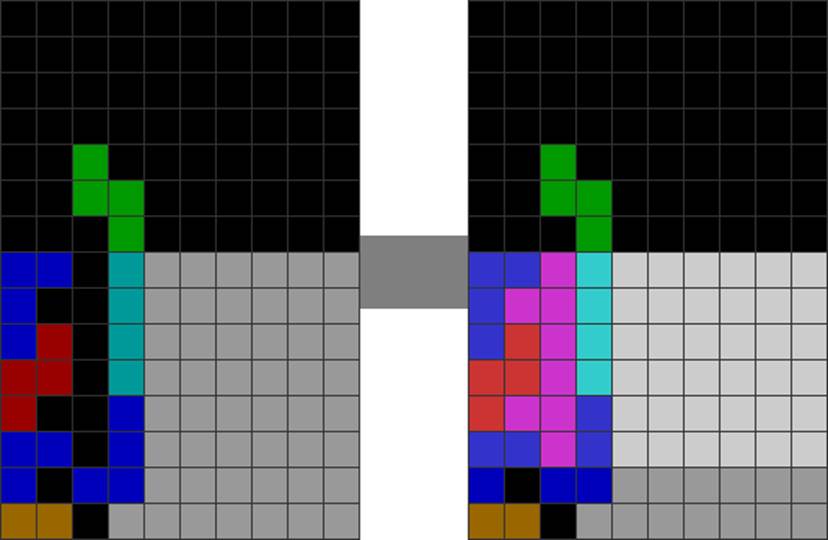
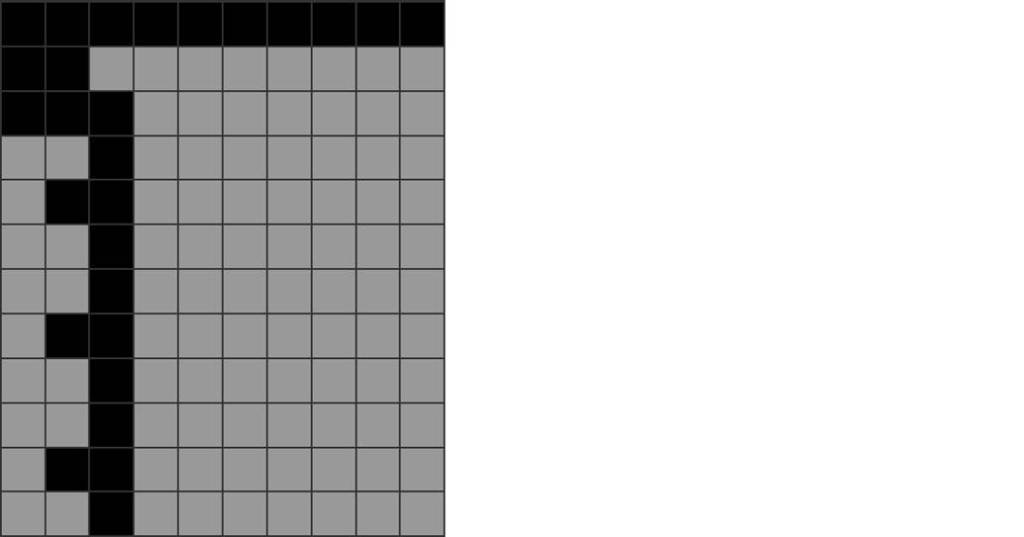
An STSD with a vertical S/Z overhang allows for a TST tower to be made as a follow-up. Observe the shape after this T-spin double line clear.
3
4
After the T-spin double line clear, you get an exact opportunity to make the TST tower. The first T-spin double also protects you from spikes.
The above method is highly practical mid-game.
Variations
TST Towers have several variations.
1. The Infinite TST Tower Loop
There is a method to chain T-spin triples non-stop using fixed pieces. This is typically used in Ultras to secure the highest score, as it has the highest T-spin efficiency among all stacking forms. It surpasses the mighty LST, ST, and LT stacking methods! Here is the basic form:
Diagram Set 15-12
1
2
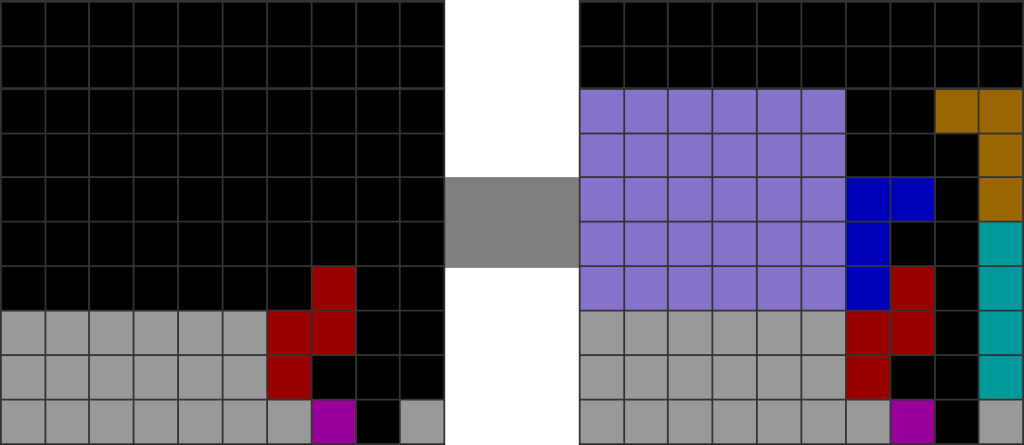
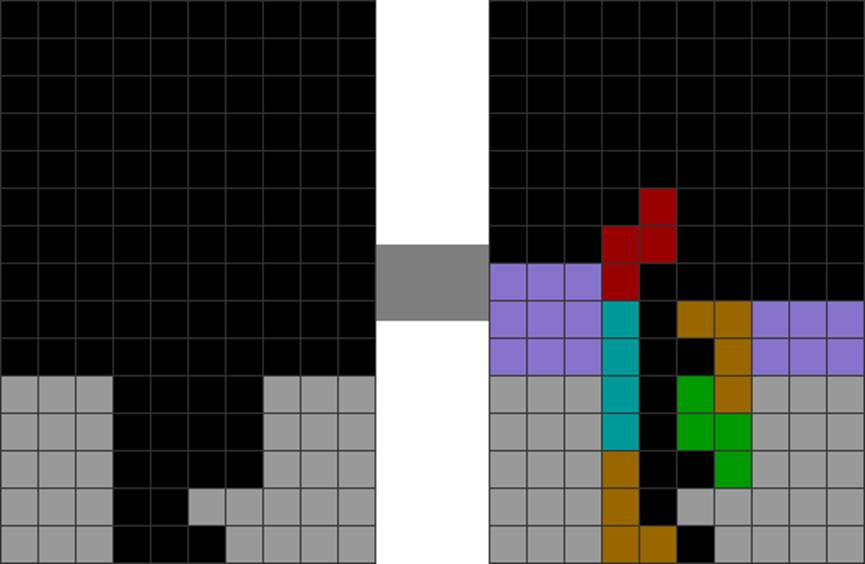
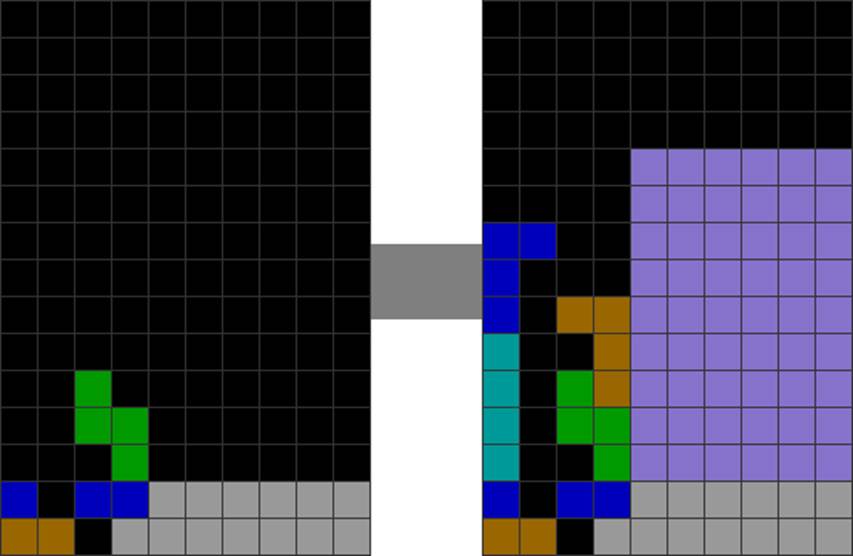
Spot this mid-game pattern.
Stack L, I, and Z to create the overhangs on the left side. Also, place the S and L on the right side when making the base.
The infinite TST Tower looping method involves repeating the above shape. Here is how:
Diagram Set 15-13
1
2
3
4
5
6
7
8
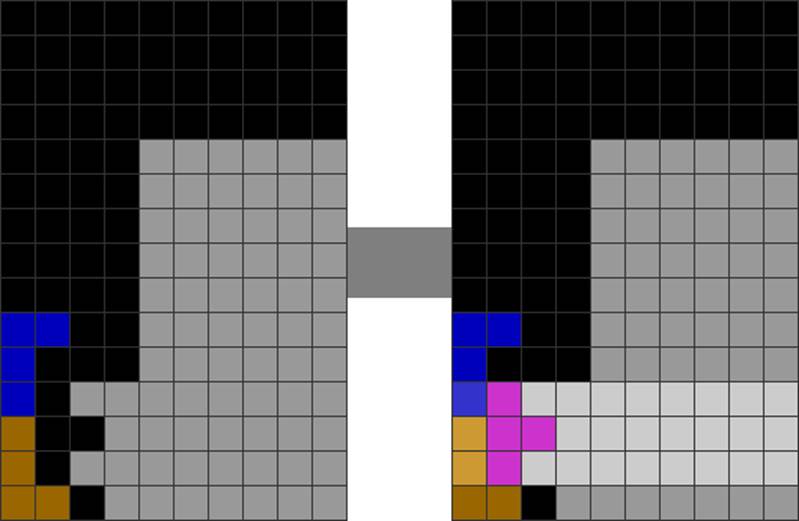
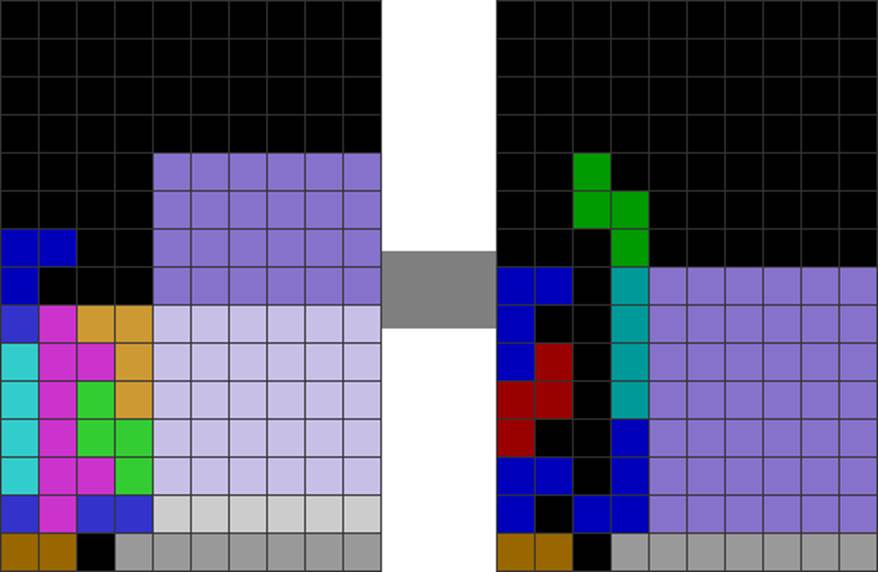
Please study this sequence. Notice how the same pieces repeat the same pattern?
By memorizing the sequence, you can repeat it infinitely and perform the TST Tower loop.
However, doing this mid-game is not safe or practical. It is suitable mainly for Ultras.
2. Multiply Stacked TST Towers
In rare situations, you can stack TST Towers beyond their initial 2 T-spin triples:
Diagram Set 15-14
A
Occasionally, you can freestyle and insert more T-spin triples into the TST tower.
However, this is risky.
In a Nutshell
TST Towers have among the highest T-spin efficiency and firepower in Tetris. However, it is best used opportunistically because of its heavy and dangerous upstacking.
Pros and Cons
Pros
Powerful burst.
Easy to create if both sides of the stack are already upstacked, and you only have to put a few pieces (like Z and J) to make the double T-spin triple cavities.
Cons
This method is risky as it has high T requirements — without extra Ts, you are in trouble.
 How to Tetris