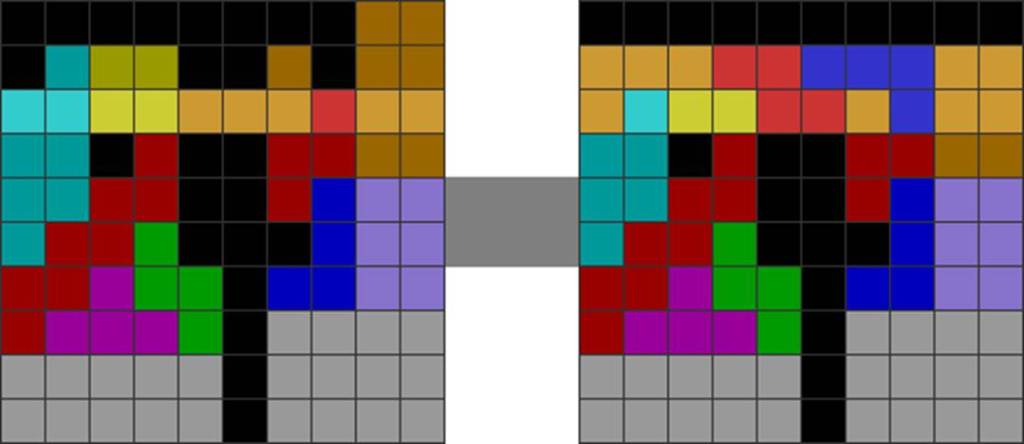
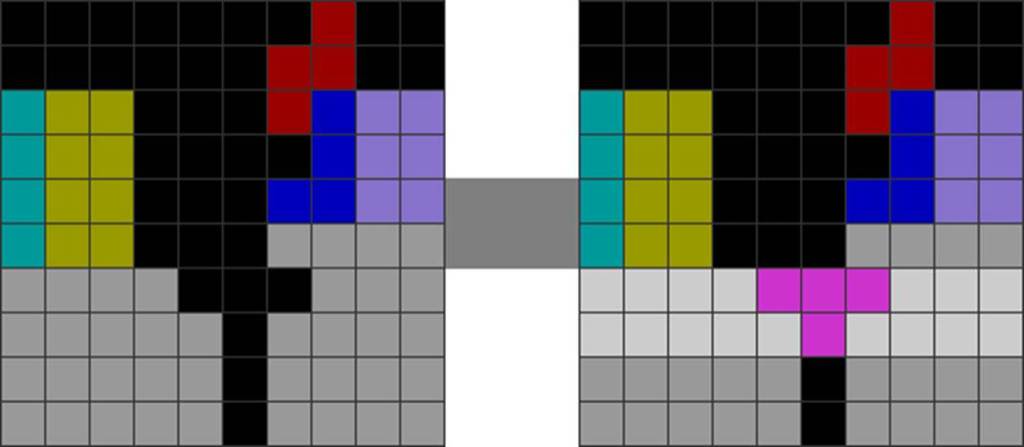
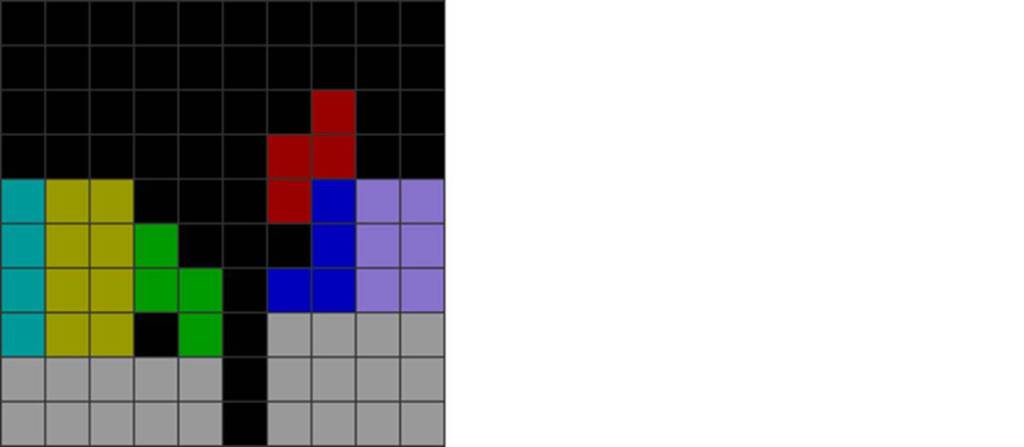
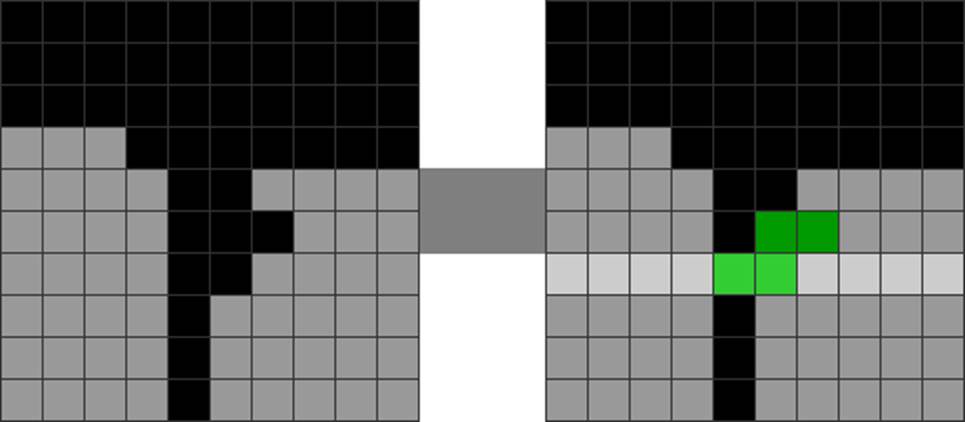
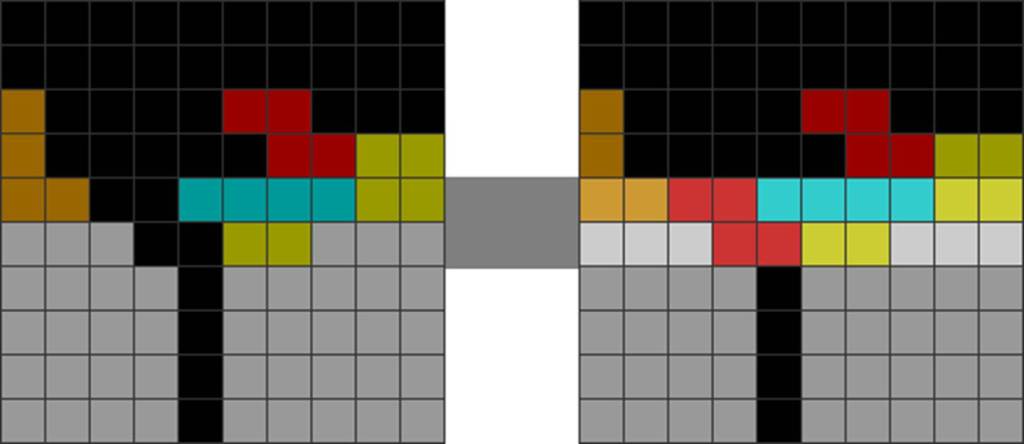
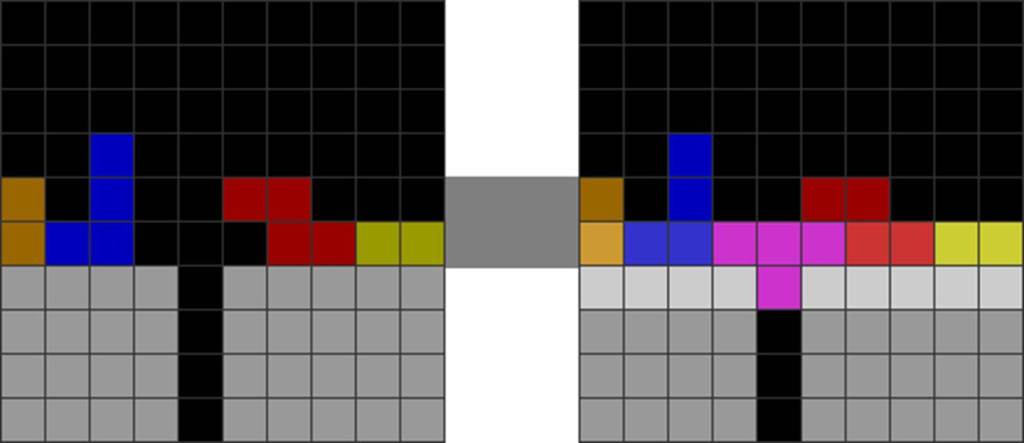
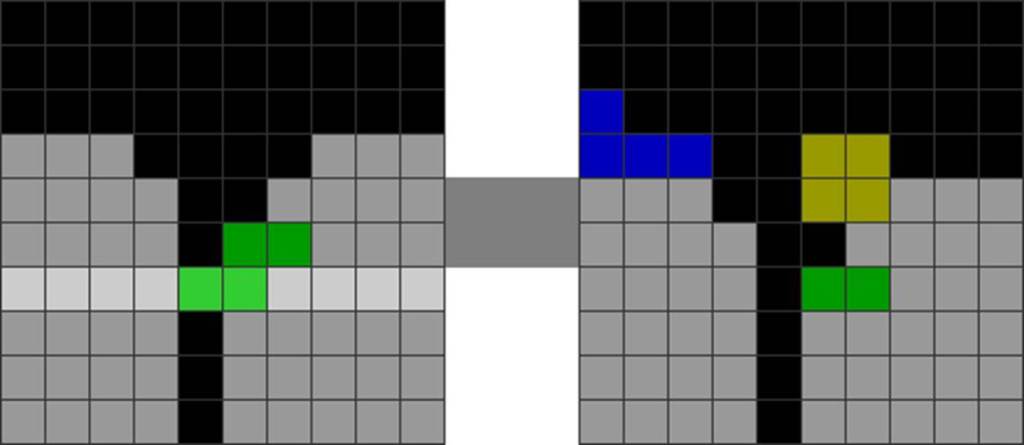
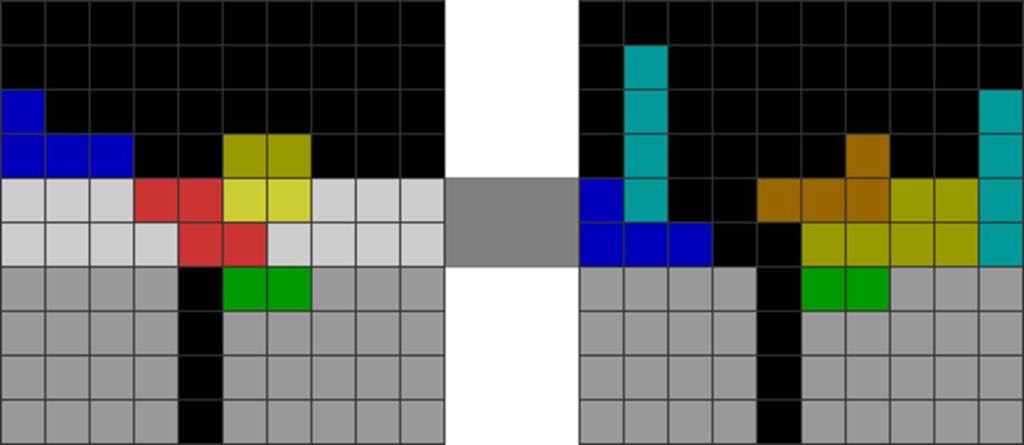
Despite the vast number of T-spins and all-spin setups, they are surprisingly far easier to train than downstacking.
This is because, unlike garbage patterns, the number of ways to form the T-spin or all-spin overhang and base is much more limited.
Here is an example:
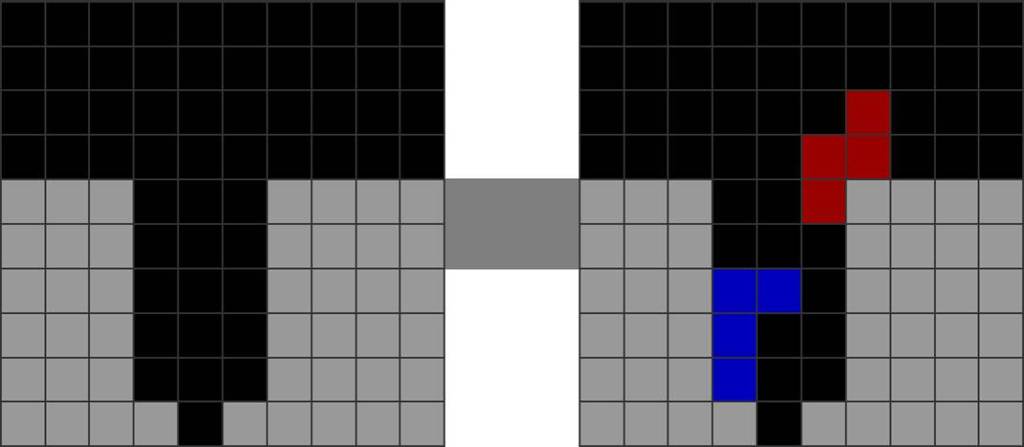
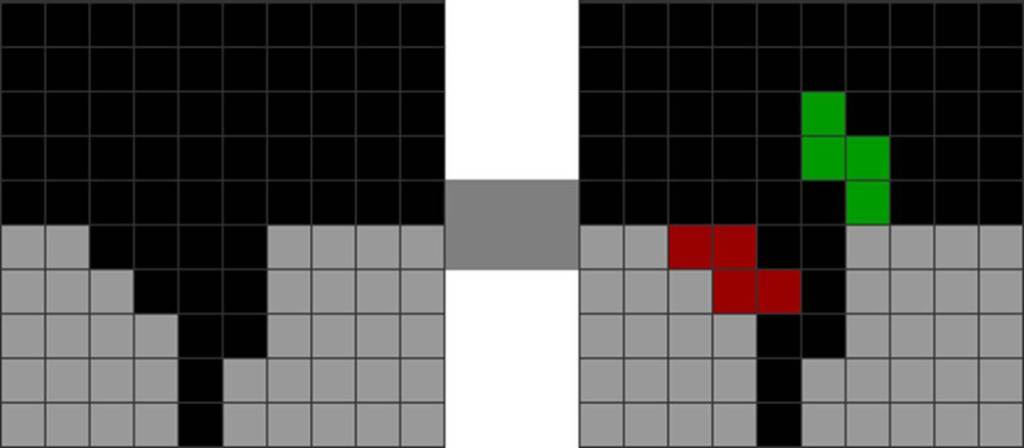
Diagram Set 15-1
1
2
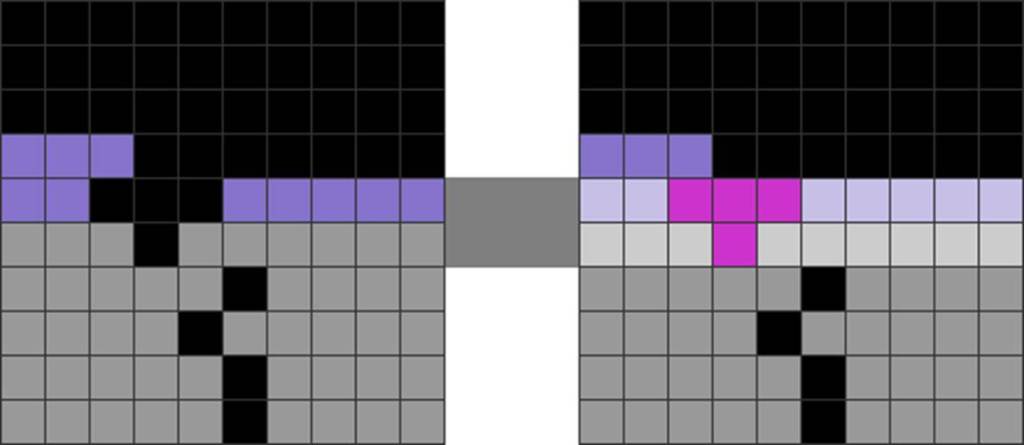
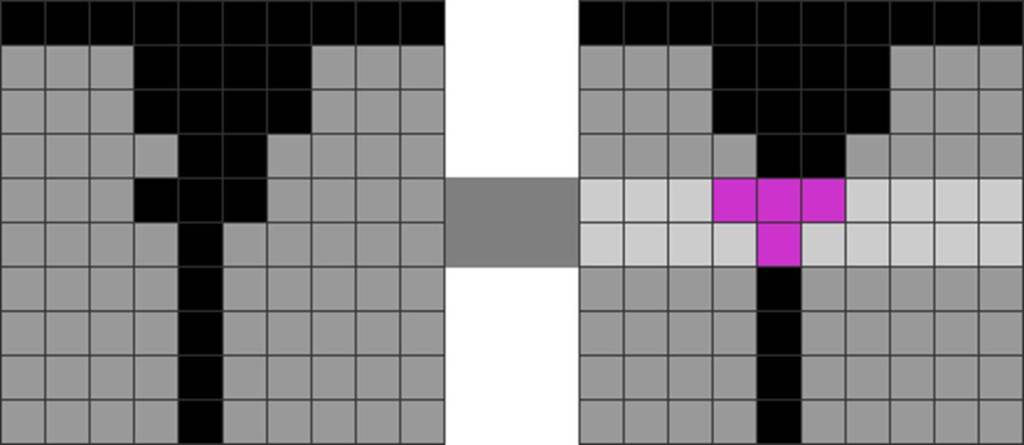
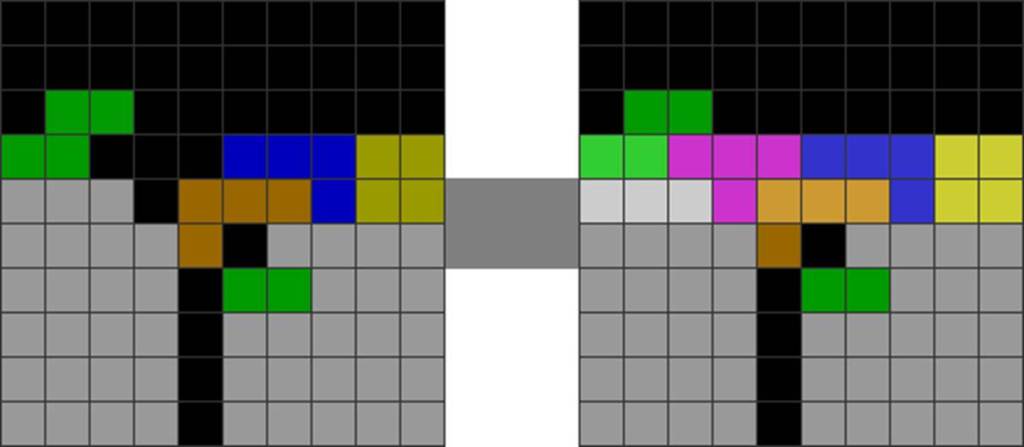
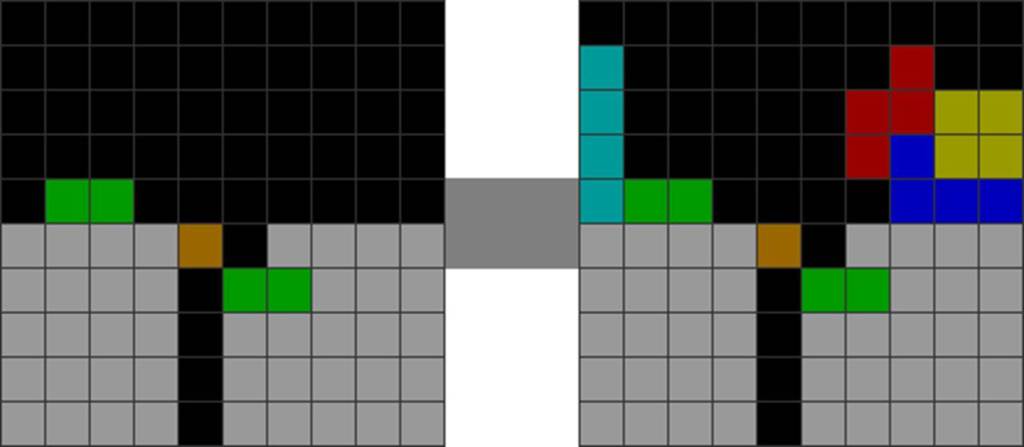
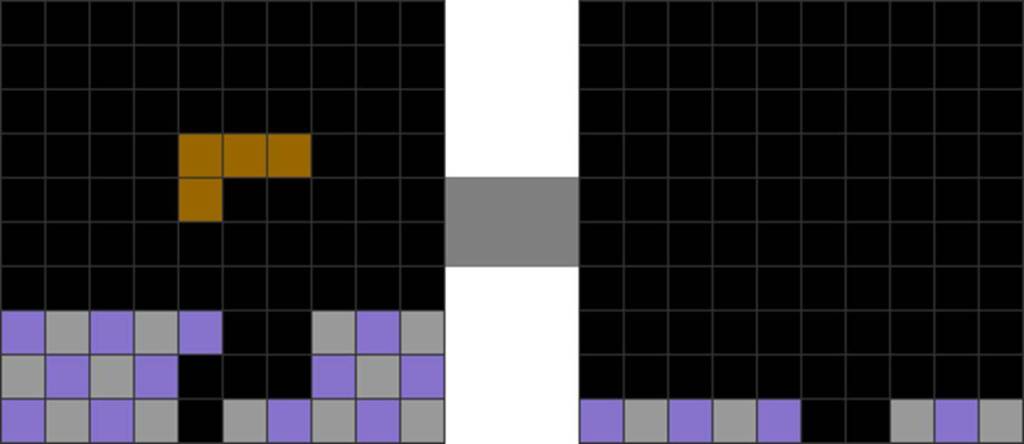
Spot a mid-game 3-wide well. It can be in the mid-lanes.
Put an inverted J and make the overhang. The STSD is done!
Most Super T-Spin Doubles (STSDs) can be created using an upside-down L or J as their base.
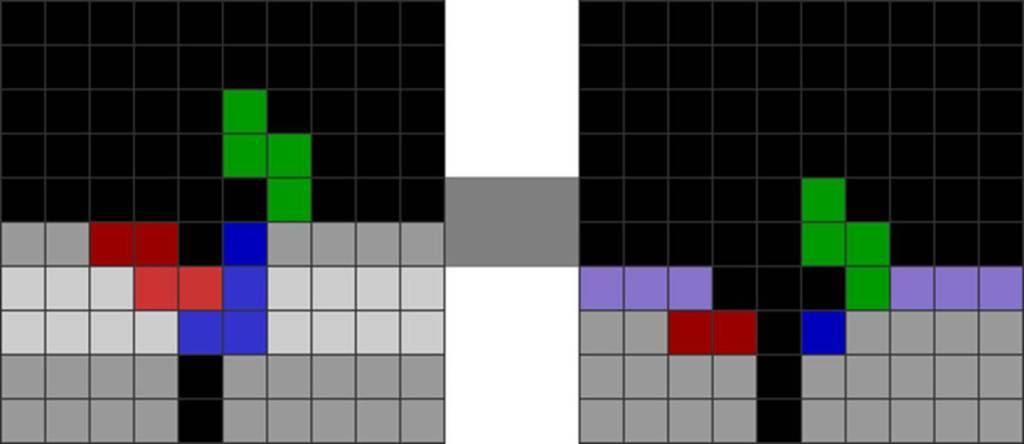
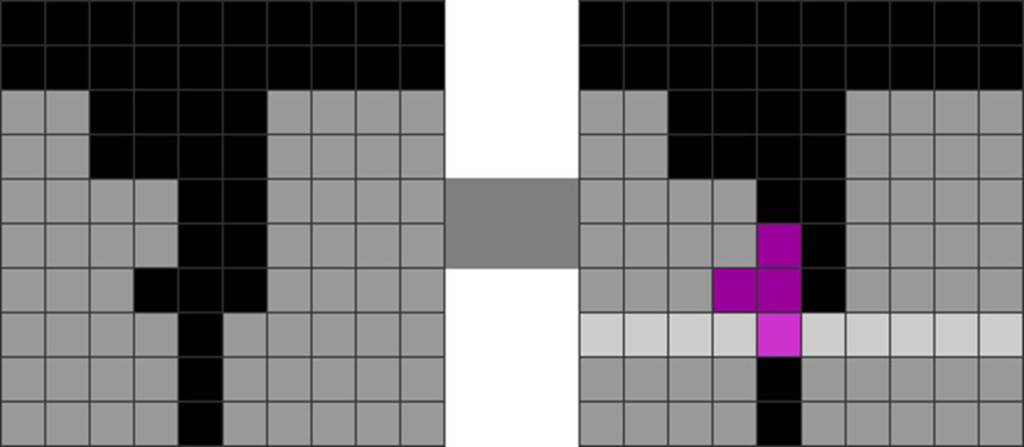
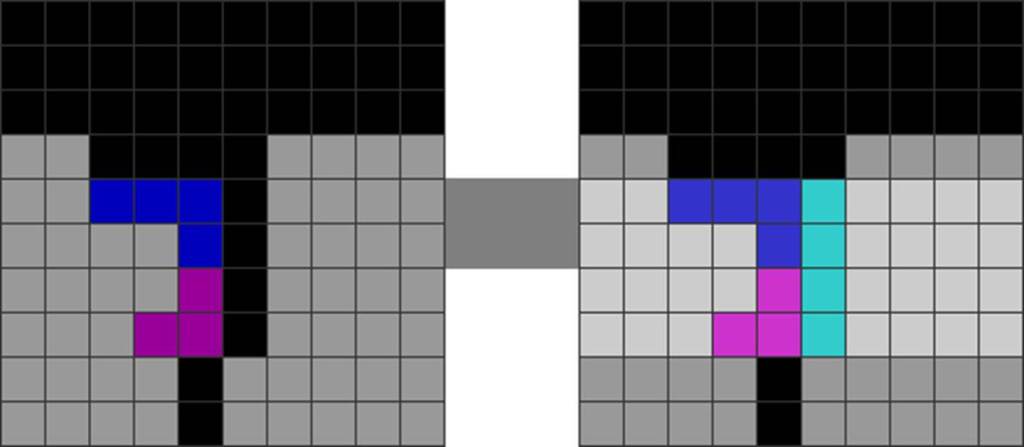
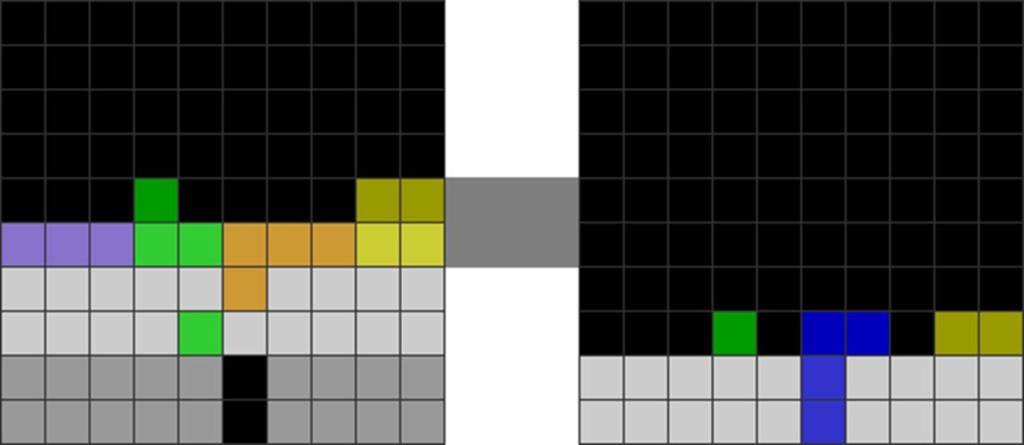
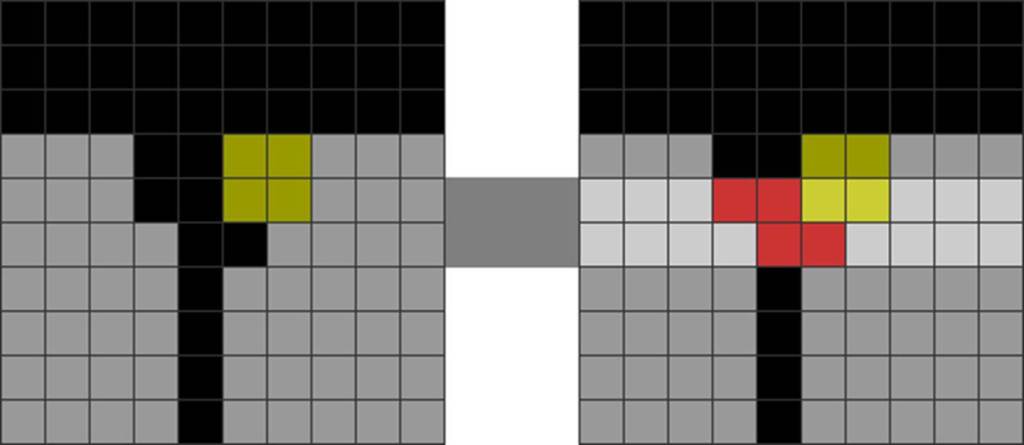
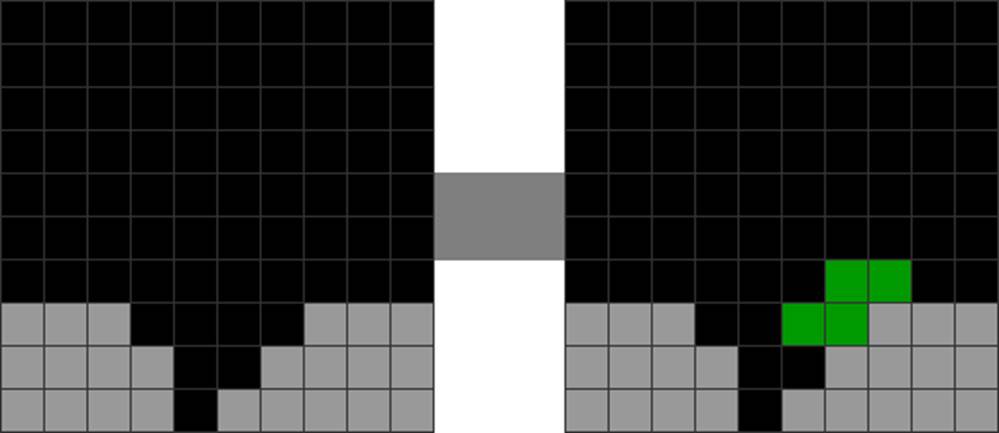
In more advanced and rare ways, you can create STSD donations, such as these:
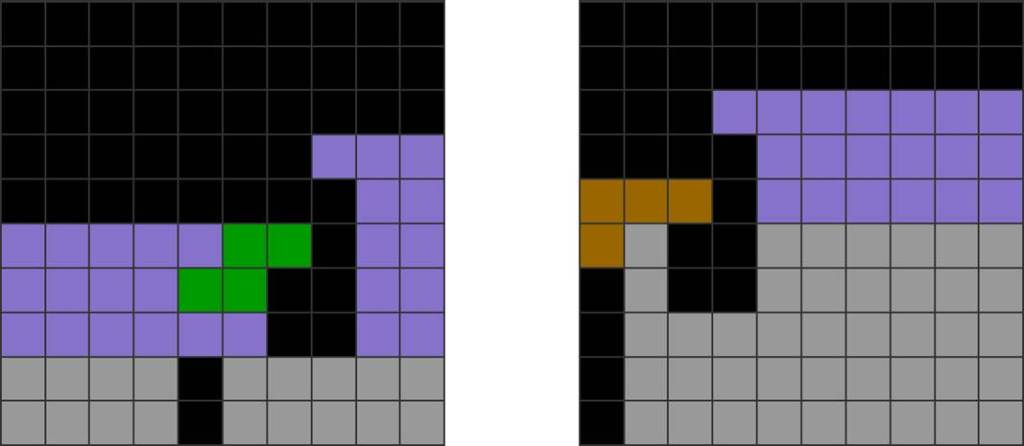
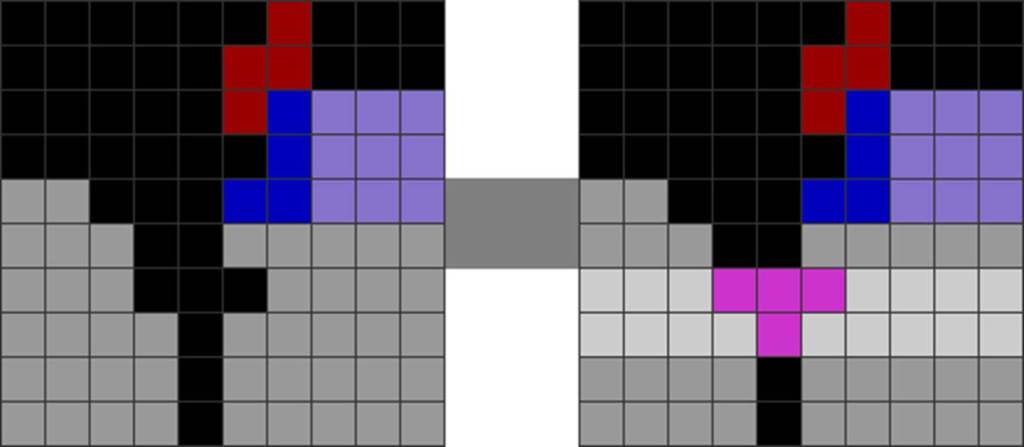
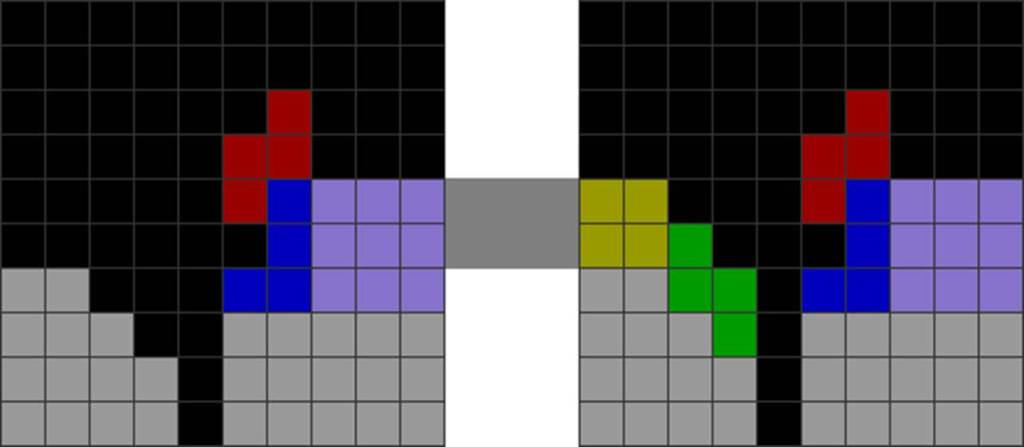
Diagram Set 15-2
A
B
This is a highly common STSD donation pattern.
You can perform this during 9-0 stacking.
However, they are still finite and easy to memorize, so once you learn them, you can cut down on thinking time because you only have to recall them (remembering is faster than figuring something out on the spot).
The key to learning T-spin and all-spin setups is, as said in the One Step at a Time chapter, to learn between 1 and 5 of them simultaneously.
I recommend 2 to 3, but no more than that, because it would overload the brain with information.
Learning T-spins and all-spins is cumulative. Once you master 2 or 3, move on to the next set of 2 or 3 new methods.
What to Optimize for T-Spins and All-Spins
Many players believe that if they can make a specific T-spin or all-spin well, then they have mastered the setup.
However, true mastery comes from a mix of intervening factors, such as keeping the setup clean, maximizing follow-ups, and knowing which setups to minimize.
Maximizing Continuations and Follow-Ups
It is not enough to make a single T-spin or all-spin. Instead, stack in a way that maximizes your continuations to make more T-spins or all-spins.
Here is an illustration:
Diagram Set 15-3
1
2
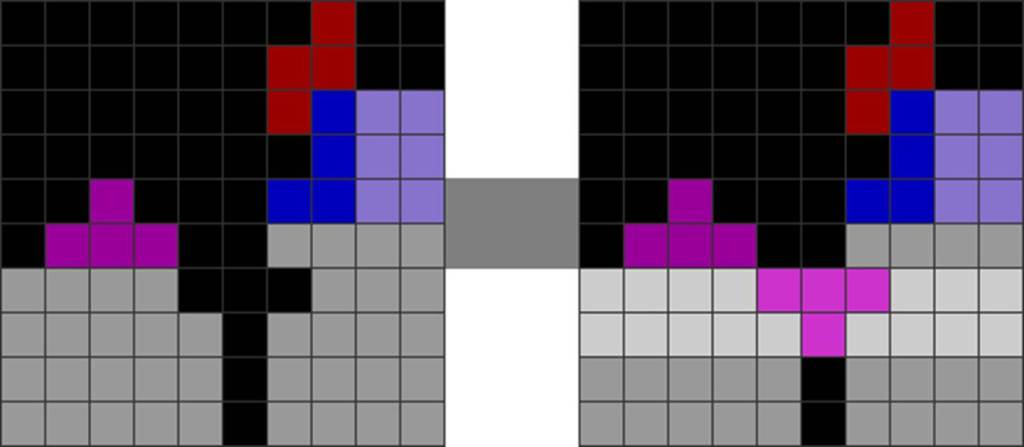
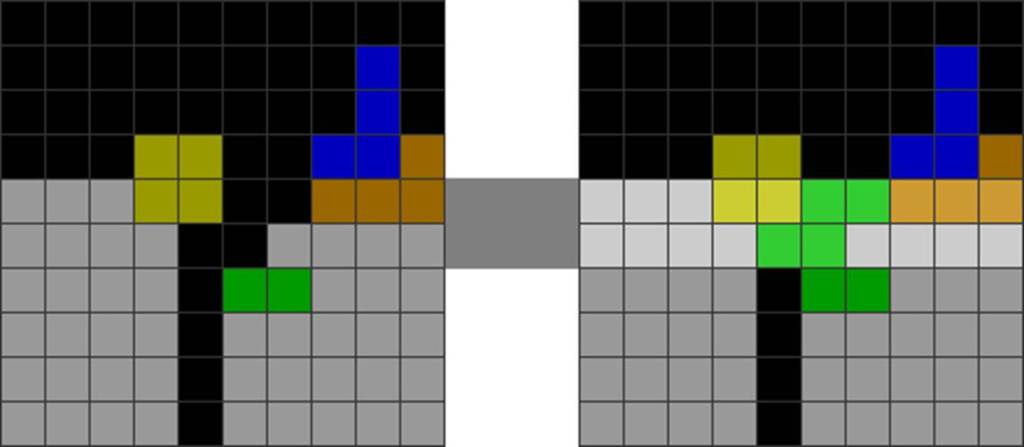
Starting field. The player stacks the J and Z pieces pre-emptively.
The player makes a T-spin double line clear.
3
4
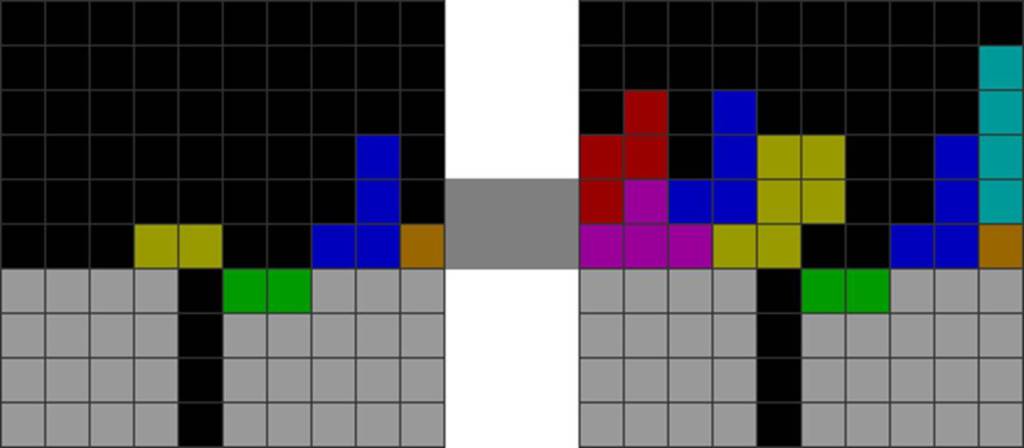
The resultant field.
The player places an S piece to form a T-spin base. The original J and Z pieces are now the T-spin’s overhang and base!
Here, the player strategically places the pieces around the first T-spin. After the first T-spin line clear, the follow-up shapes are better suited to creating a second, easily recognizable T-spin.
The player should hence plan ahead to maximize continuations.
This applies also to all-spin to T-spin or T-spin to all-spin continuations, in games where all-spins are more heavily rewarded, such as TETR.IO:
Diagram Set 15-4
1
2
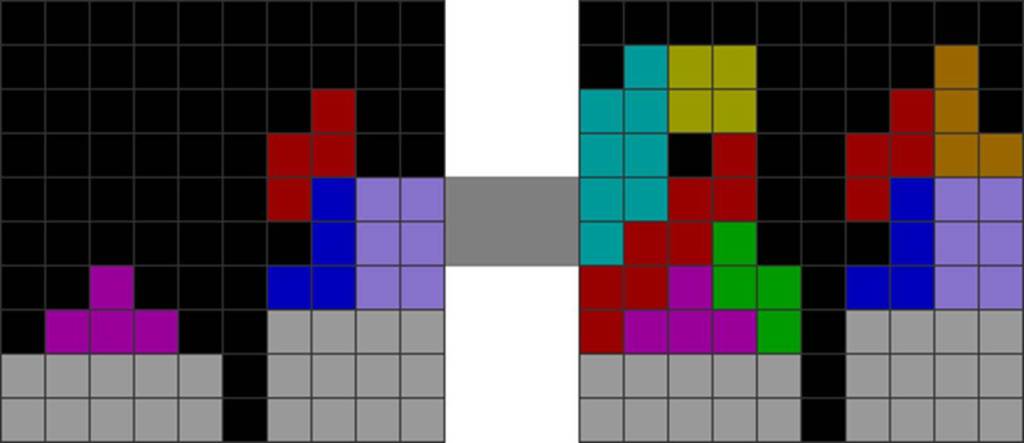
Starting field.
The player places the S and Z pieces this way.
3
4
This creates a tricky J-spin double.
This leads to an even field that can create more T-spins.
Other than T-spin and all-spin continuations, the player should plan further ahead for possible Tetris and downstacking continuations:
Diagram Set 15-5
1
2
Starting field with a T-spin chance.
The player makes the T-spin single in this orientation.
3
4
They place a J piece over the resultant field.
This easily leads to a Tetris continuation.
Now for downstacking continuations:
Diagram Set 15-6
1
2
Starting field with a T-spin chance.
The player goes for the T-spin double chance.
3
4
The player continues with a downstack combo.
The player reaches the bottom level safely.
Ensuring a Stable and Balanced Stack
It is also not enough for a player to simply make T-spin continuations. It is more important to ensure they do not mess up the stack while making T-spins.
Let us consider:
Diagram Set 15-7
1
2
Starting field. The left stack is parity-imbalanced (jagged).
The player makes the T-spin double line clear.
3
4
The resultant field.
The player messes up the stacking on both sides of the field. They get the T-spin at a huge cost.
Here, the player stacked well, made an initial T-spin, and continued into another T-spin.
Sounds good, right? Unfortunately, the player messed up the left stack, making it dirty. The right stack also becomes super jagged (parity-imbalanced).
The result is this:
5
6
Here, in step 5, the player tries to clean up using skims.
But it takes many inefficient skims, breaking back-to-back bonuses. The player loses momentum.
The player is forced to place pieces over holes. One side is also overstacked and requires many skims to safely reach the clean garbage.
The result is, hence, catastrophe.
A player should instead do this:
Diagram Set 15-8
1
2
Starting field with a T-spin chance. The left and right stacks are flat and clean.
The player makes the T-spin double line clear.
3
The player makes a secondary T-spin double continuation. The entire field is relatively flat and clean.
Here, the player avoids the problems in the previous example. The player stacks relatively flatly and cleanly, preventing the former dead-end situation.
All-Spin Hell
As of this book’s publication (Nov 2026), TETR.IO’s season 2 heavily rewards all-spin setups because they sustain back-to-backs and charge the surge meter.
I do not like this at all, which is why I remain an official guideline Tetris main (TETR.IO is not an official Tetris version).
This is because it upends the old meta of other official Tetris games and TETR.IO’s Season 1: stacking cleanly, sustaining back-to-backs, and prioritizing lethal combos.
Now, players, in their attempt to get endless back-to-backs to charge the surge meter, do this:
Diagram Set 15-9
1
2
Starting field.
The player makes an S-spin single.
3
4
The player upstacks for an S-spin double. Note how the O piece blocks the central garbage hole.
The S-spin double line clear concludes.
5
6
The resultant field. The yellow blocks obstruct the central Tetris hole.
To make matters worse, the player makes another dirty S-spin double. The O piece blocks the central Tetris hole.
They upstack like crazy and mess up their field just to spam all-spins. Then, they neglect downstacking or more damaging attacks like T-spins and Tetrises.
Players can continue playing this way if they enjoy it. However, from my perspective, if the player wishes to play seriously, they could prioritize the following:
i) Back-to-Back T-Spins and Tetrises
T-spins and Tetrises produce much more garbage than purely all-spin setups. Hence, prioritize these two as much as possible.
ii) Combos
Many players neglect mid-game freestyle downstack combos, which serve as both offense and defense and remain very potent.
iii) Stack Cleanly
It is ill-advised to spam all-spins at the expense of your field’s cleanliness and parity balance (managing its jaggedness).
iv) All-Spins Mainly as Fillers
As much as possible, use clean all-spins as fillers between T-spins and Tetrises to sustain back-to-backs. Going all-out for them just to sustain back-to-backs is ill-advised.
Here is an example of using all-spins as fillers in a predominantly T-spin-based playstyle:
Here, the player goes all out for all-spins, which produce less garbage than T-spins or Tetrises. Their overall damage drops because all-spins, while powerful for sustaining back-to-back surges, do not send the bonus garbage lines that T-spins or Tetrises do.
The field is also heavily jagged and overstacked.
Hence, a player could have done this instead:
Diagram Set 15-12
1
2
This continues from diagram set 15-9’s step 1 with the same incoming pieces. The player instead makes a T-spin double.
The player makes a T-spin double line clear.
3
4
The aftermath field.
The player makes a T-spin single.
Here, the player still manages to sustain back-to-backs, primarily with T-spins and Tetrises. However, they do more overall damage, and the field is much cleaner.
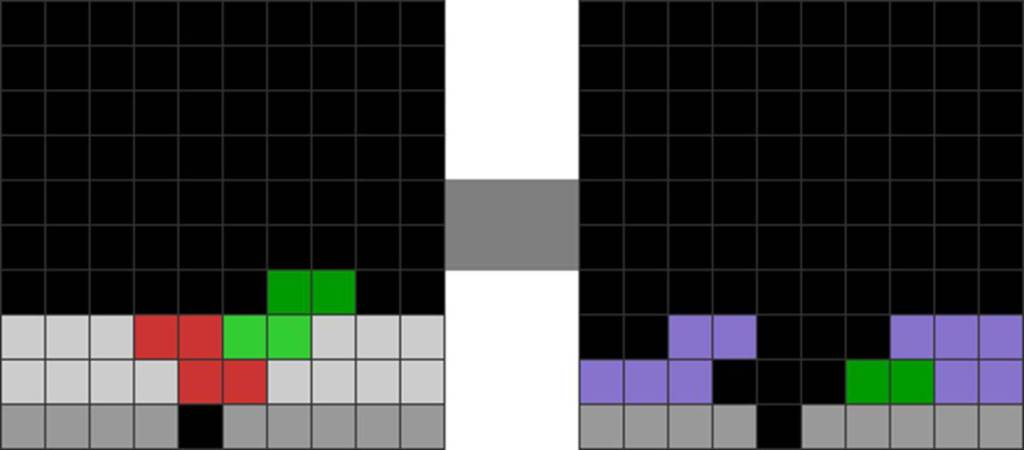
As a reminder, if you have read my Book 4’s Spins and Parity chapter, all-spin singles and triples can contribute to a stack’s chaos. They add more residue blocks and disrupt local parity (the difference between lavender and gray blocks):
Diagram Set 15-13
1
2
10 lavender and 9 gray blocks.
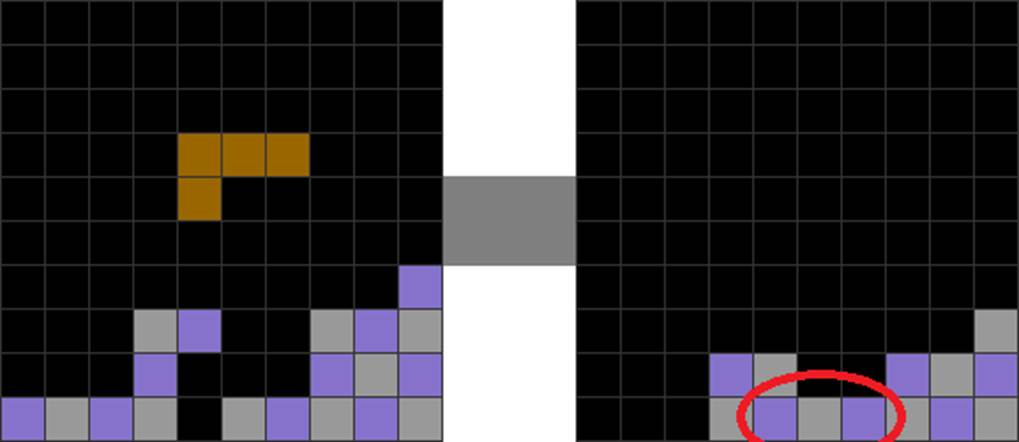
After the L-spin single finishes, you have 6 lavender and 7 gray blocks.
Here, the difference between the number of lavender and gray blocks changes from +1 to -1, which could upset the field. Step 2 also gains 3 more residue blocks (red circle), adding chaos to the field. The following also shows this (-1 to +1):
Diagram Set 15-14
1
2
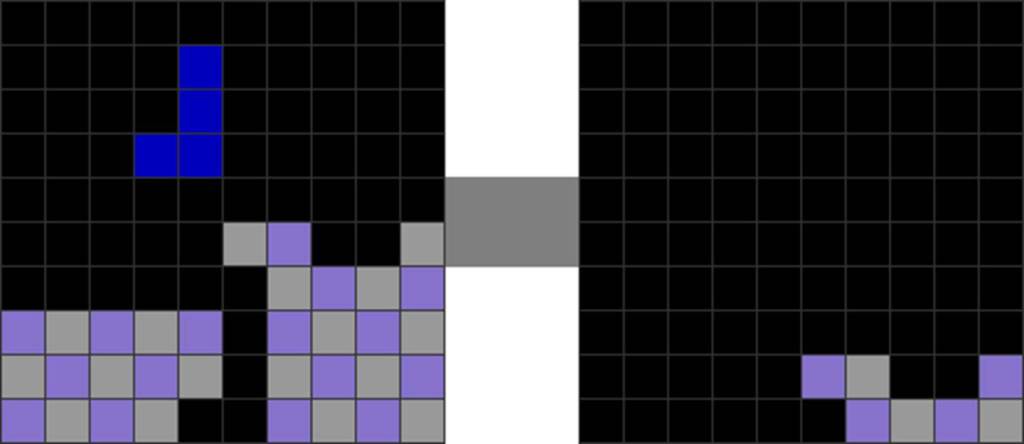
16 lavender and 17 gray blocks.
After the J-spin triple finishes, you have 4 lavender and 3 gray blocks.
When you make too many all-spin singles and triples, the field becomes unpredictable and chaotic to stack properly. However, all-spin doubles are great:
Diagram Set 15-15
1
2
12 lavender and 12 gray blocks.
After the L-spin double finishes, you have 4 lavender and 4 gray blocks.
The difference between the lavender and gray blocks remains unchanged. No extra orange blocks are added after the line clear.
All-spin doubles, hence, do not add any residue blocks or disrupt local parity. Hence, after the all-spin double, you can easily make a forecasted overhang that creates another T-spin or all-spin setup:
Diagram Set 15-16
1
2
The starting field.
The player makes a Z-spin double.
3
4
The Z-spin double line clear concludes.
This continues into a simple T-spin double since the Z-spin leaves no residues, making the stack in columns 4 and 6 even. The player easily tops the hole in column 5 with an overhang.
So, if you really must create all-spins, use them as fillers to sustain back-to-backs and minimize all-spin singles and triples.
In a Nutshell
Key Points
T-spin mastery comes not from purely creating a fancy T-spin for fun. It comes from choosing simple T-spins that maximize continuations, follow-ups, stacking smoothness, and cleanliness.
It is the same for all-spins.
Players should use all-spins in TETR.IO mainly as a back-to-back filler. Most of the damage should come from T-spins and Tetrises.
Minimize all-spin singles and triples, as they mess up a field’s parity and make the aftermath patterns unpredictable and chaotic.