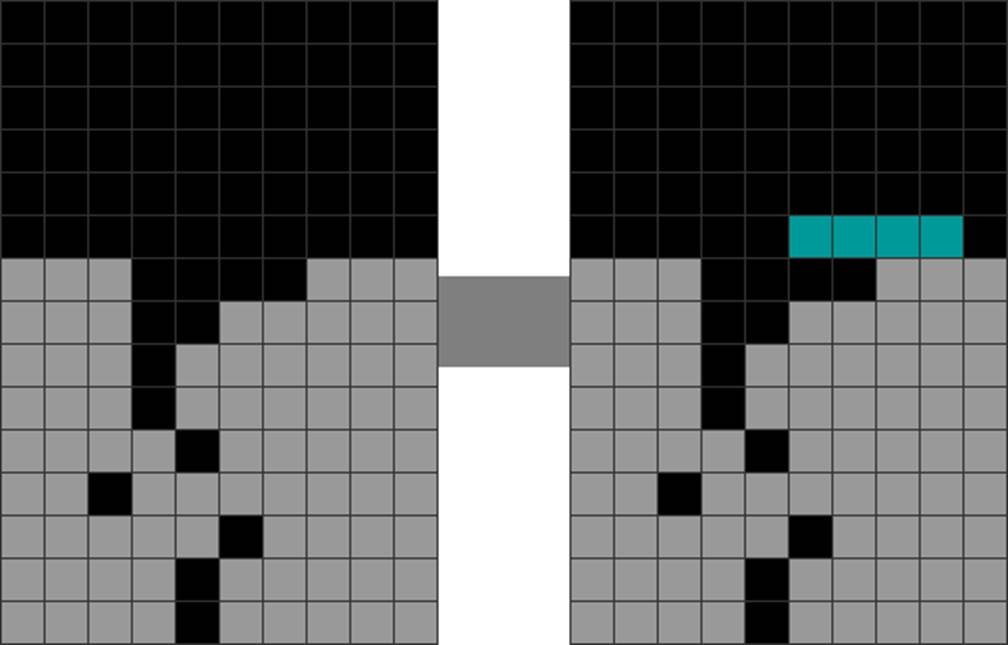
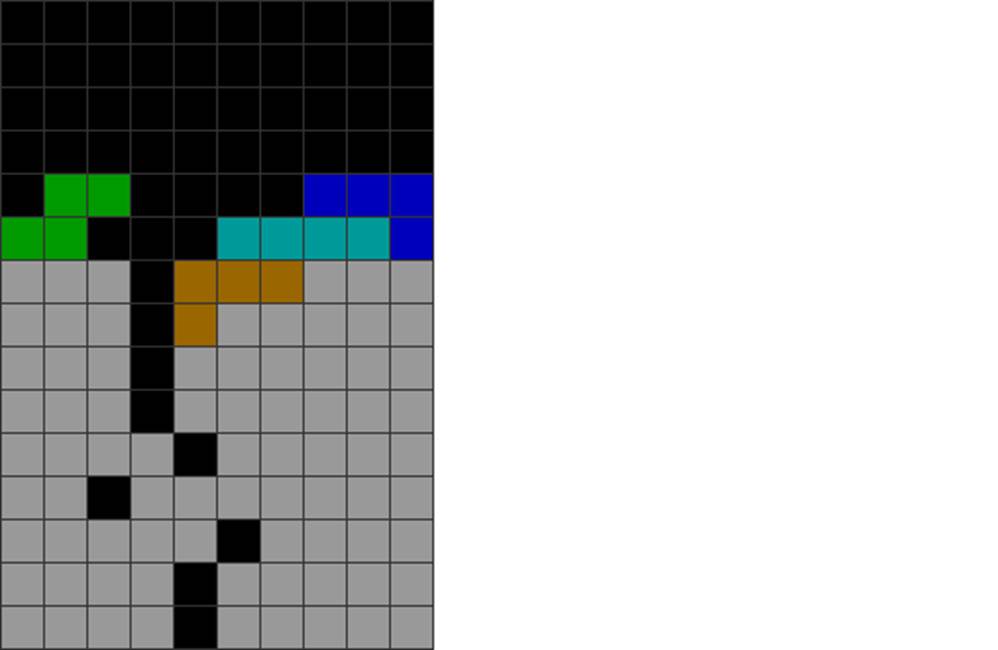
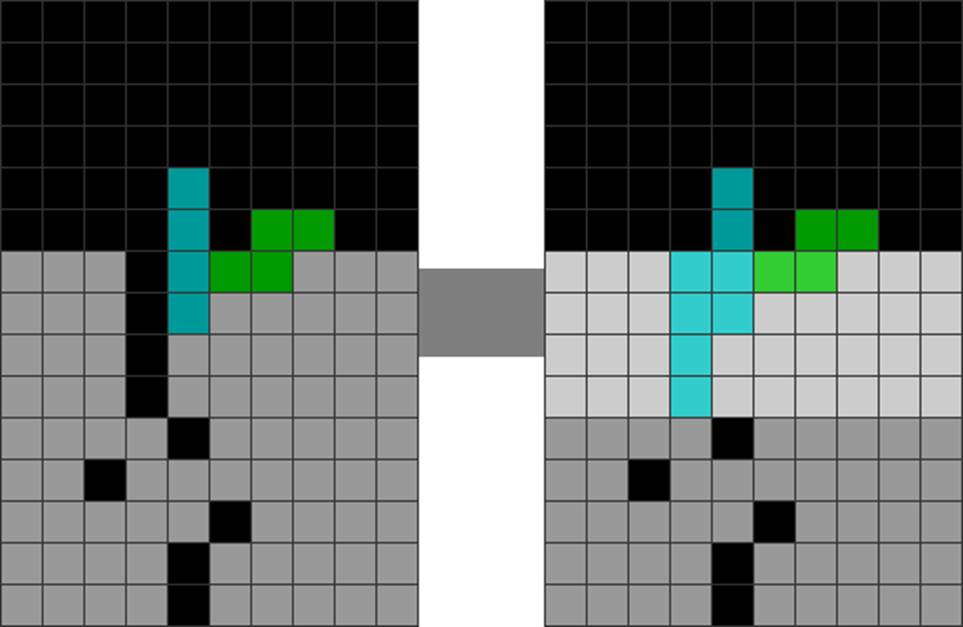
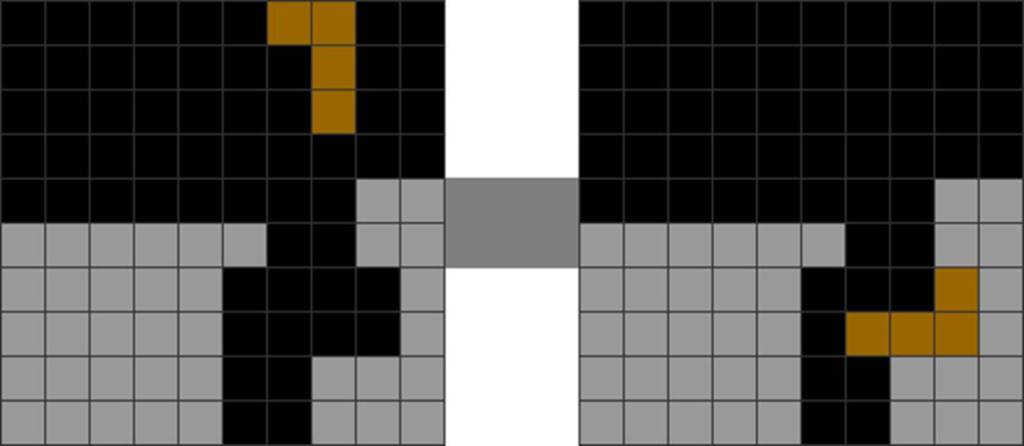
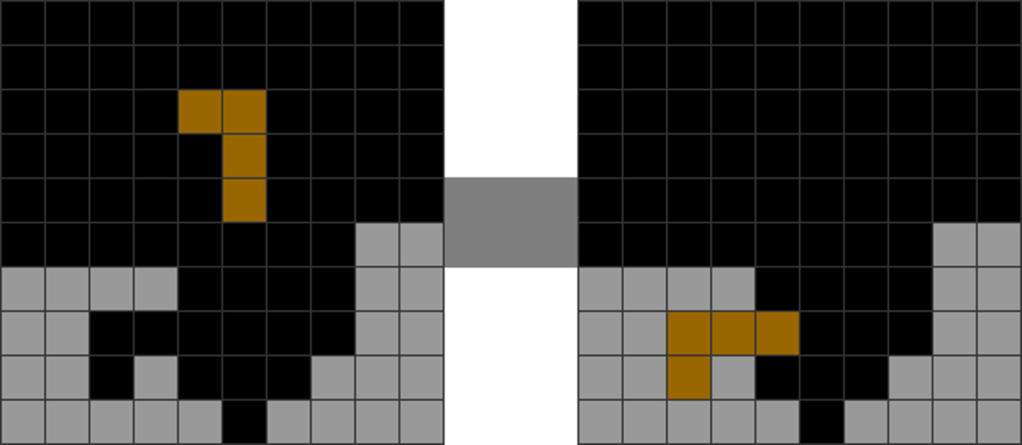
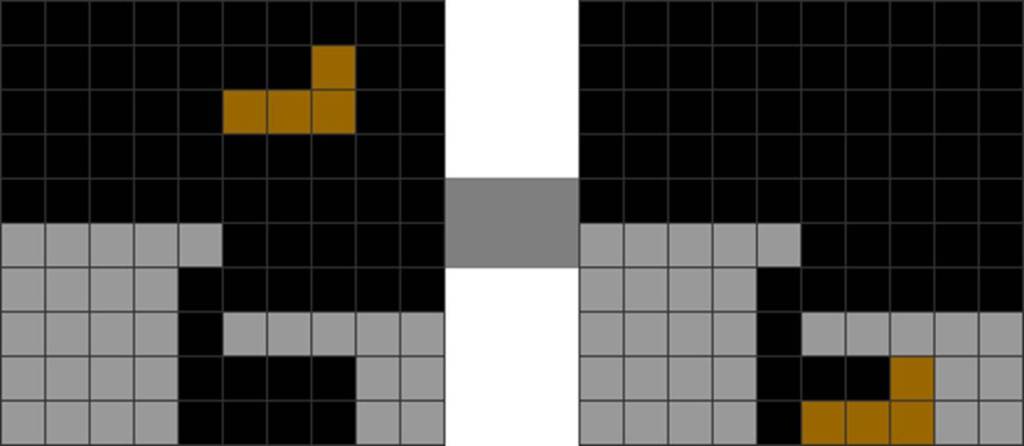
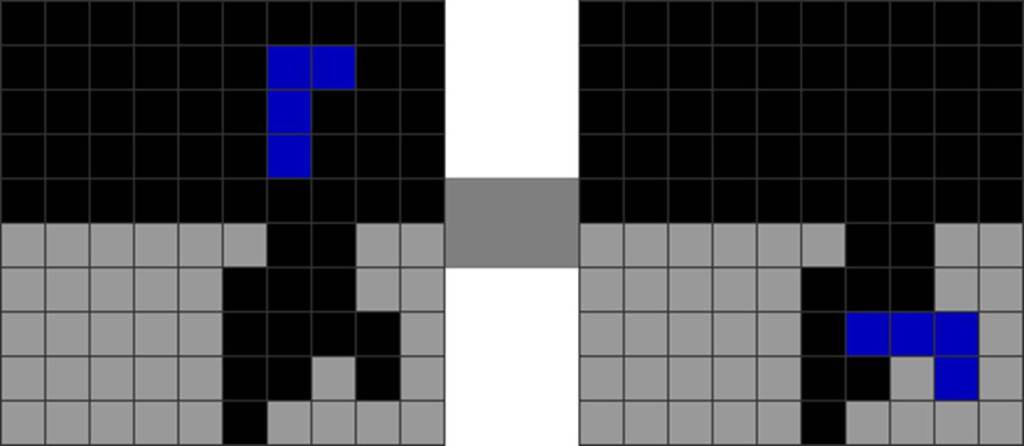
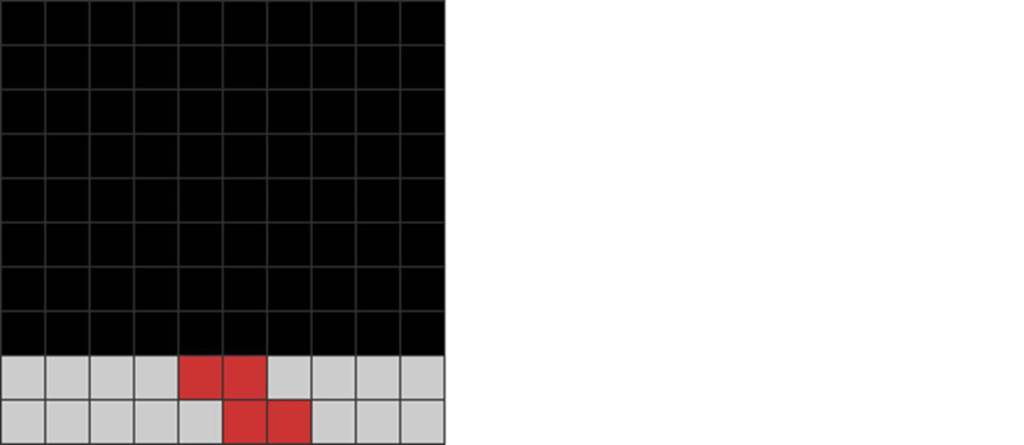
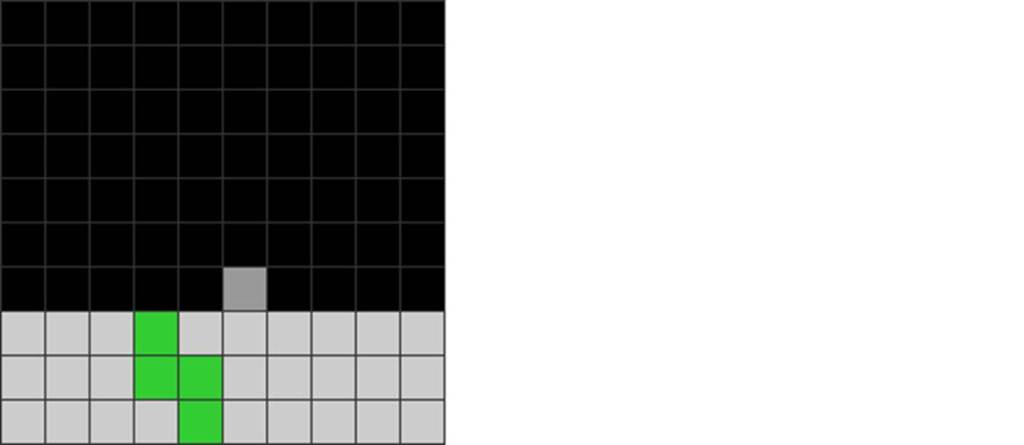
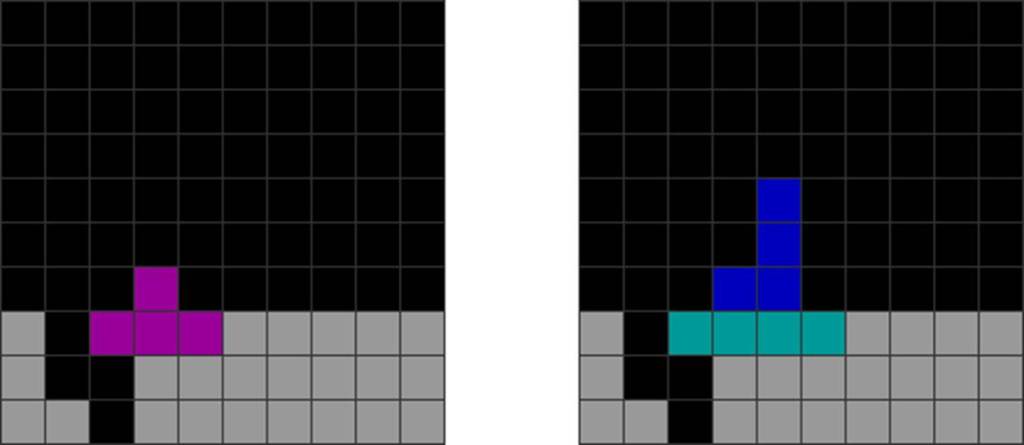
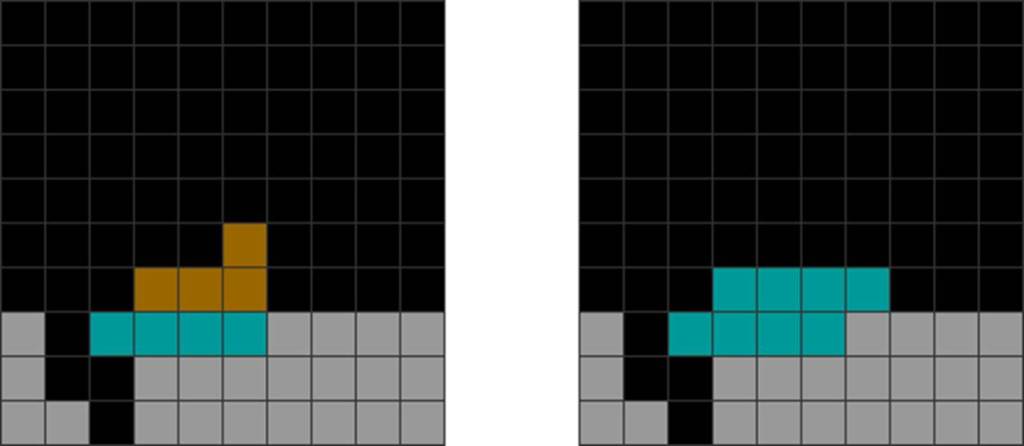
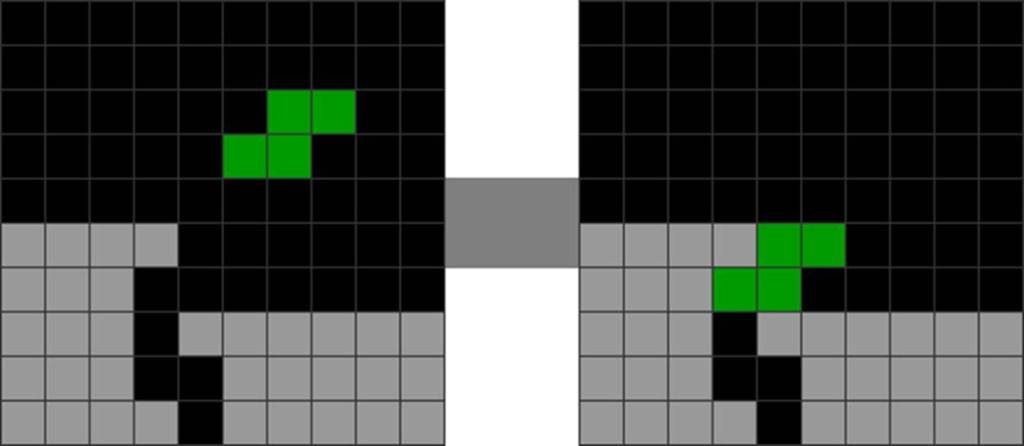
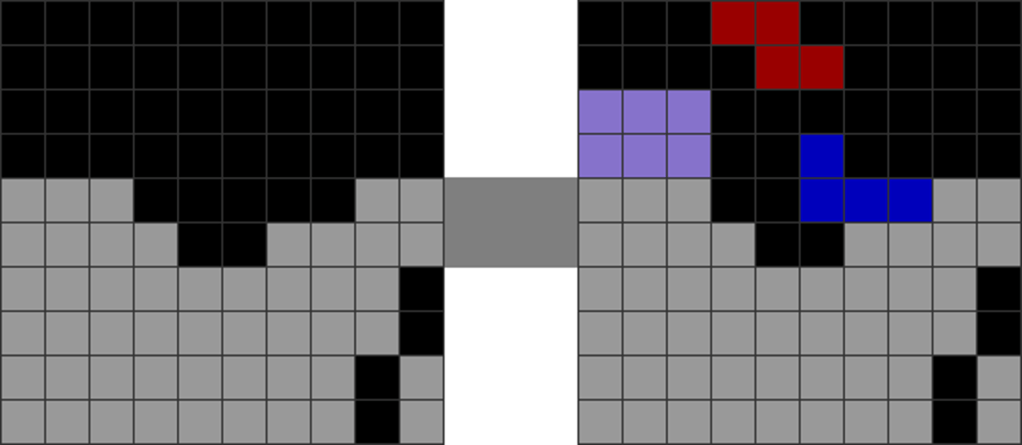
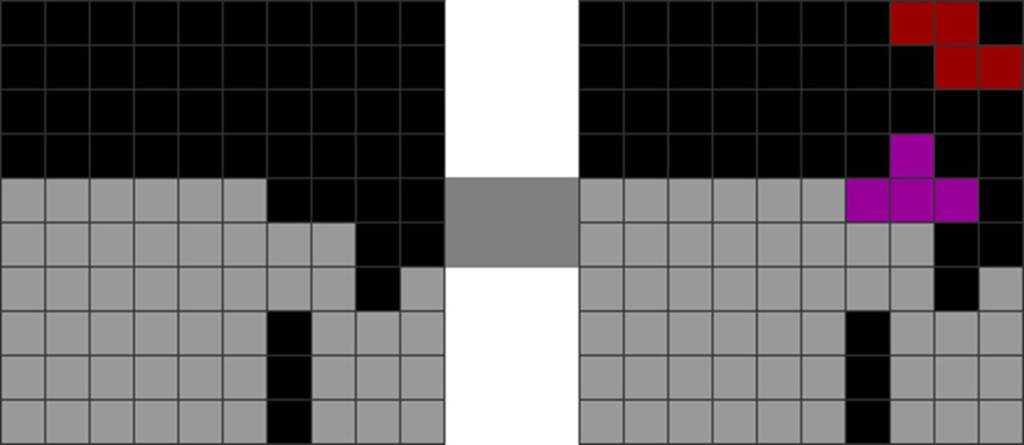
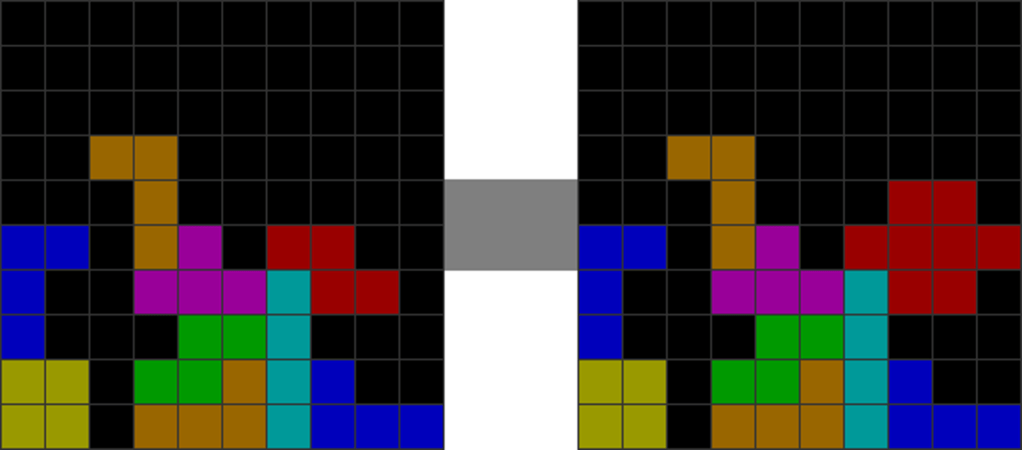
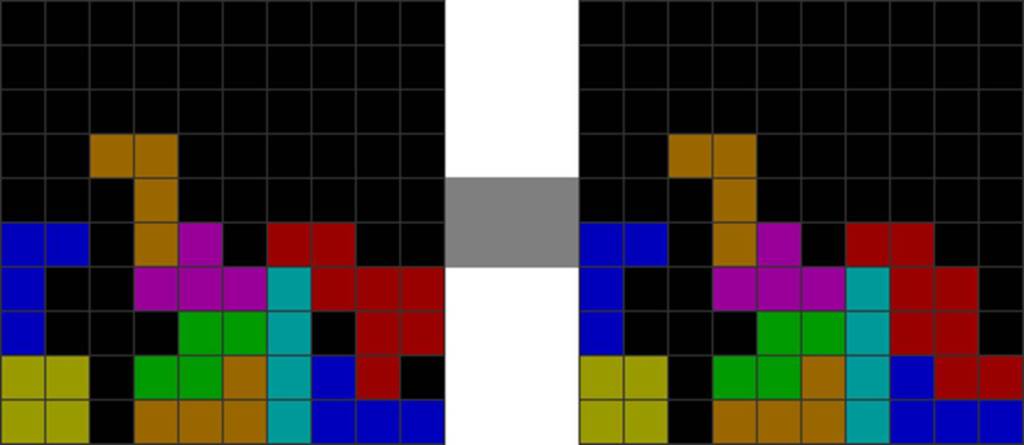
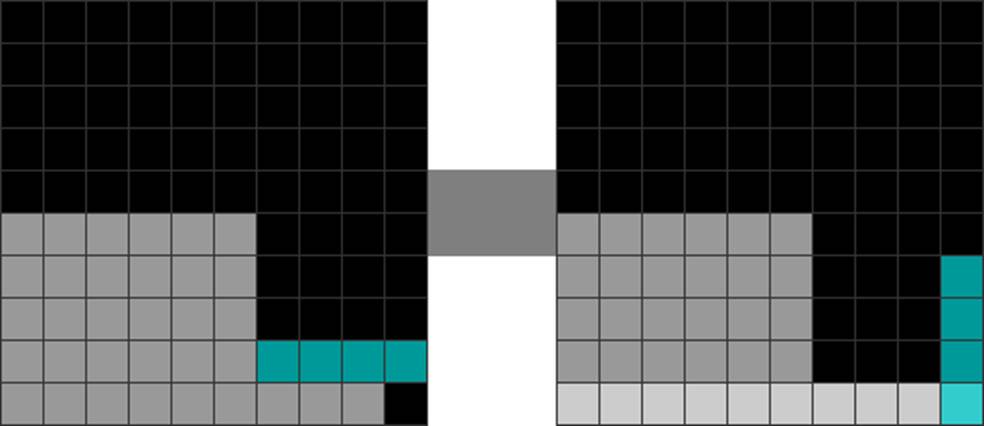
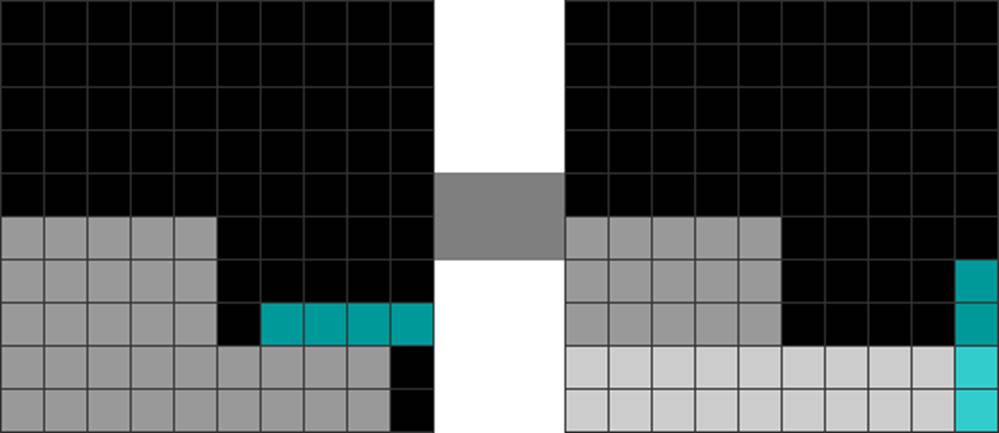
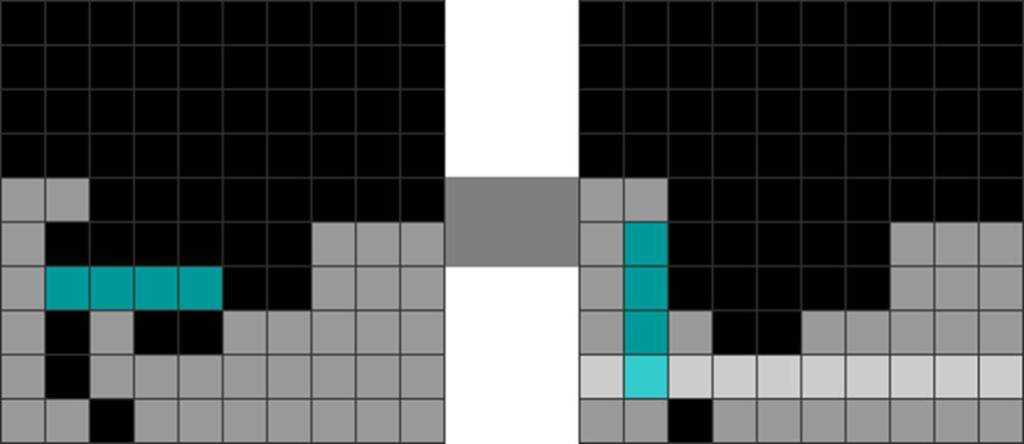
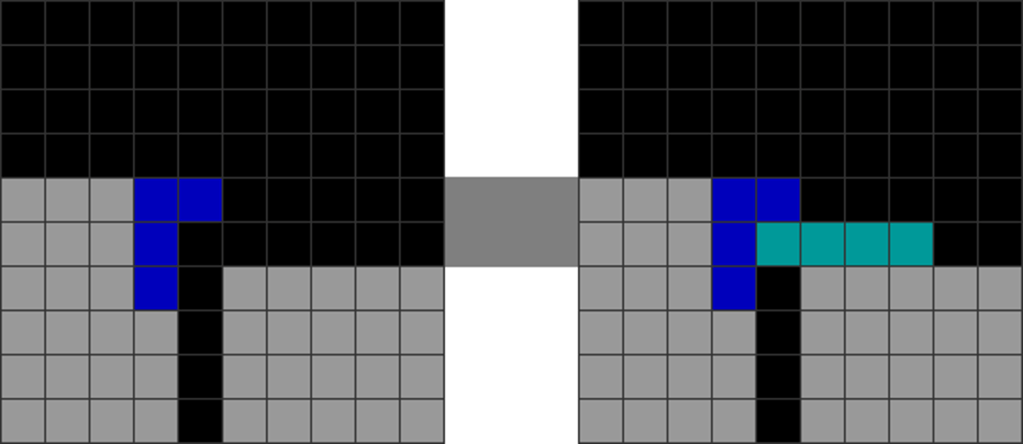
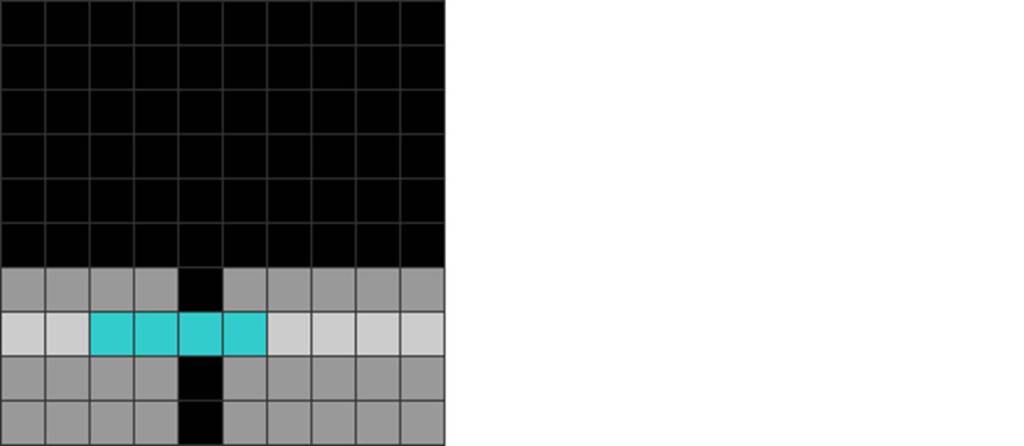
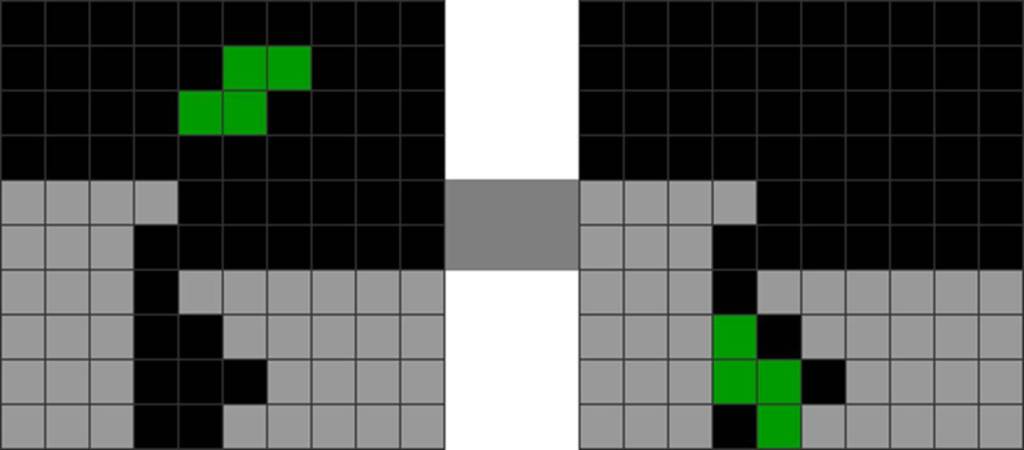
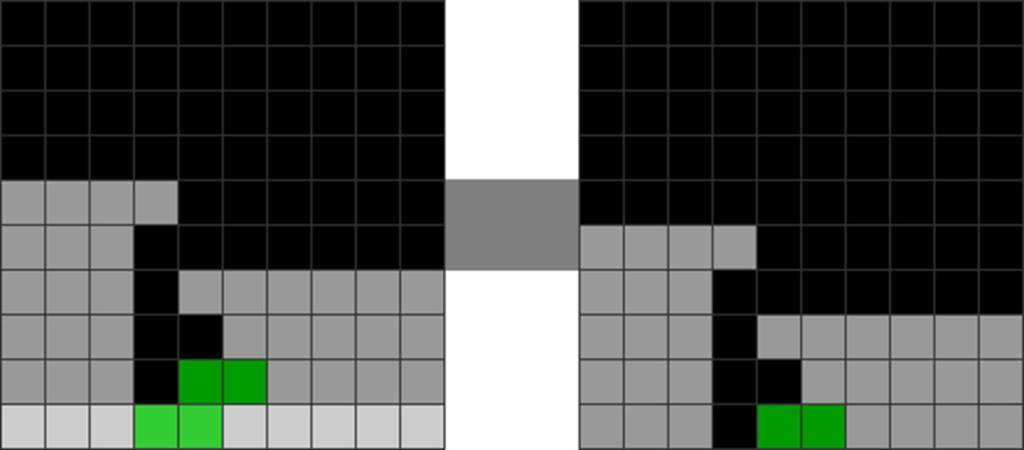
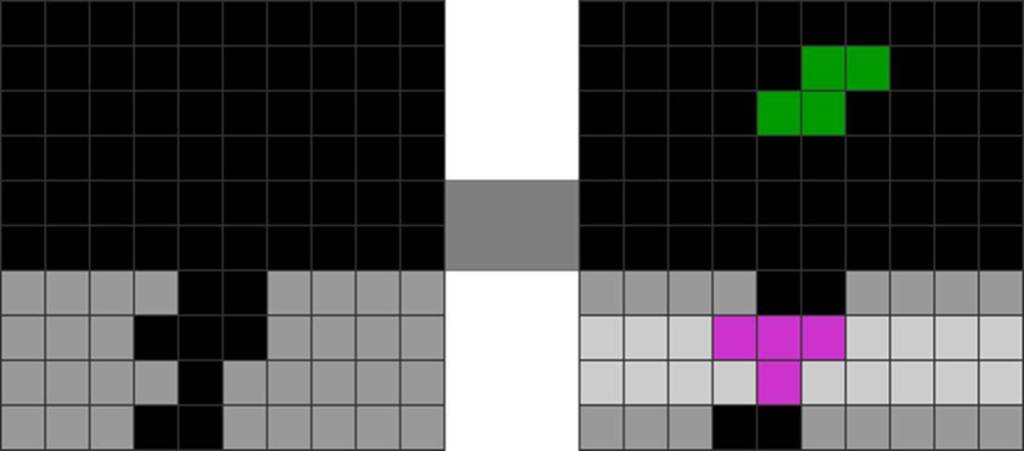
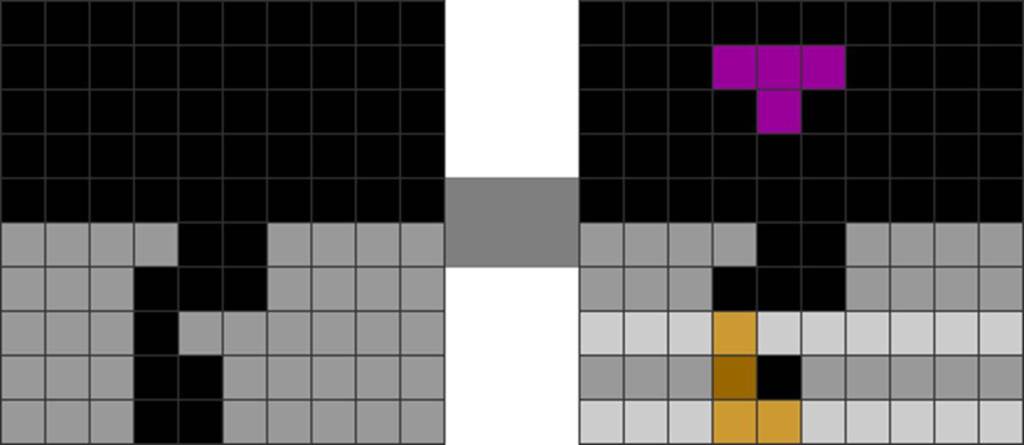
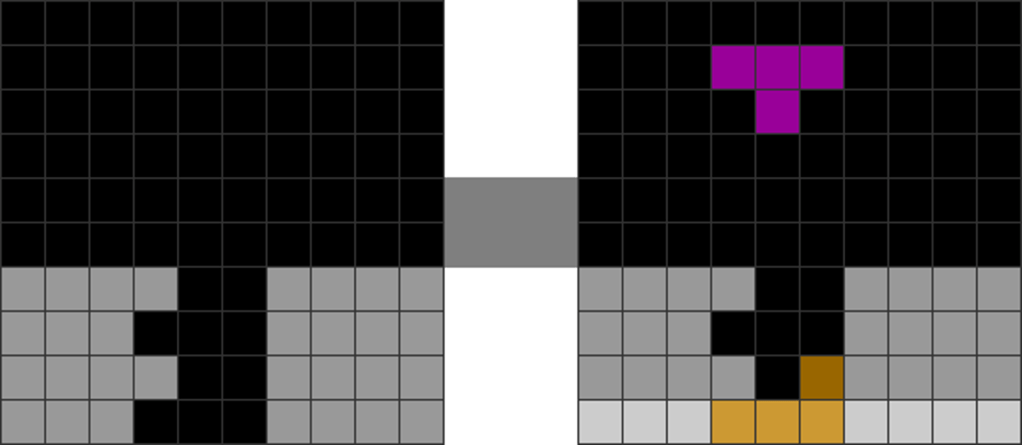
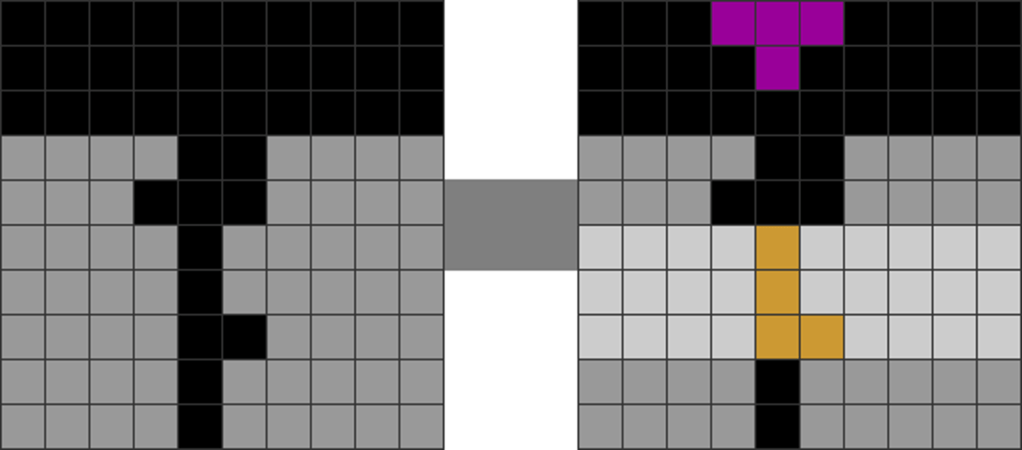
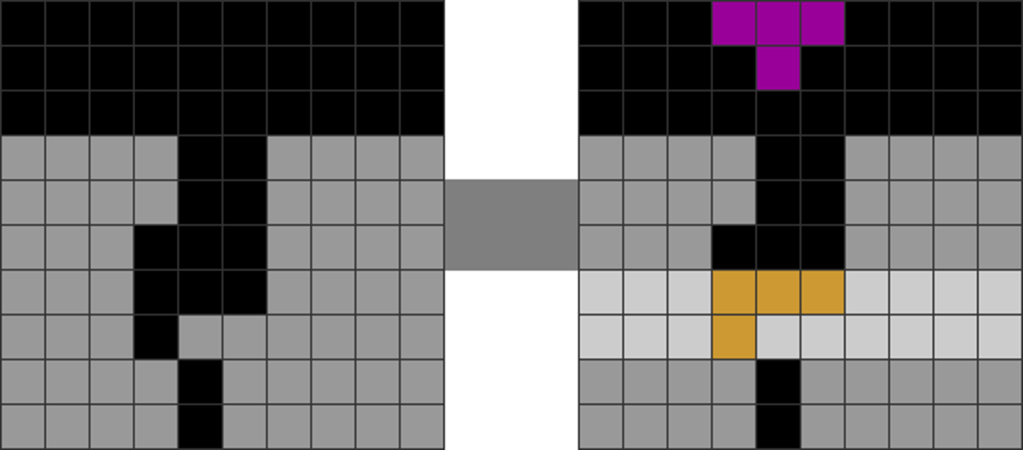
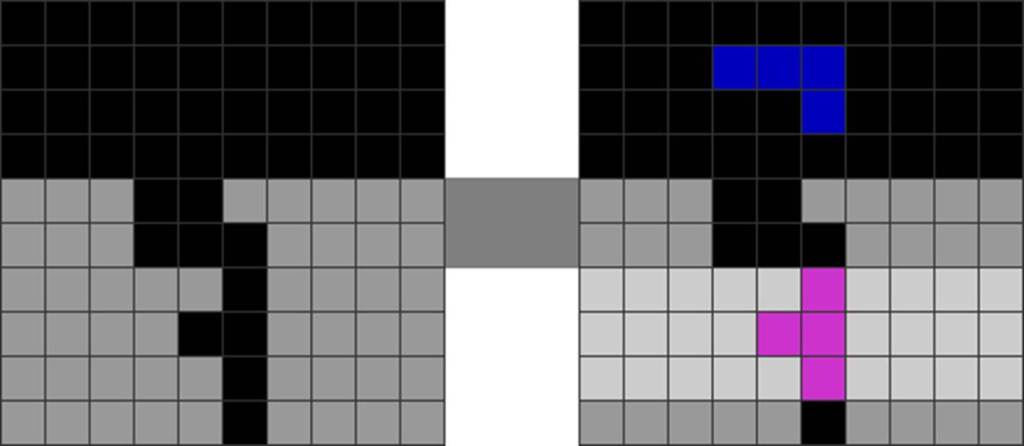
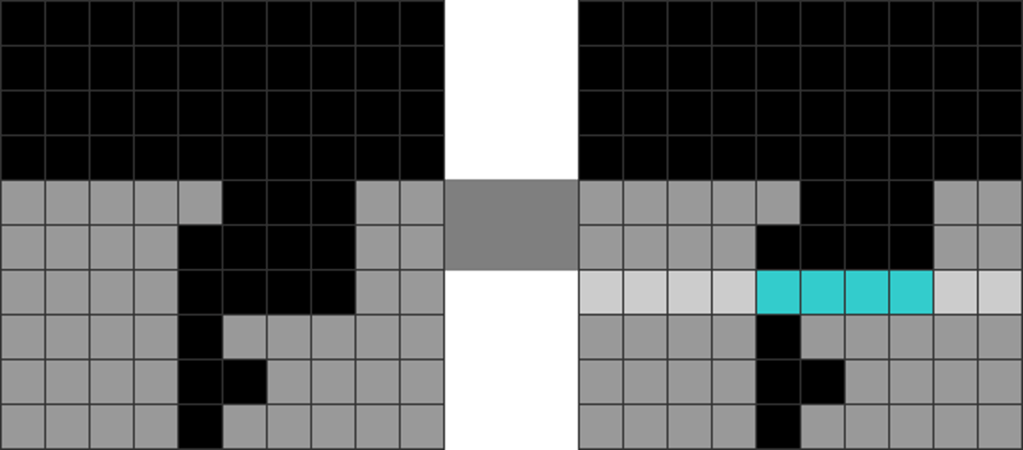
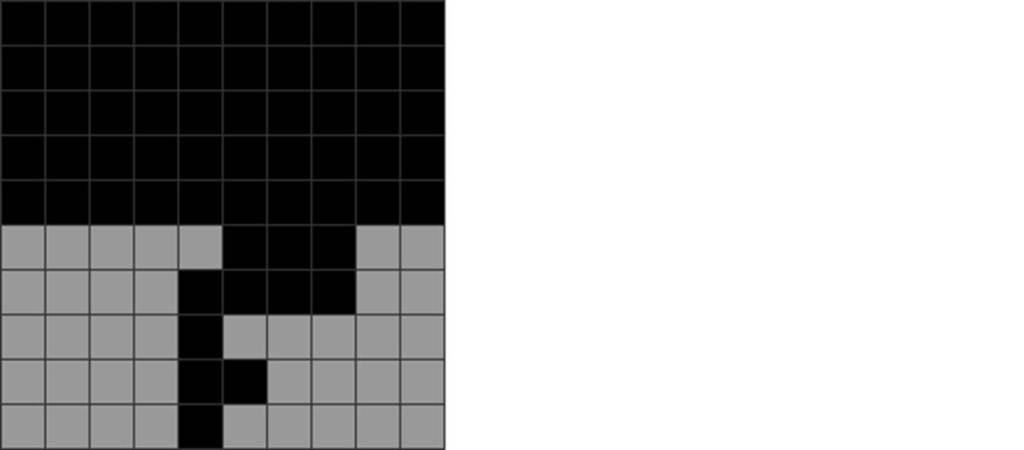
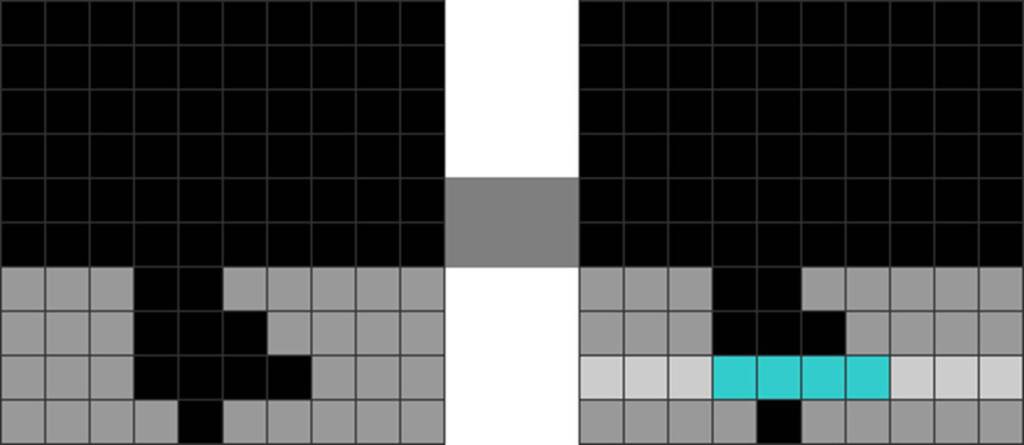
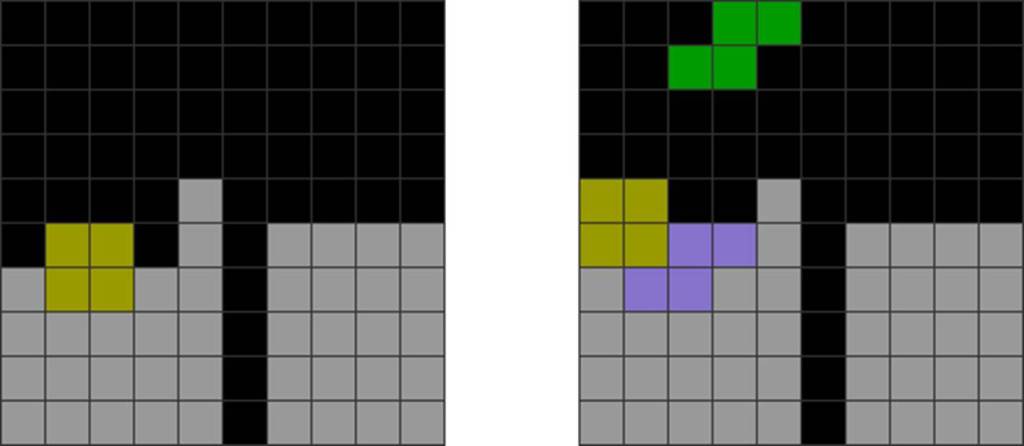
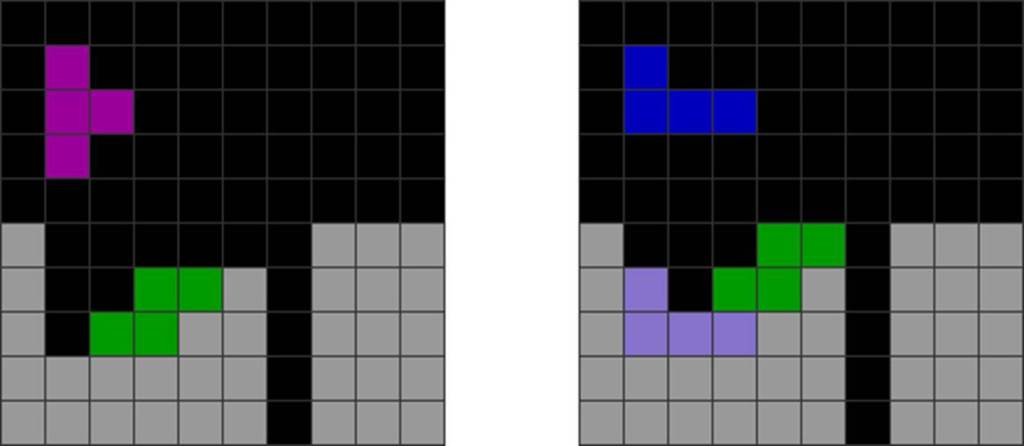
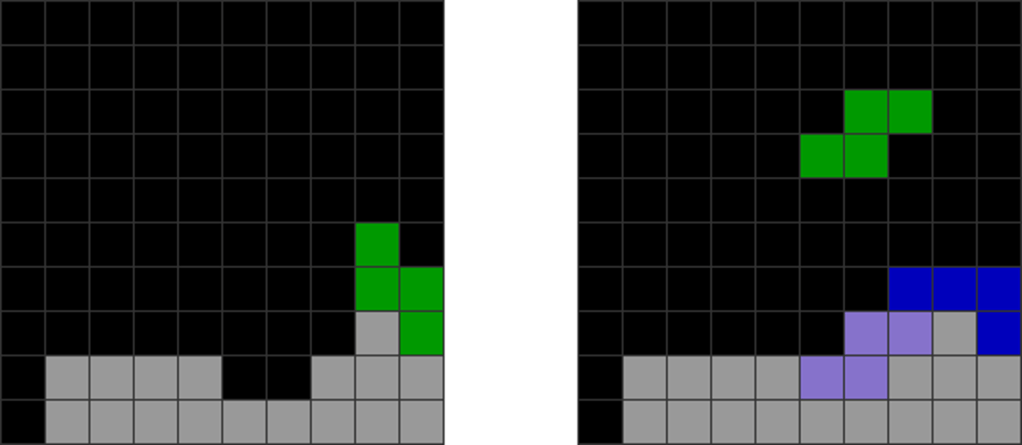
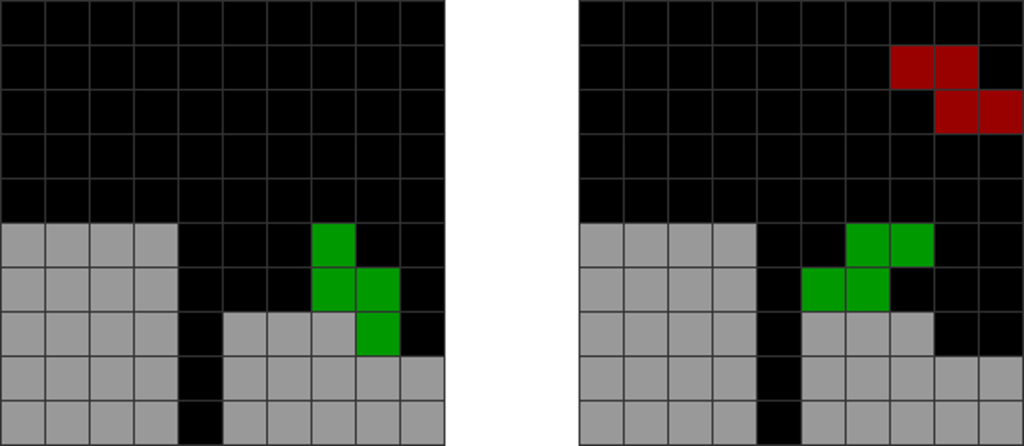
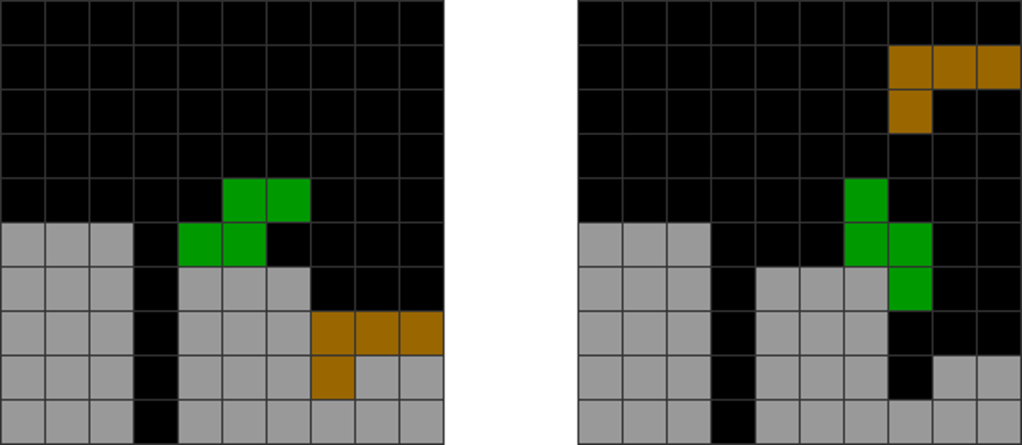
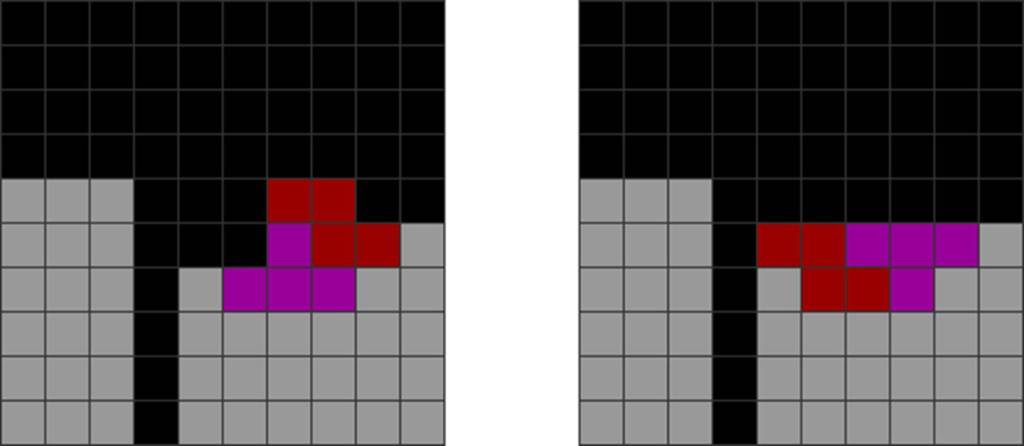
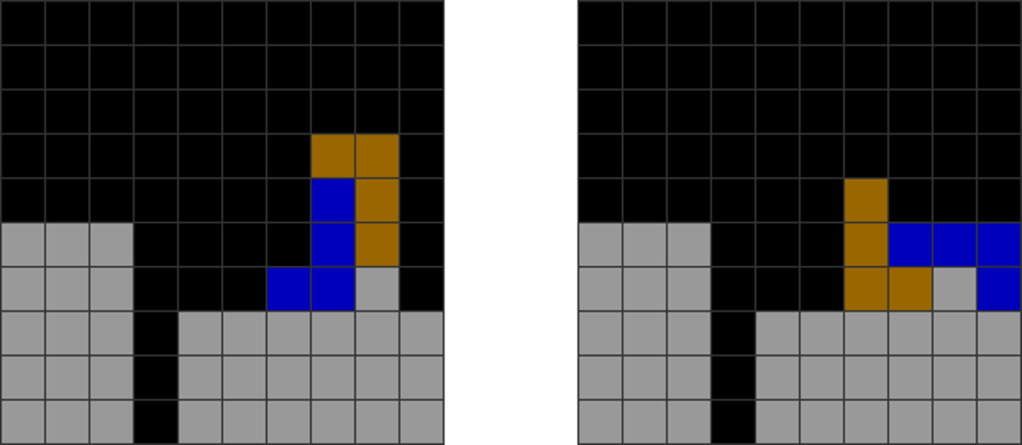
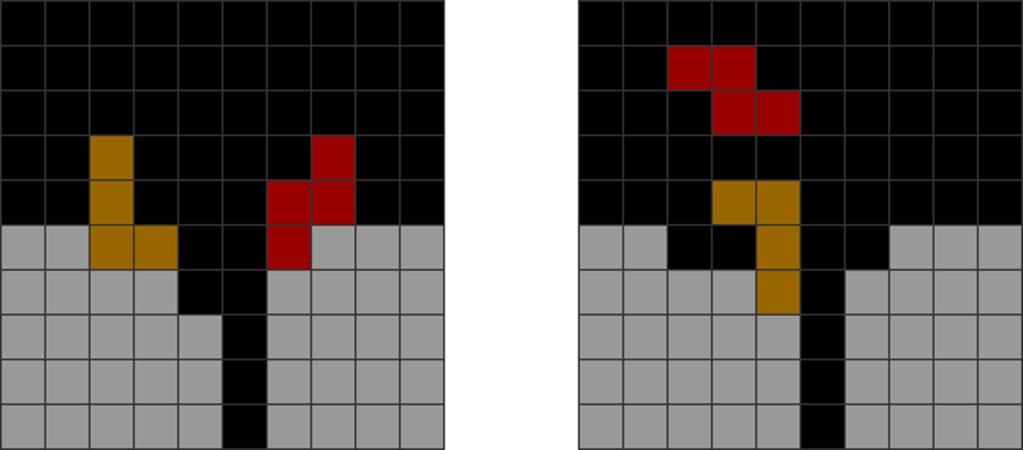
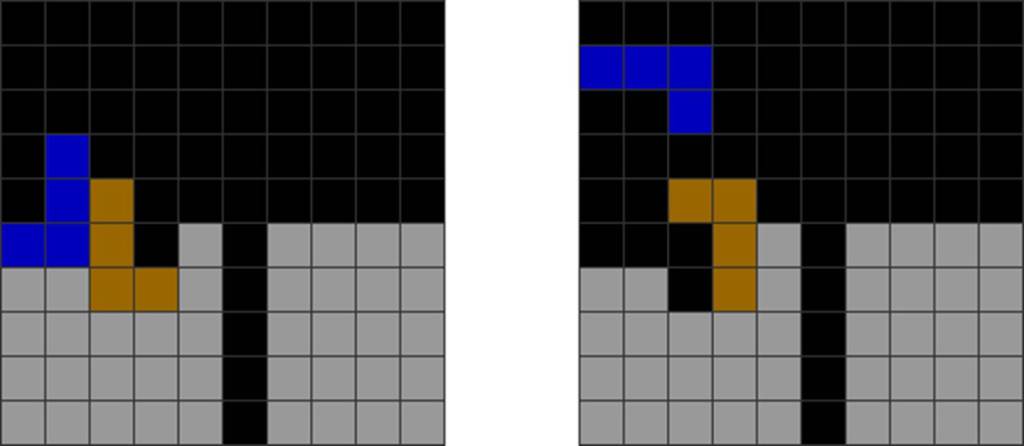
Knowing all-spins is useful, even though they are not awarded with extra garbage lines sent for most official Tetris games, as they help to expand one’s stacking options. This can be handy in boosting one’s stacking, downstacking, perfect clear, and T-spinning opportunities and skills.
A. Principles for Using All-Spins
Because all-spins do not award back-to-back bonuses or give bonus damage, like a T-spin, there are a few things to note while using them:
1. Minimize Their Usage
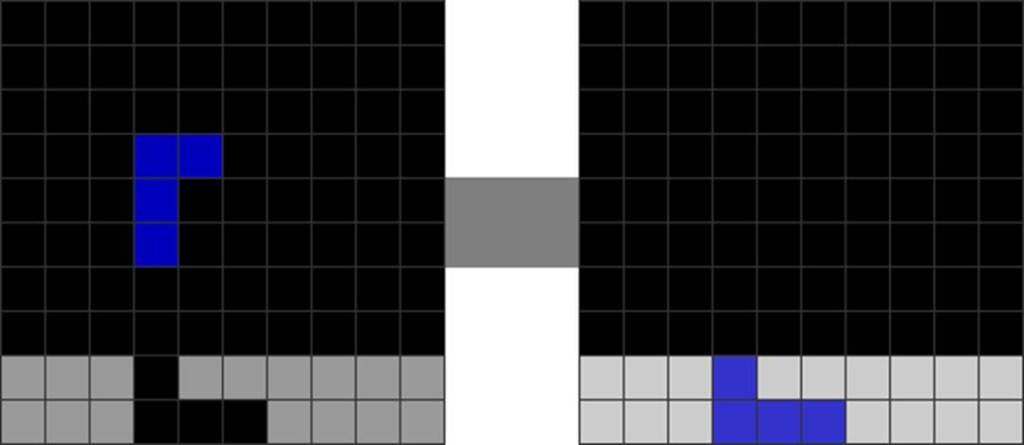
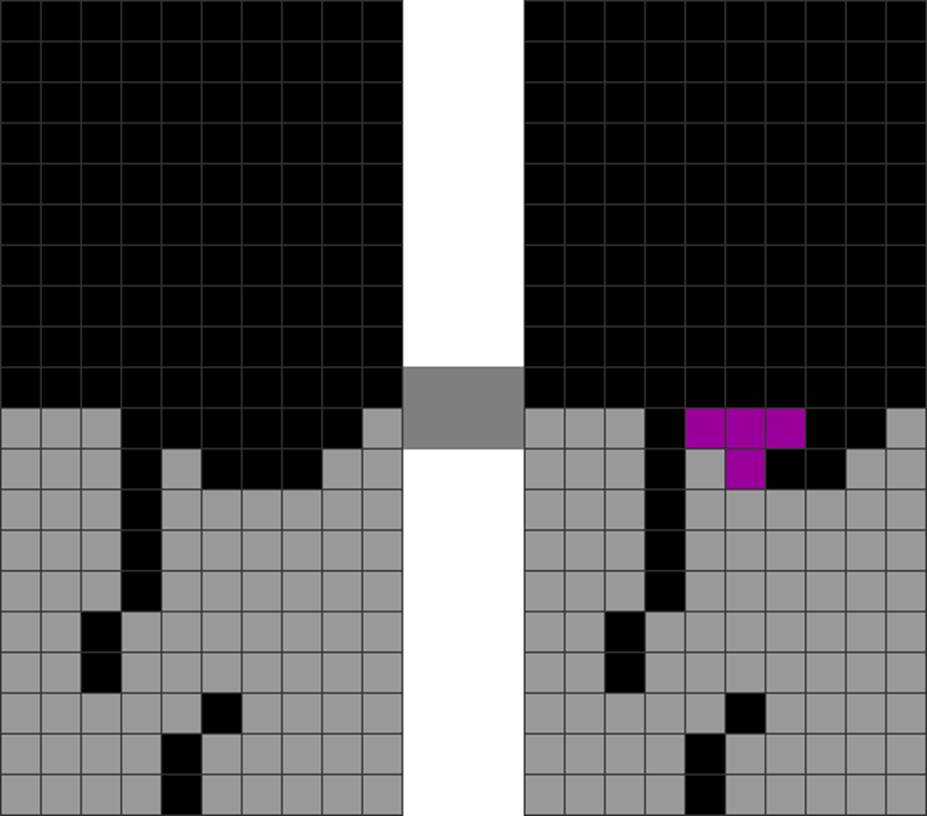
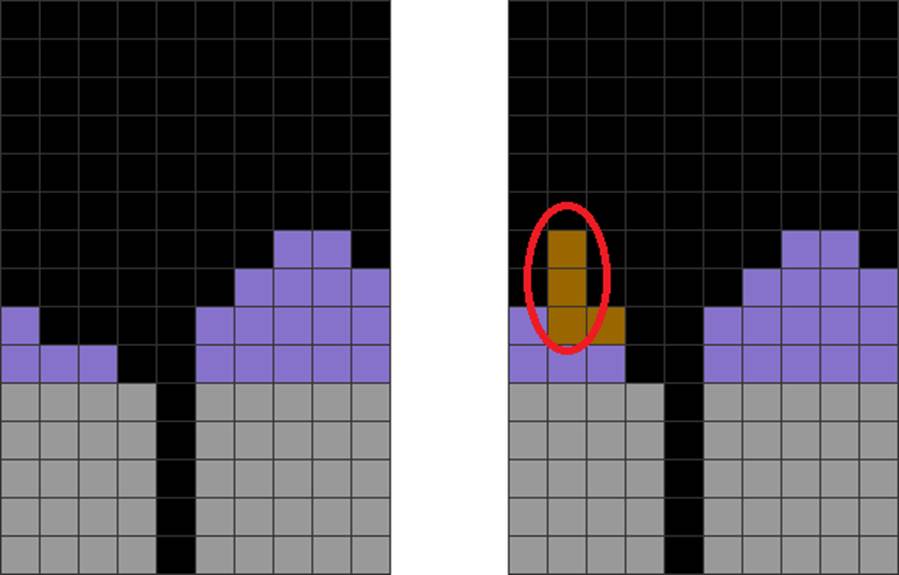
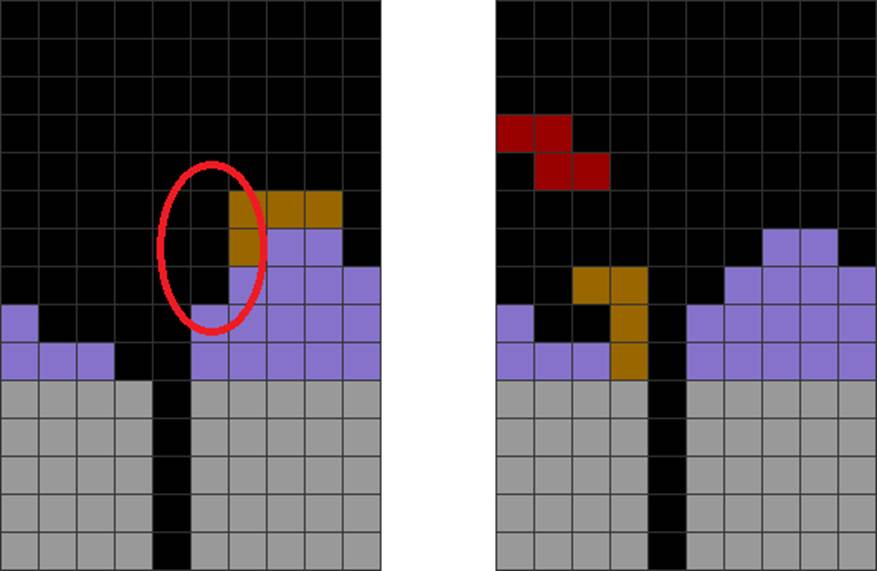
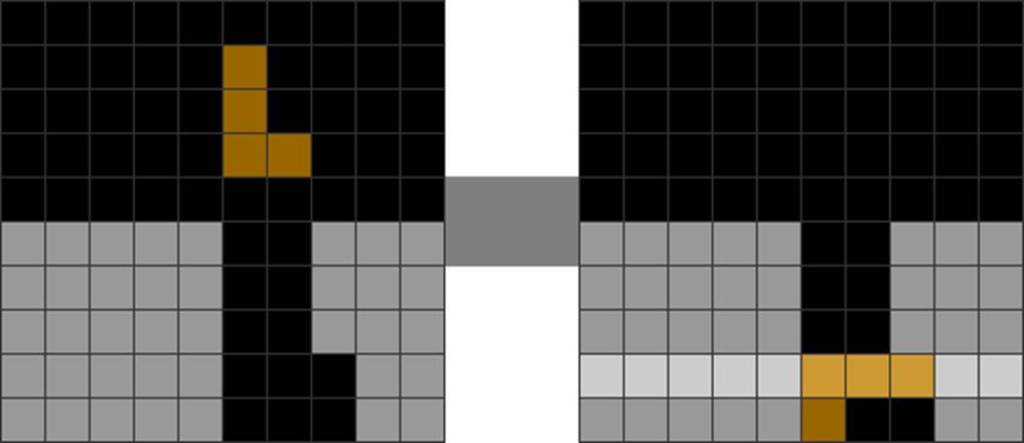
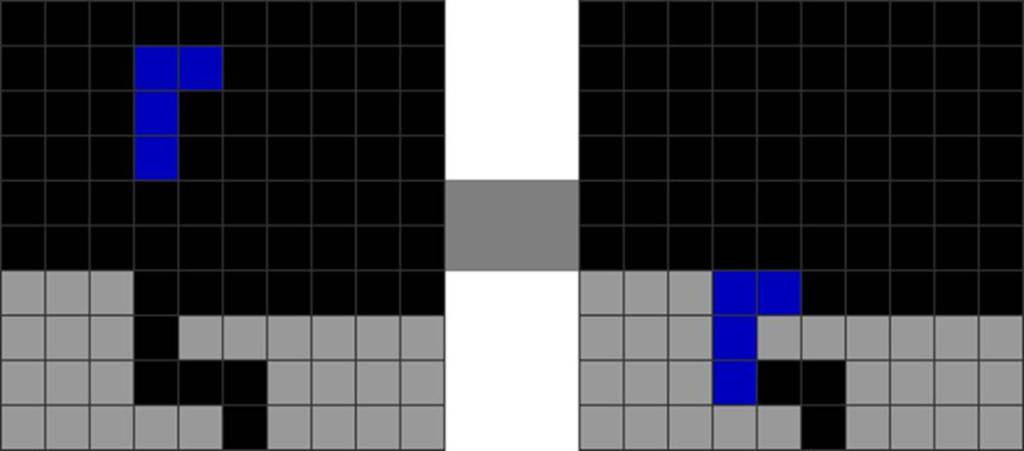
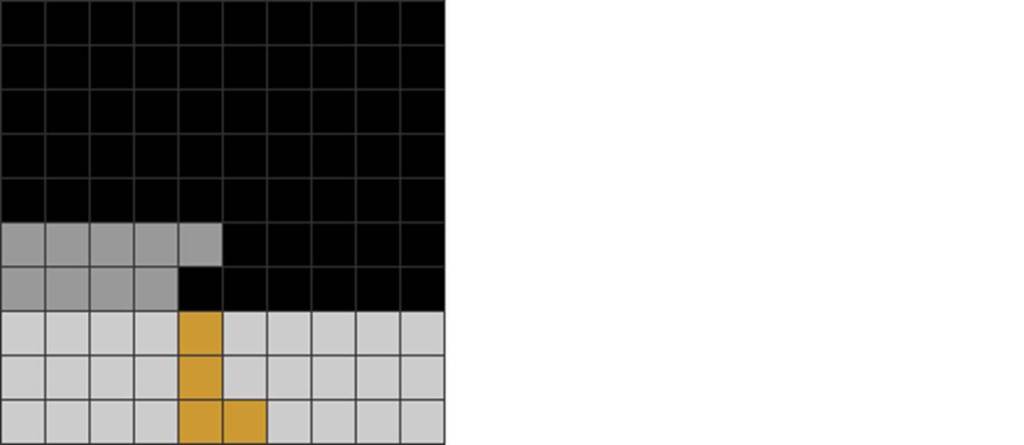
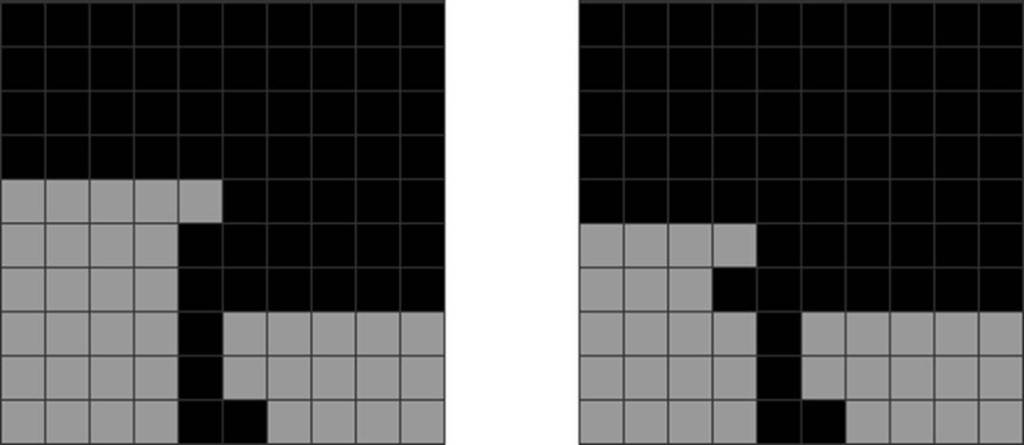
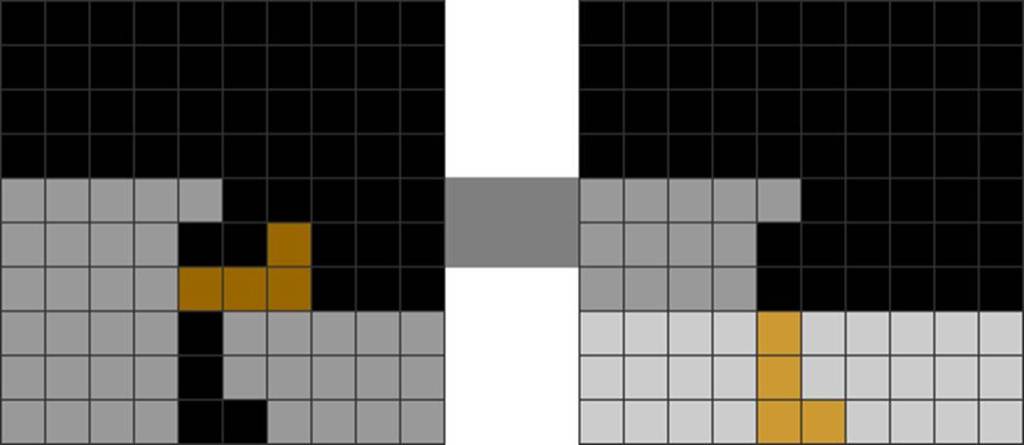
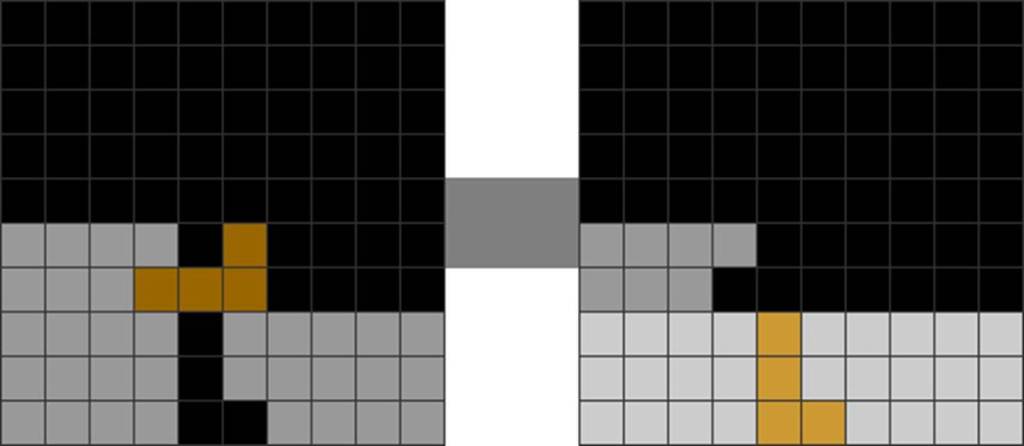
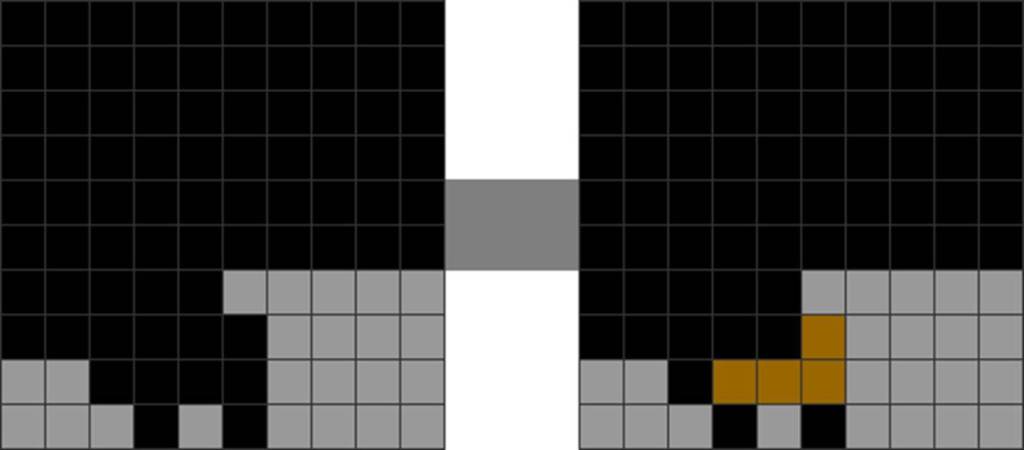
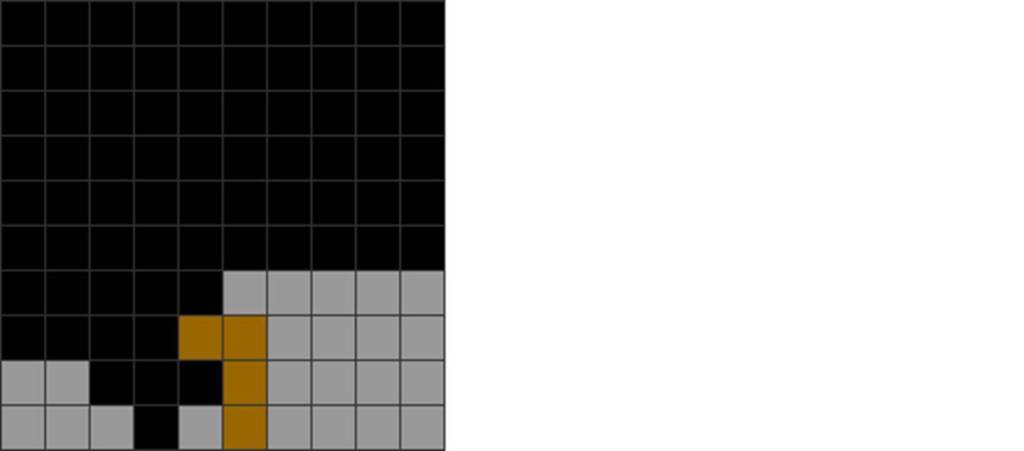
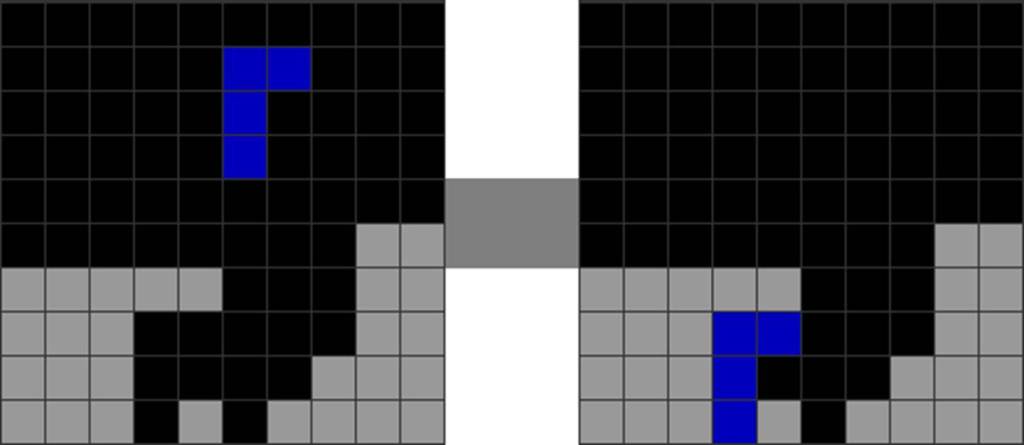
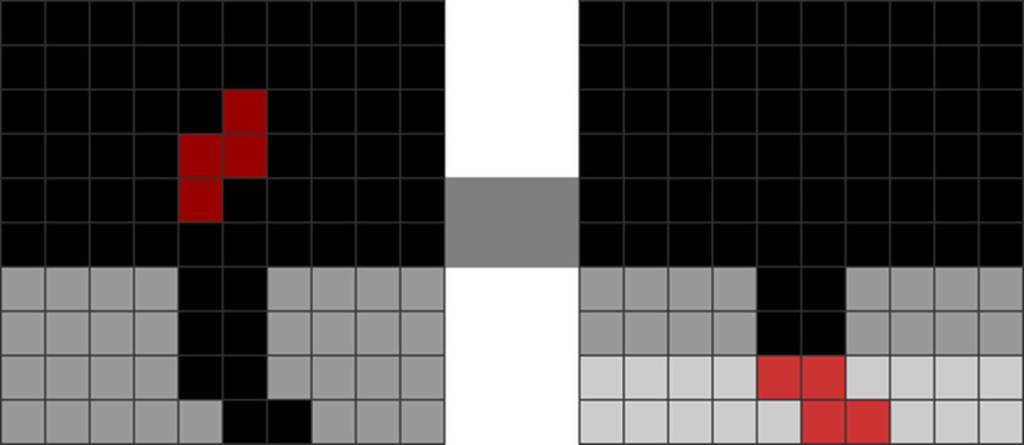
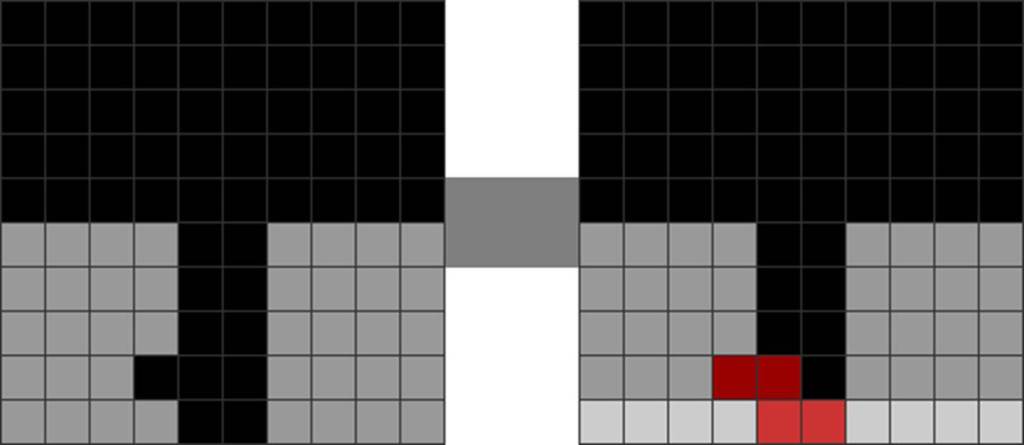
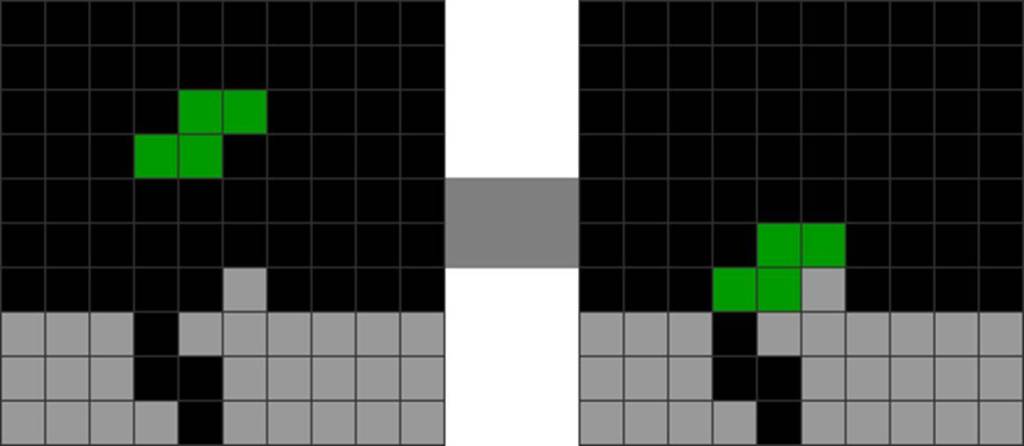
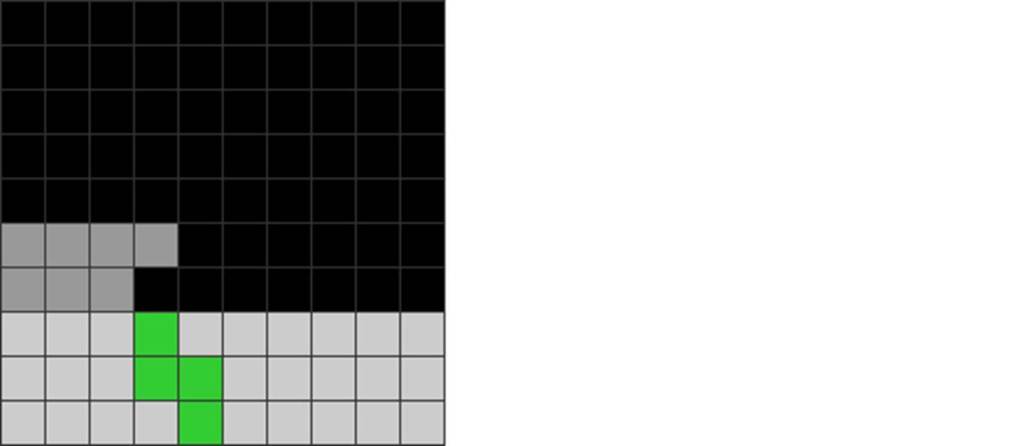
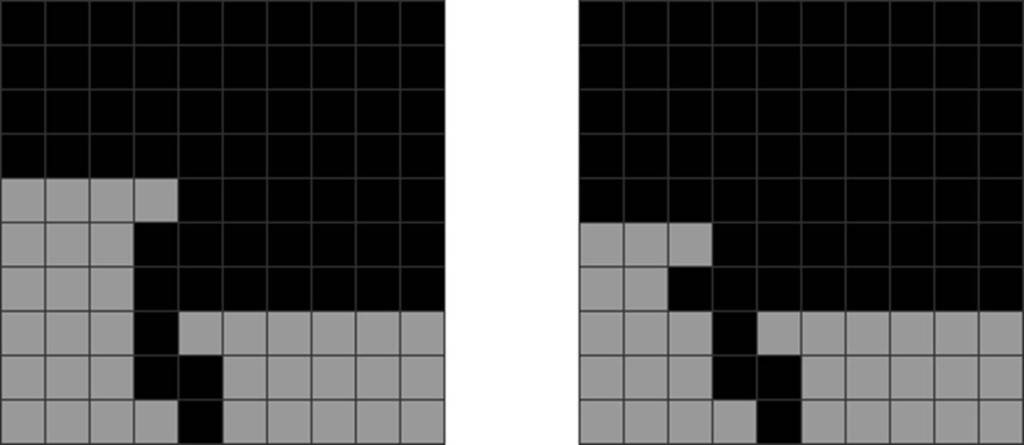
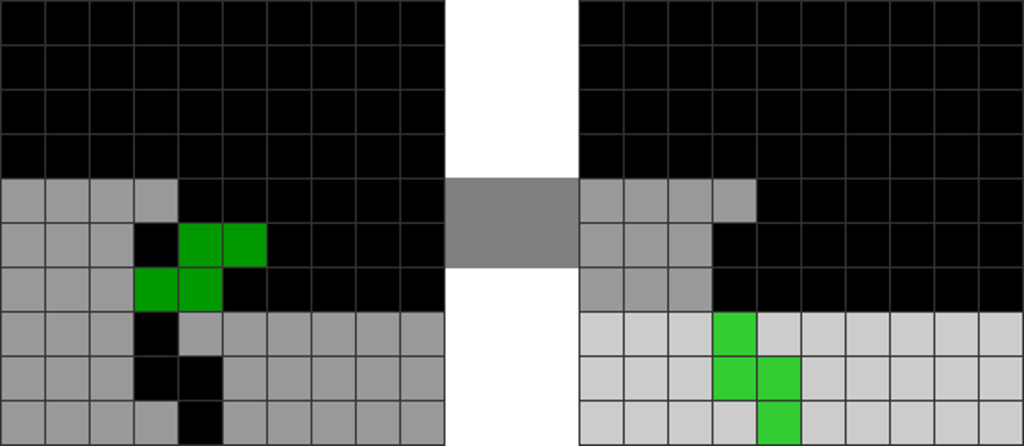
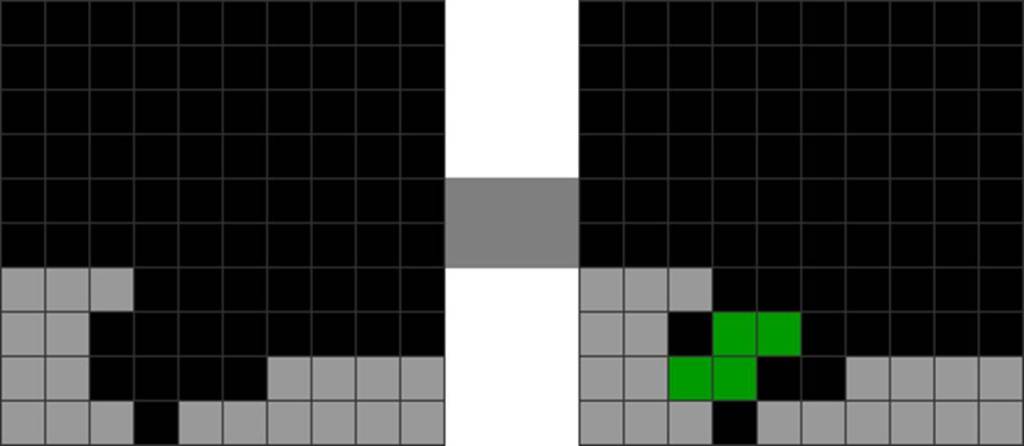
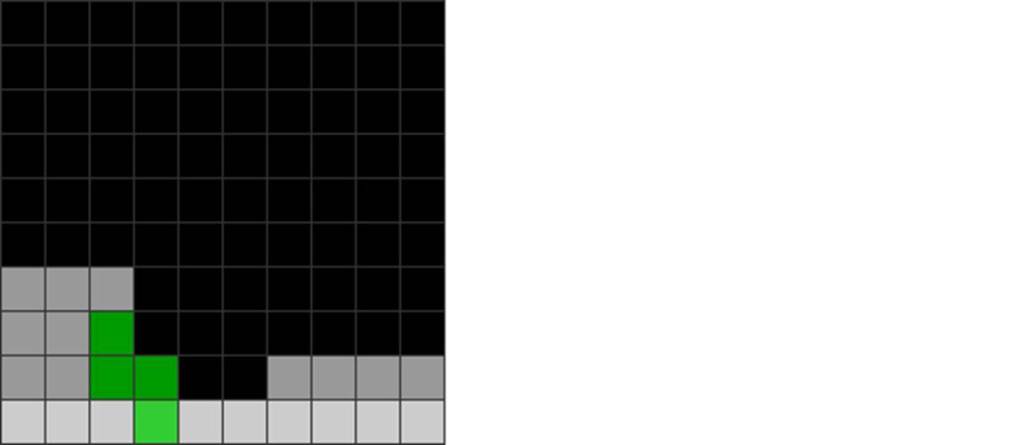
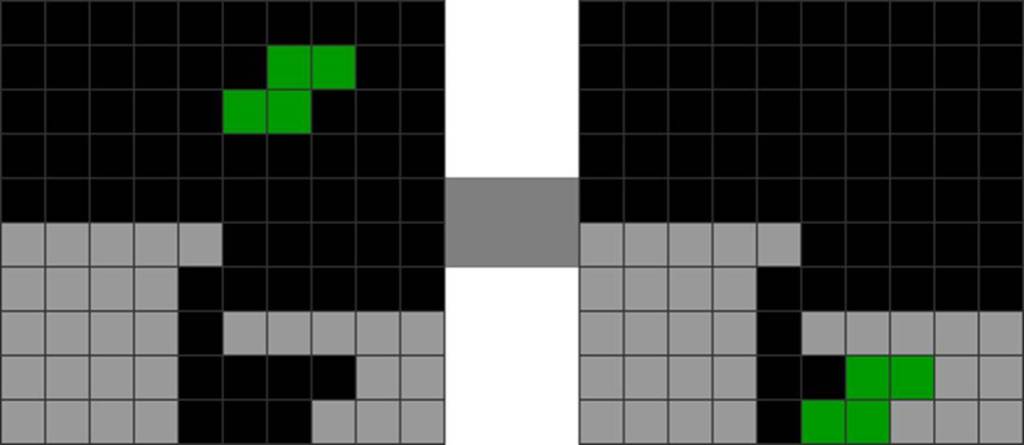
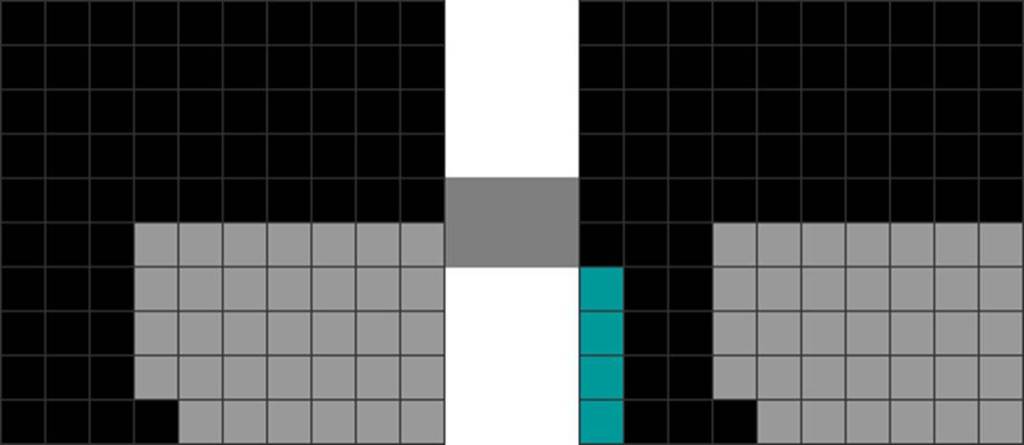
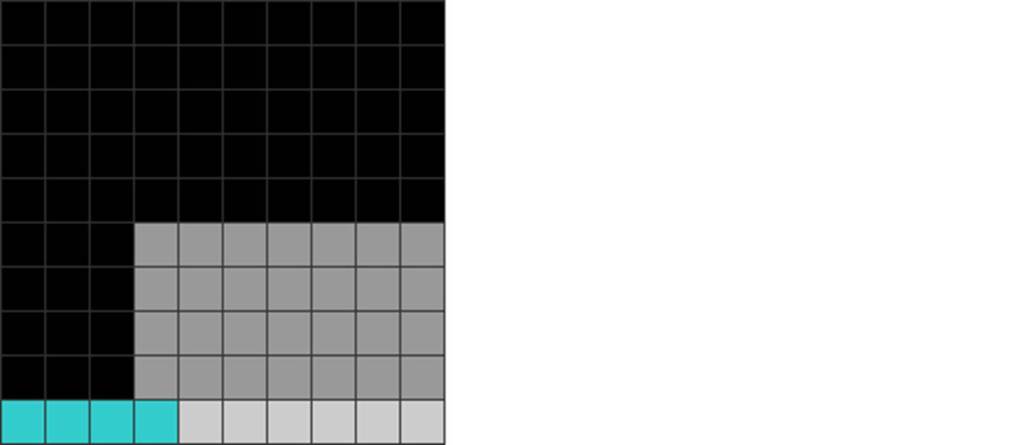
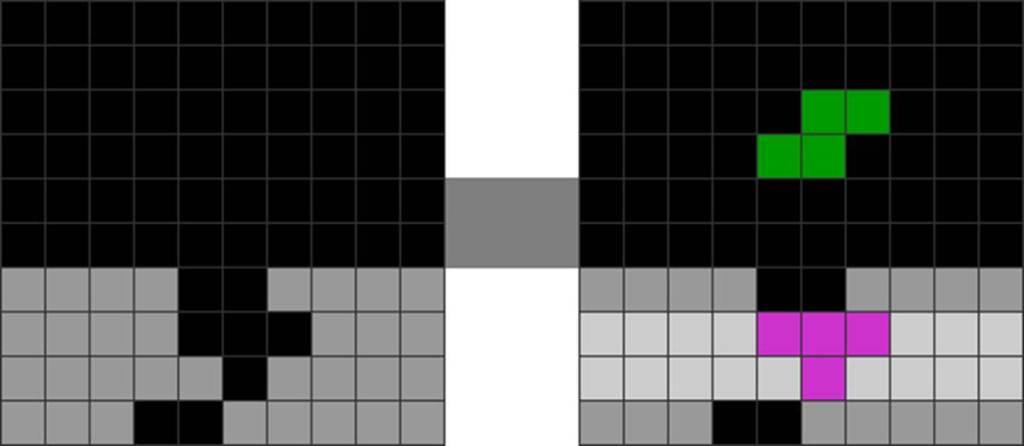
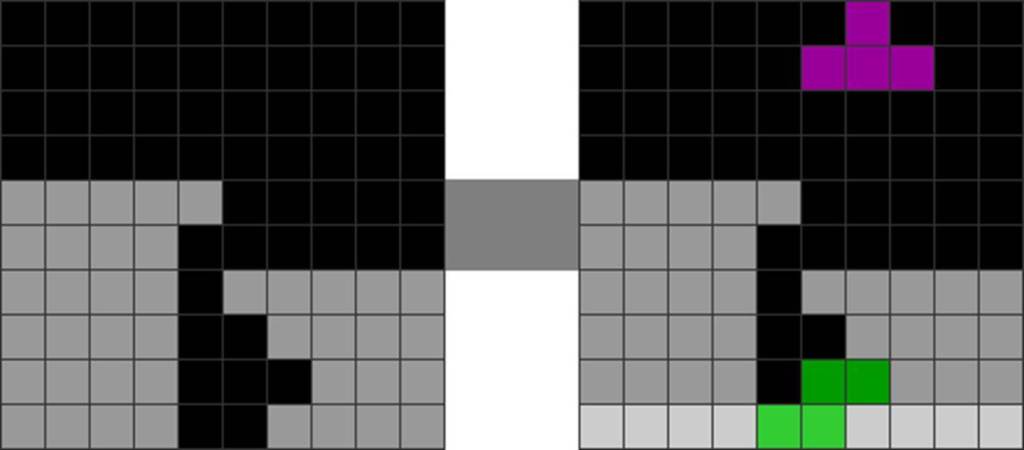
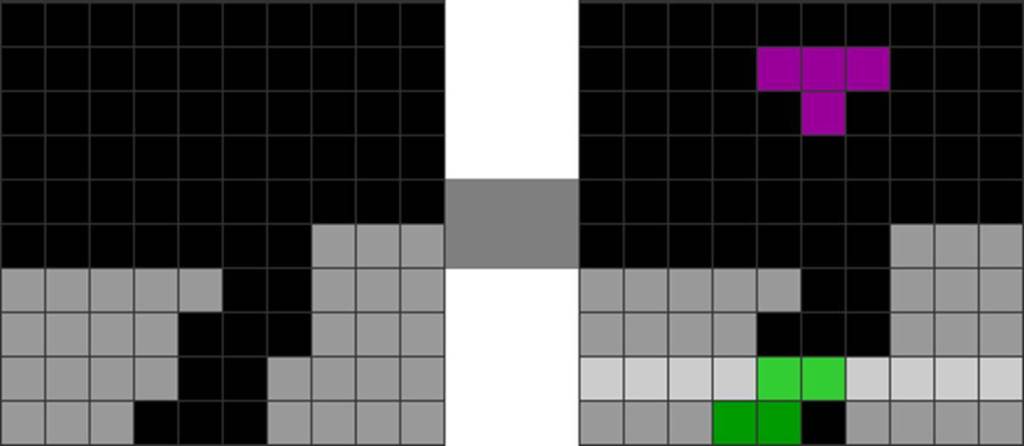
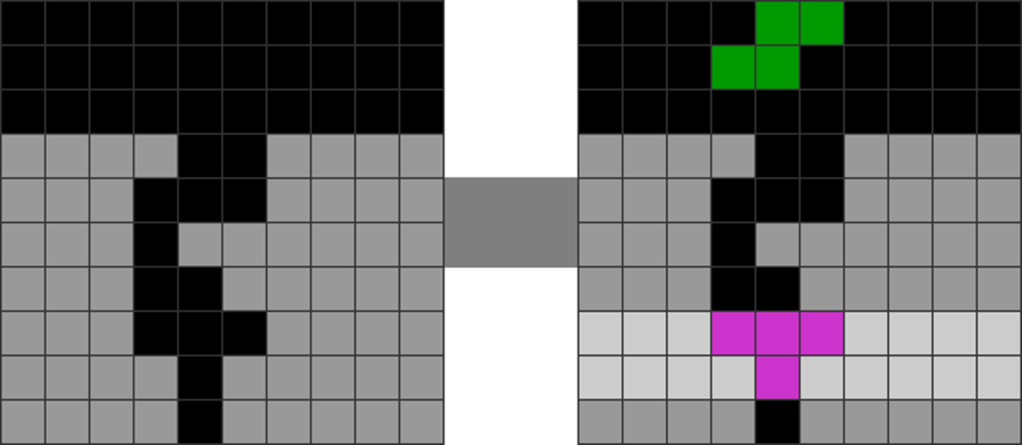
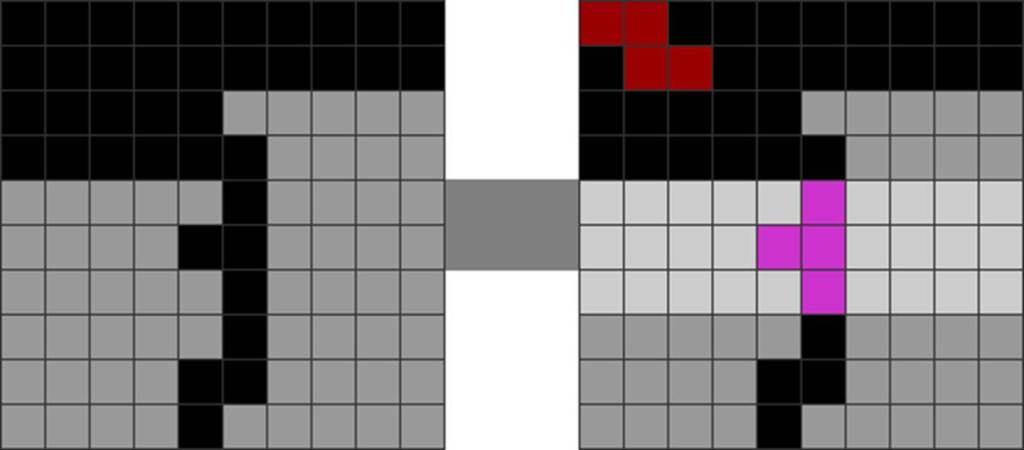
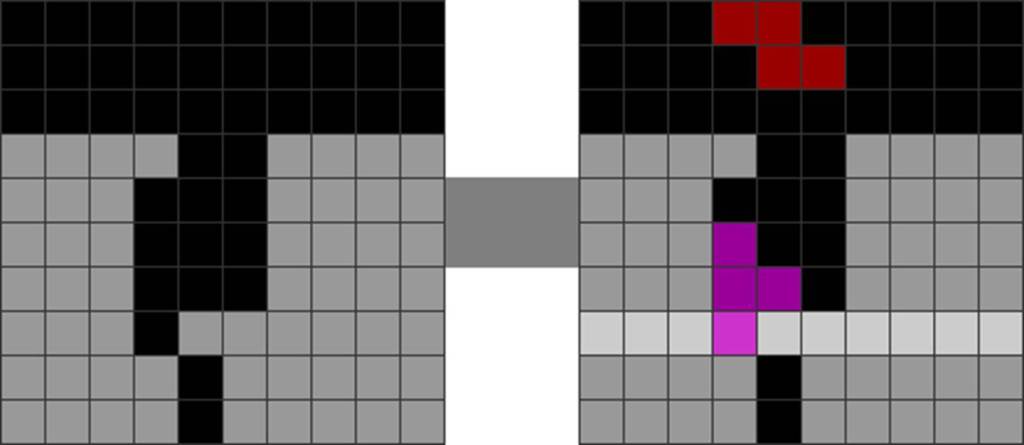
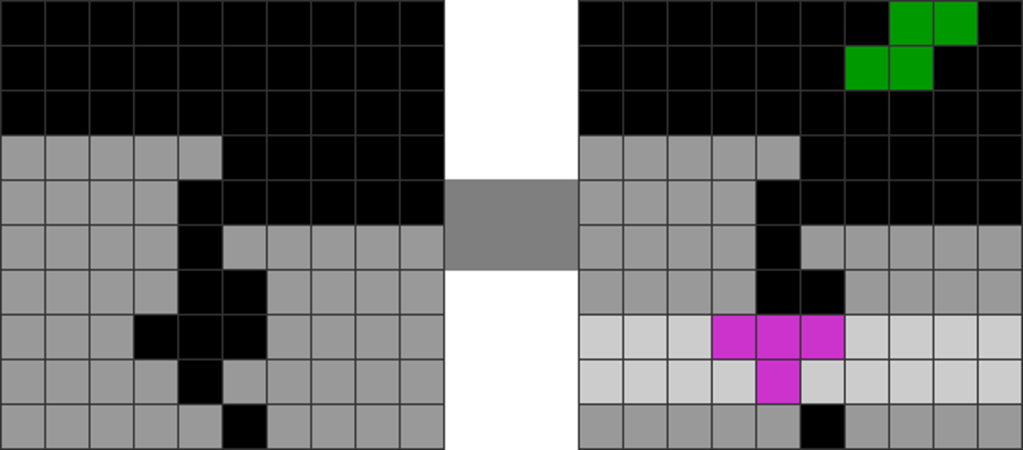
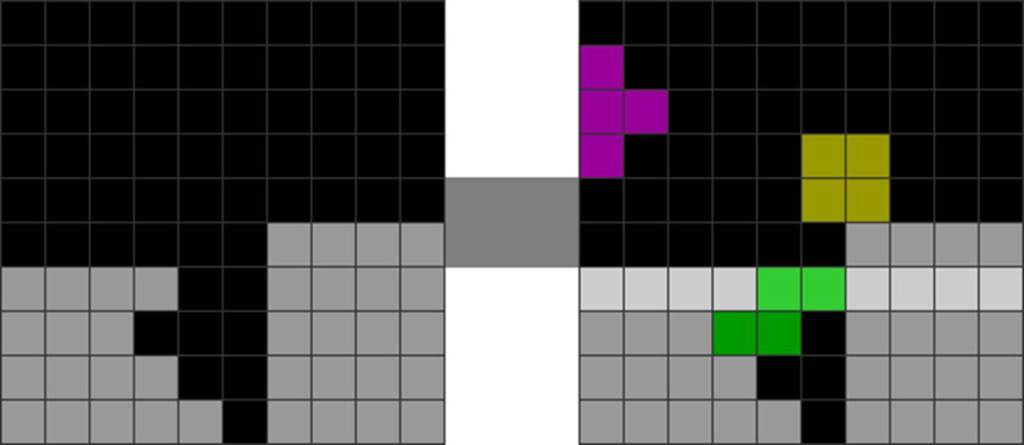
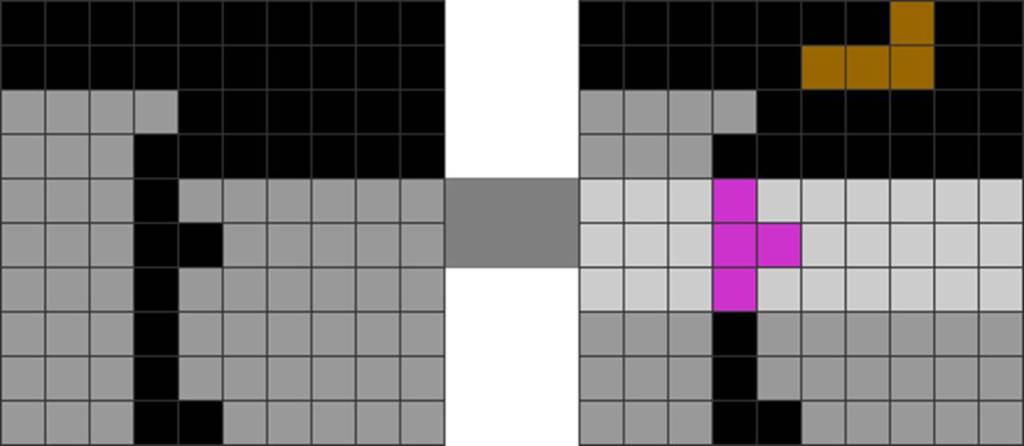
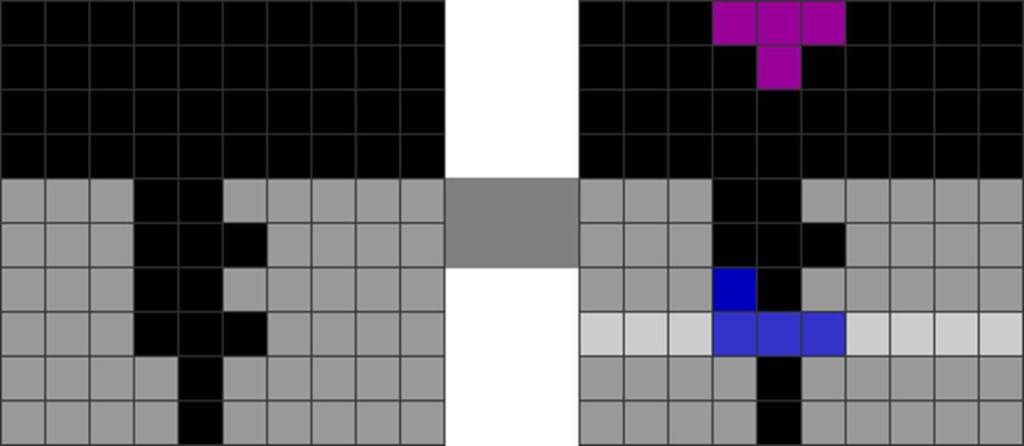
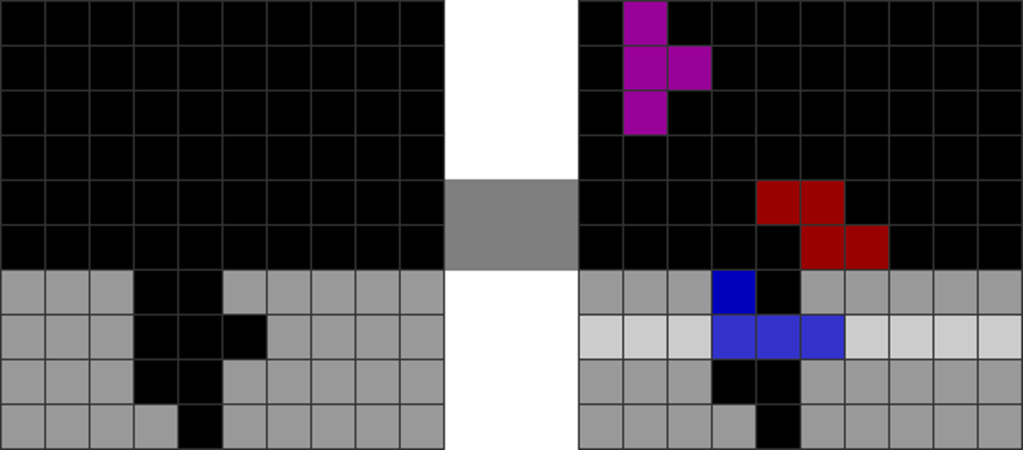
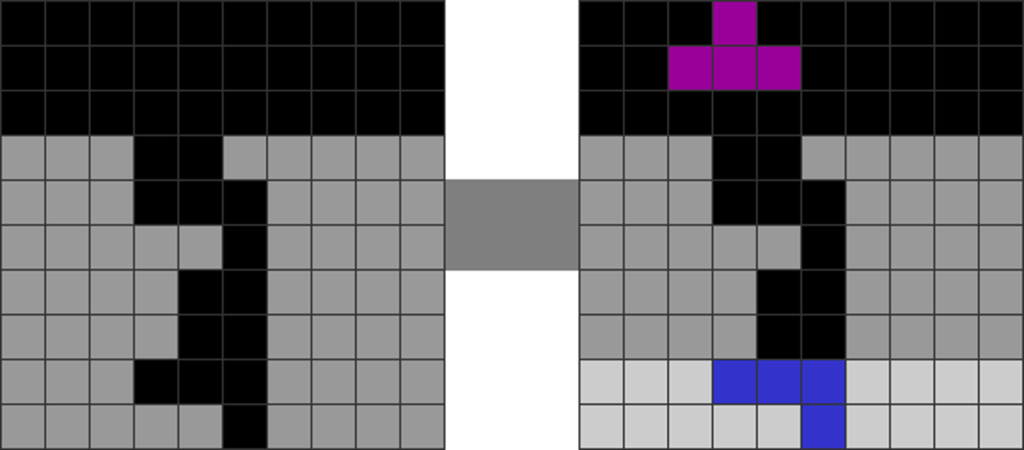
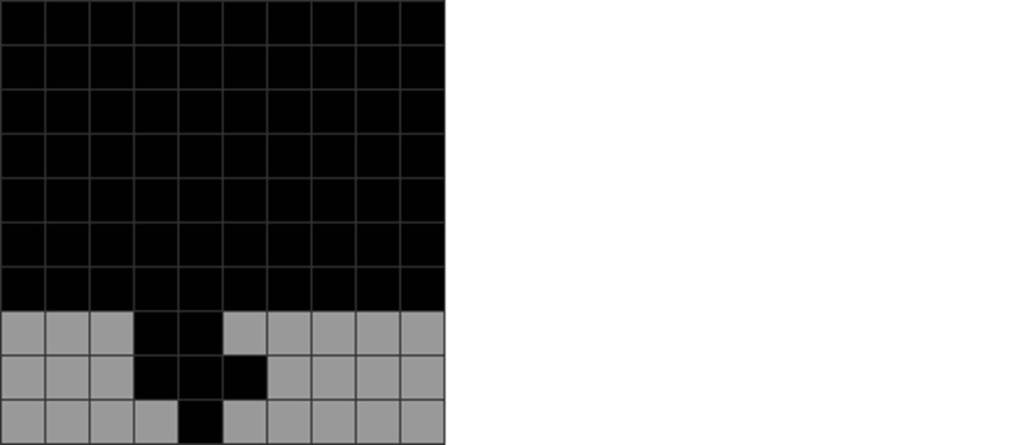
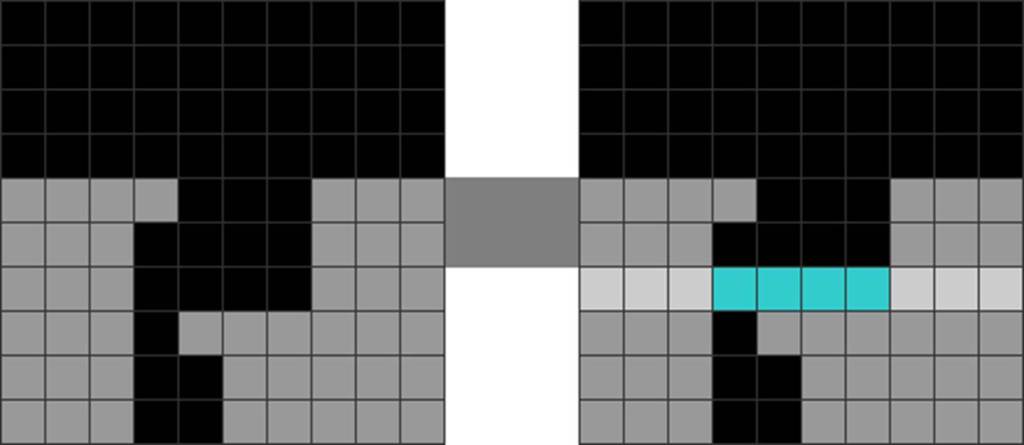
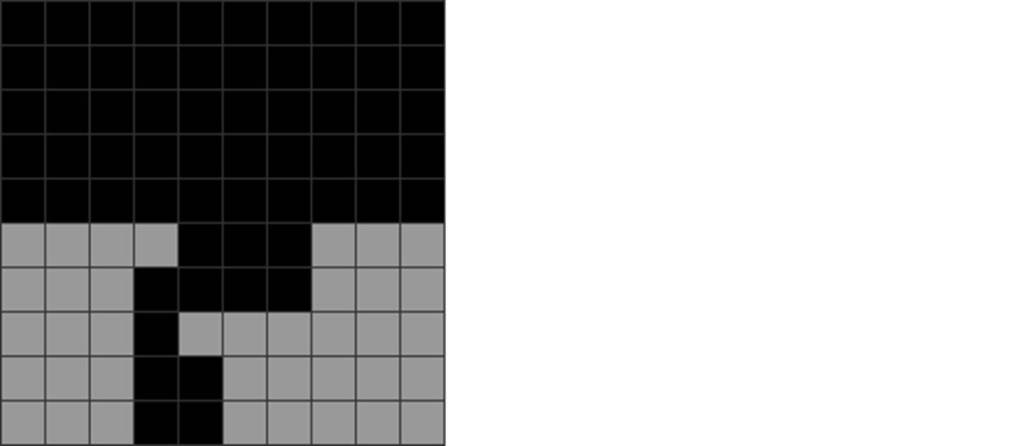
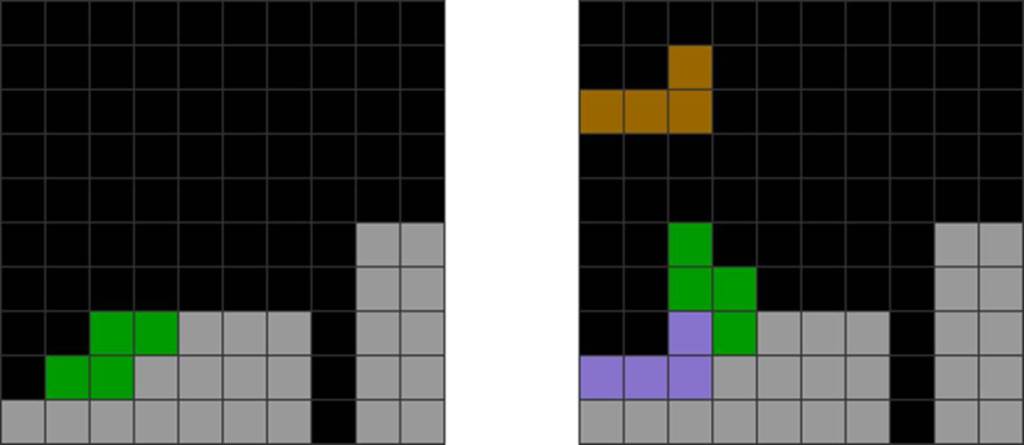
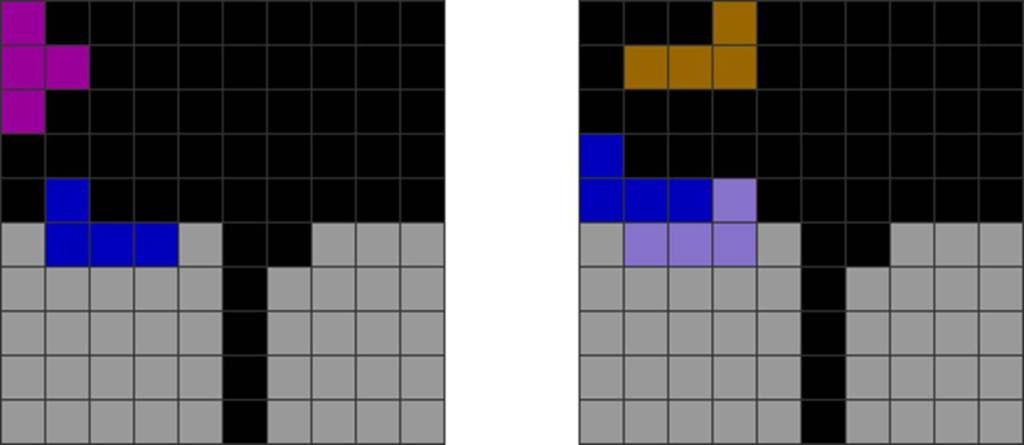
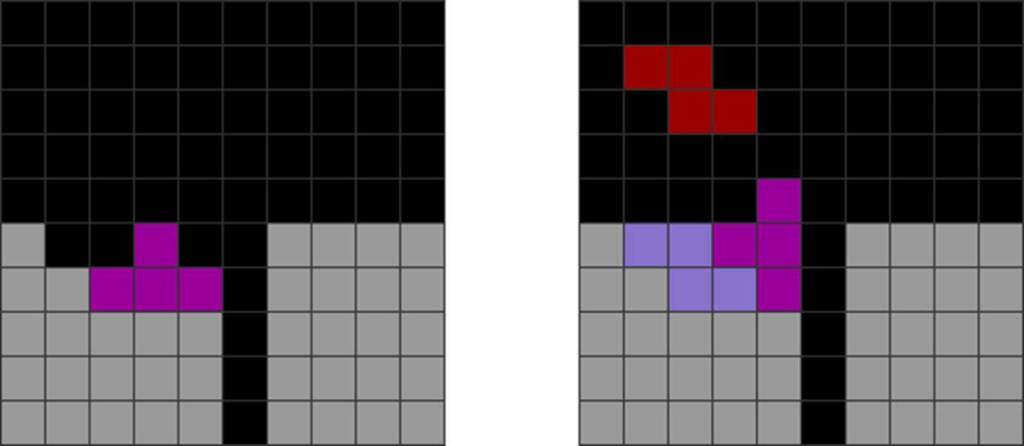
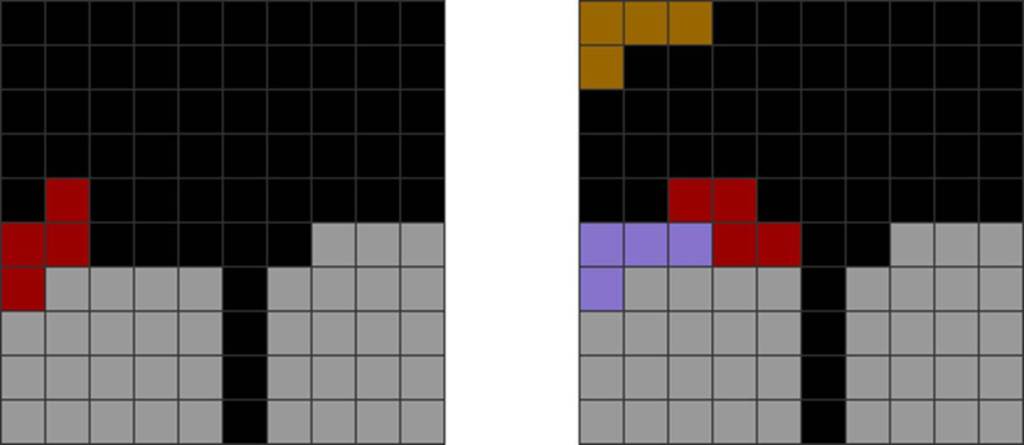
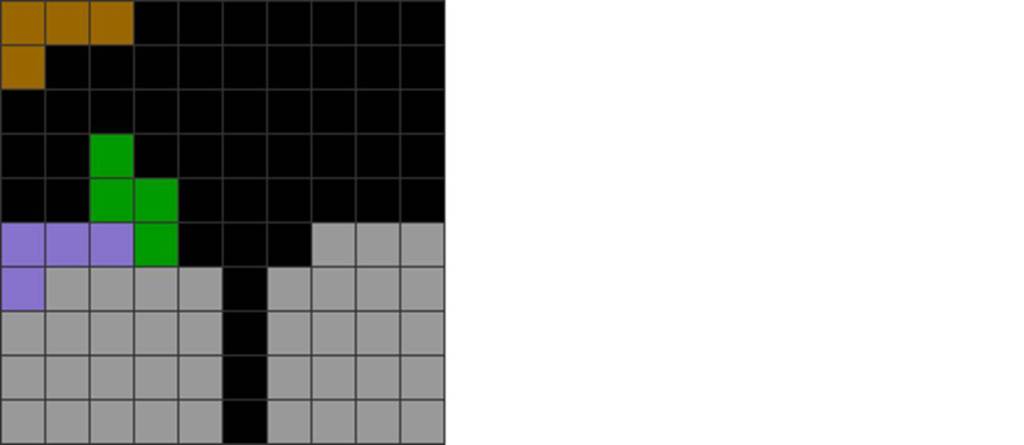
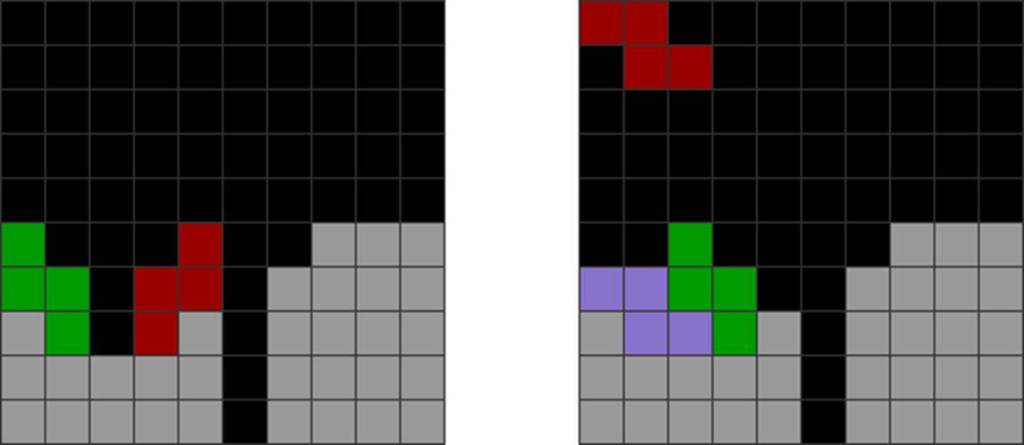
L, J, I, S, and Z spins need a soft drop to fill a specific cavity. This makes them exceptionally costly. Sometimes, the player has to decide between a clean stack left by a soft-dropped all-spin or just upstack without soft drops. Here’s an example:
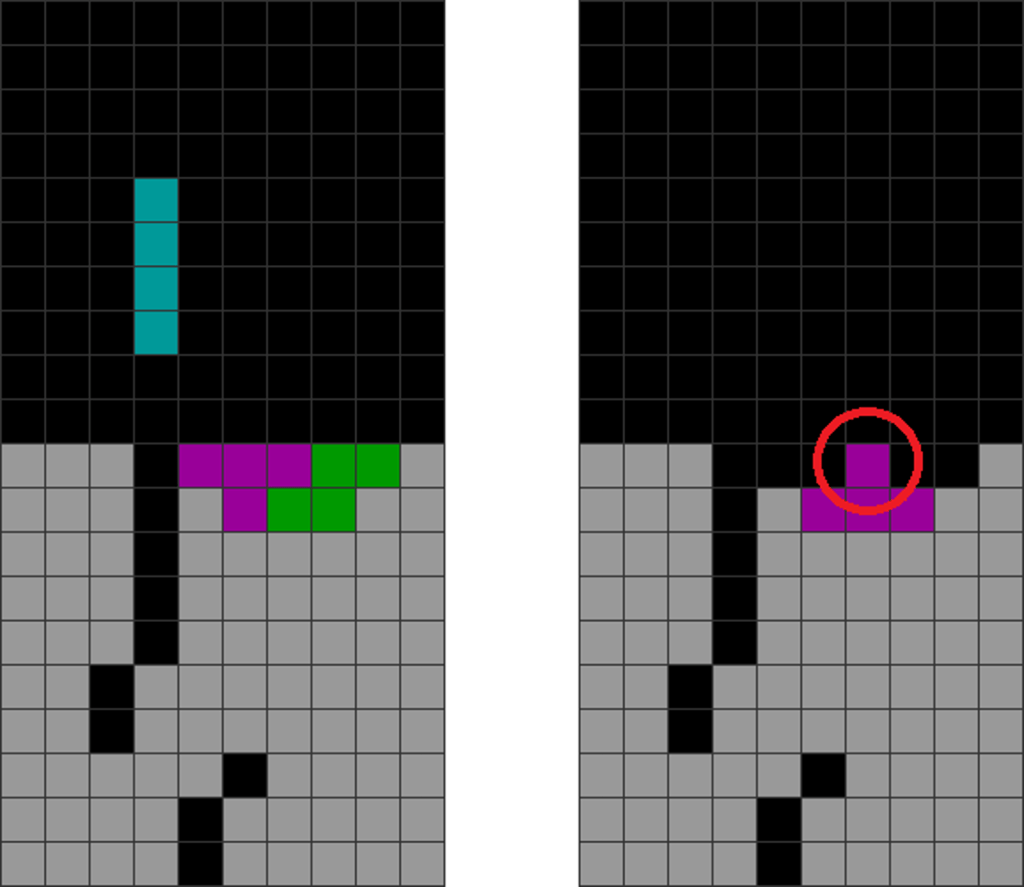
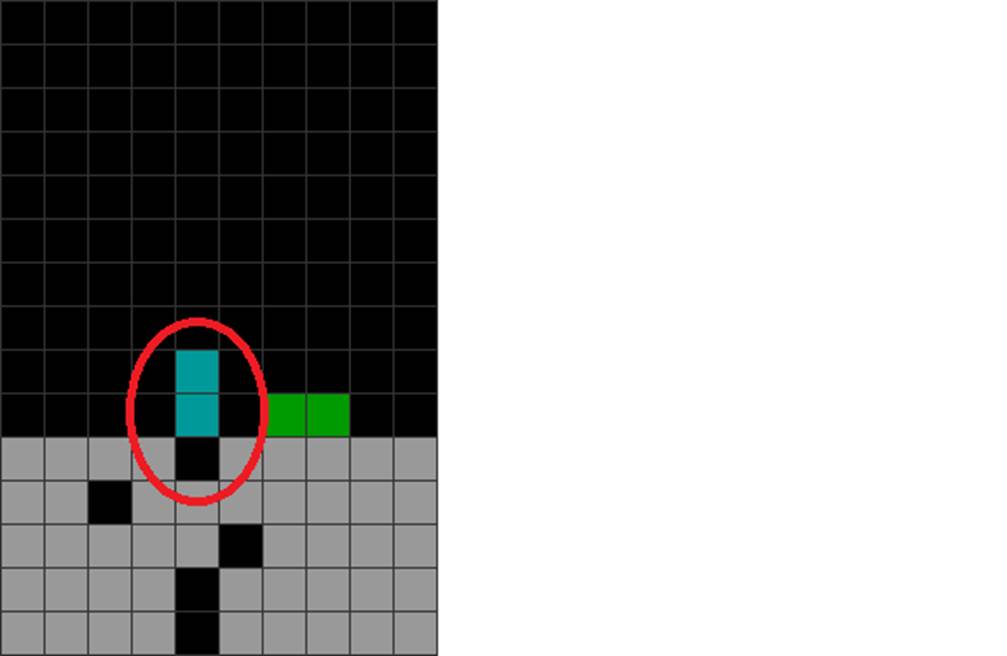
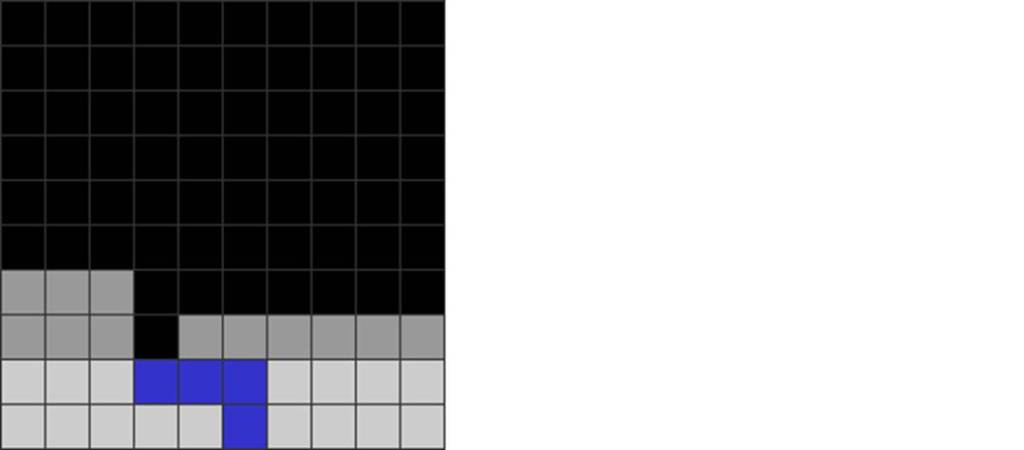
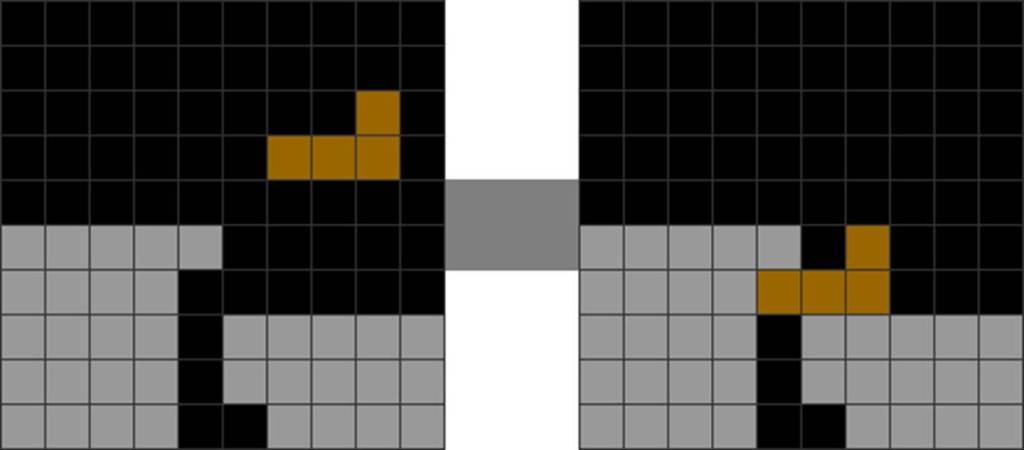
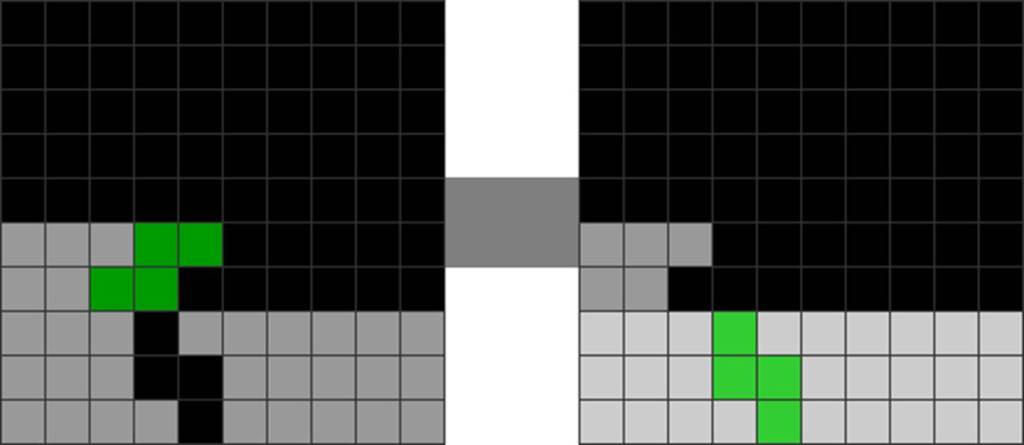
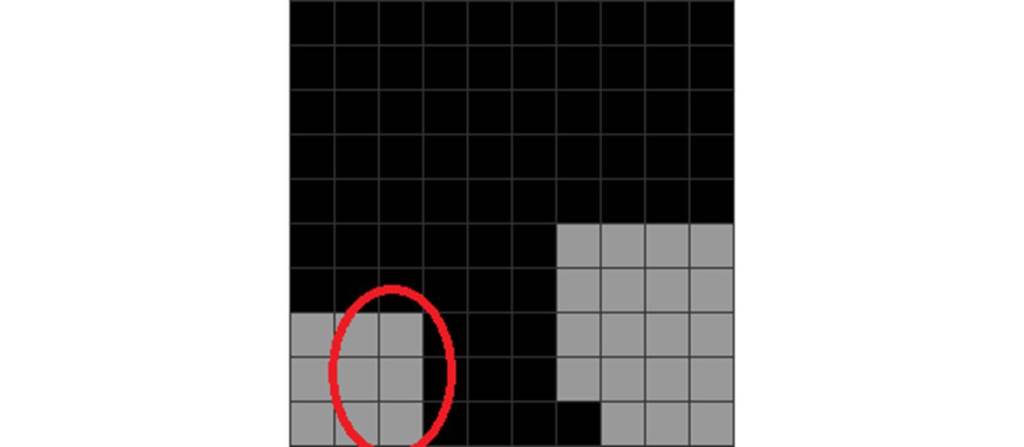
Alternatively, the player can put the T this way. However, it juts out (red circle), making the field less clean.
The first sequence is cleaner than the Alt. A placement. However, sometimes, you may have to give up a cleaner placement for a quicker one.
They also do not sustain back-to-back bonuses and instead break them if they incur a line clear.
2. Weighing Opportunity Costs
One should use all-spins and soft drops primarily when alternate stacking patterns are sub-optimal, such as:
Diagram Set 5-3
1
Alt. A
Starting field.
This choice causes L to divide the field and jut out in the red circle.
Alt. B
Alt. C
This choice causes a well-like pattern. The red-circled part has an I-dependency, which will typically break T-spin and Tetris continuations.
A player can avoid A and B’s pitfalls by soft-dropping the Z under the L. This way, the player can prevent jaggedness and an unfavorable well-like pattern.
The above soft-dropping is worthwhile because it improves the overall stacking.
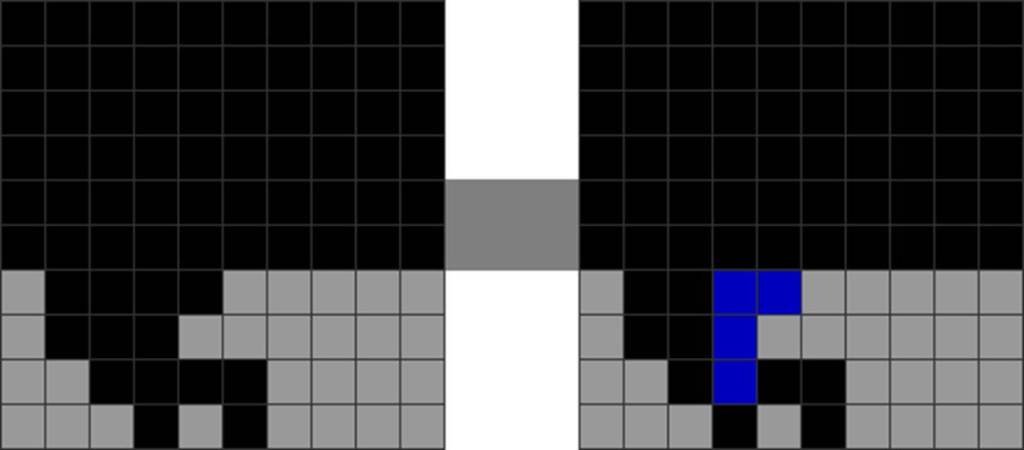
Here, using a soft-dropped all-spin is justified below:
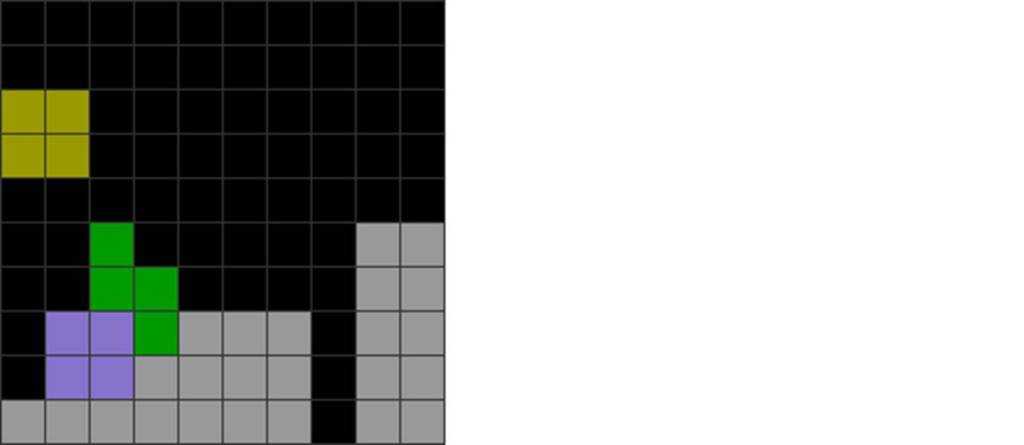
He soft drops the L under the I to make a clean T-spin double.
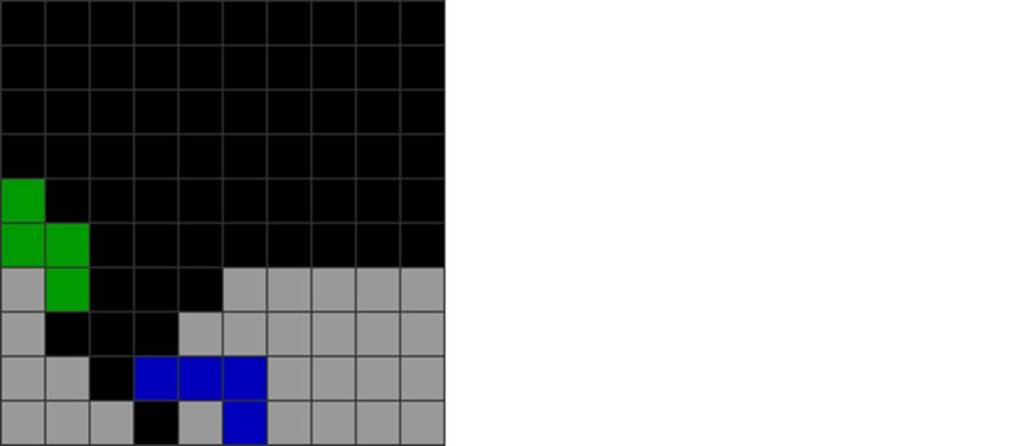
The act squeezes out a quick T-spin double, which would not have been possible without a soft drop. Here is what happens in an alternative method without soft drops:
Diagram Set 5-5
1
2
Step 1 is the alternative step after the last set’s step 1. Note how tall it is.
3
The subsequent aftermath shape (red circle) blocks the next garbage hole.
This alternative involves no soft drops or L spins, letting you get off a Tetris fast. However, the subsequent shape is dirty and breaks T-spin chaining. Therefore, a soft-dropped all-spin may sometimes be worth the soft drop penalty. The player has to evaluate wisely.
B. Types of All-spin Setups
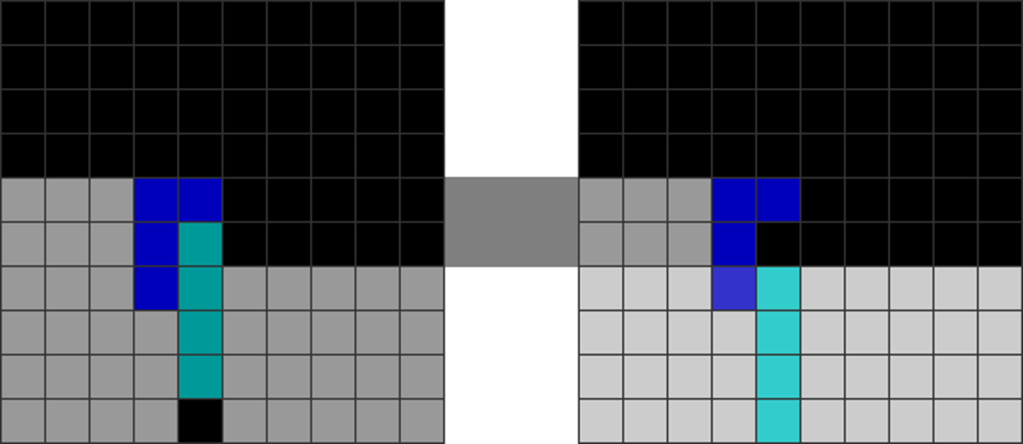
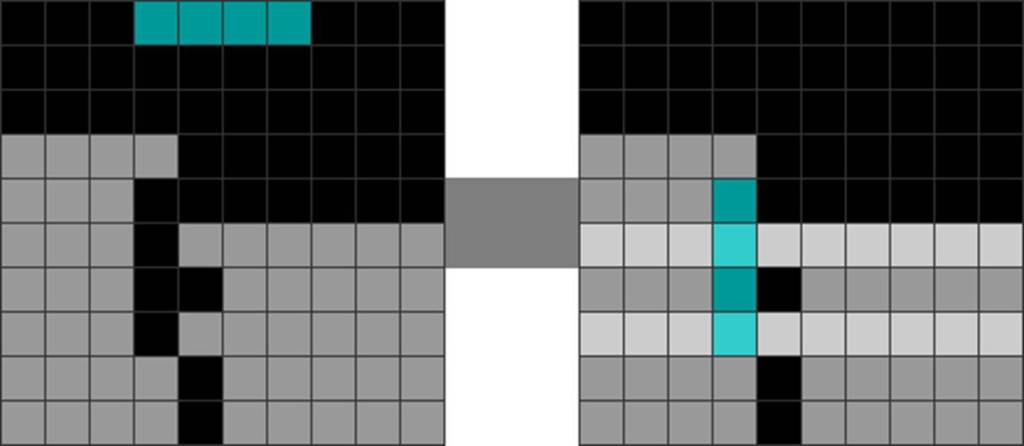
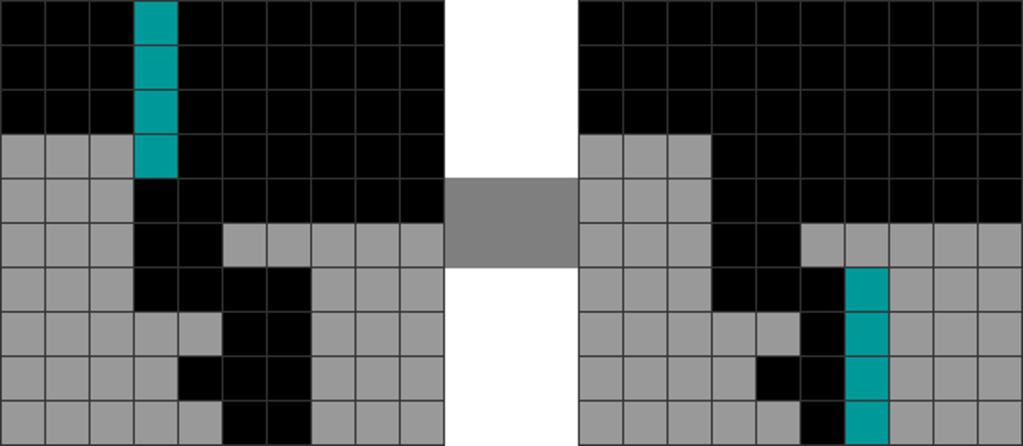
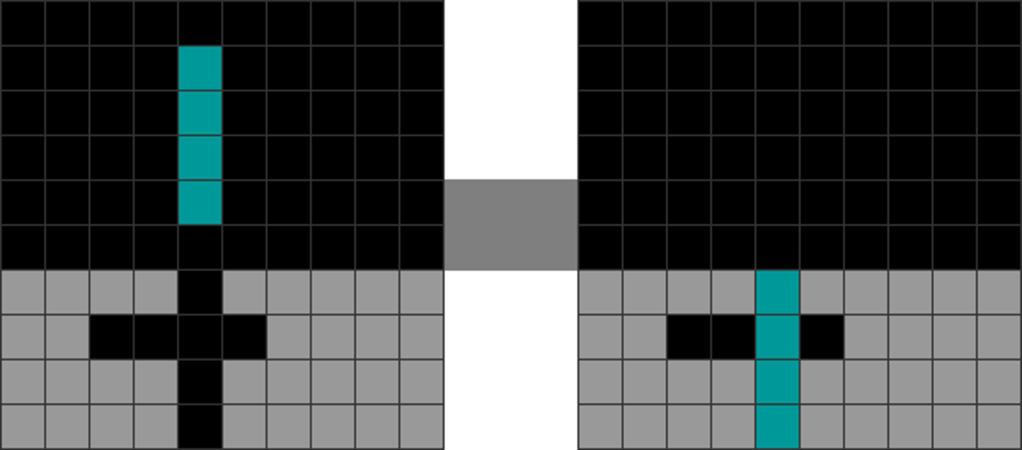
All non-T pieces (except Os) have various spins. Knowing them is crucial to improve opportunities in T-spins, stacking, downstacking, and perfect clears. Here they are:
1. L and J Spin Setups
Different orientations of L and J double basic spins
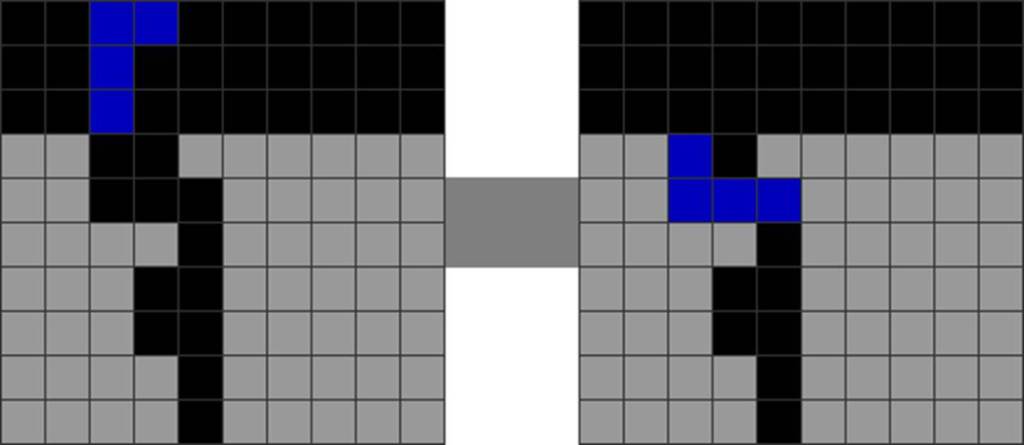
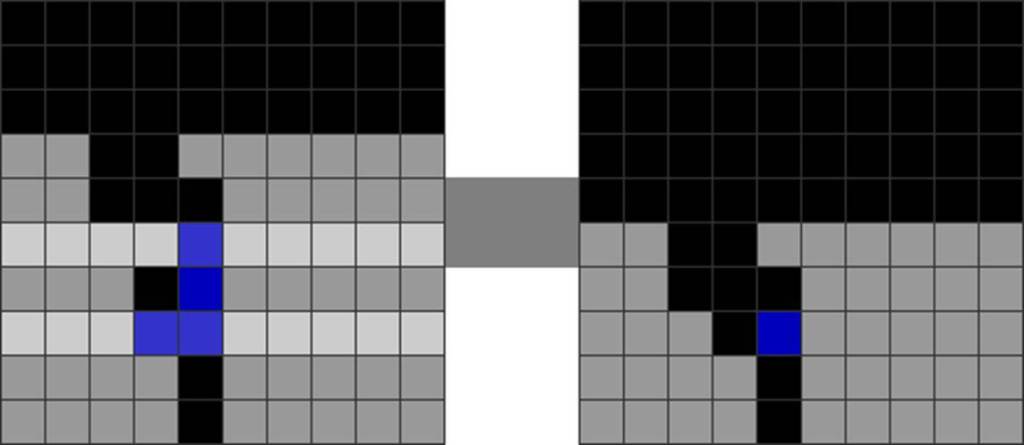
The following is the most common one to learn. This is the most basic J-spin double:
Diagram Set 5-6
1
2
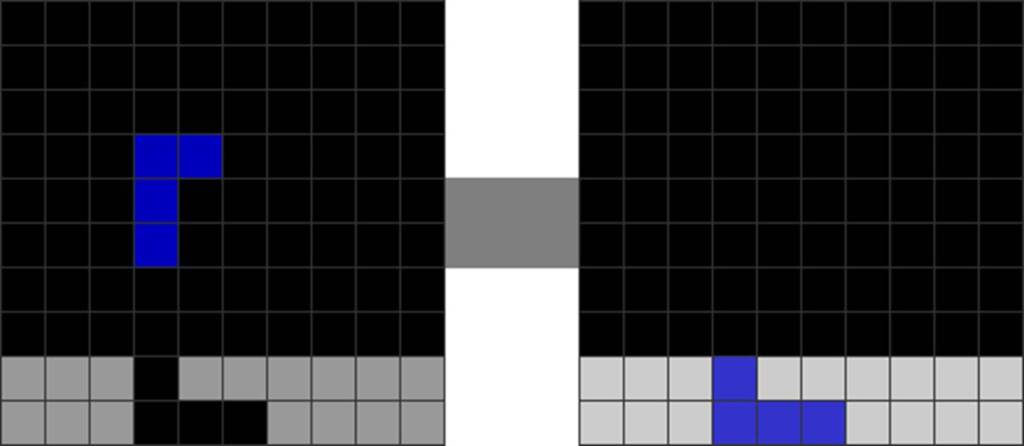
This is a basic L or J spin double. Pre-rotate and rotate anti-clockwise.
The below J-spin double is tricky but still common. It is beneficial for downstacking:
Diagram Set 5-7
1
2
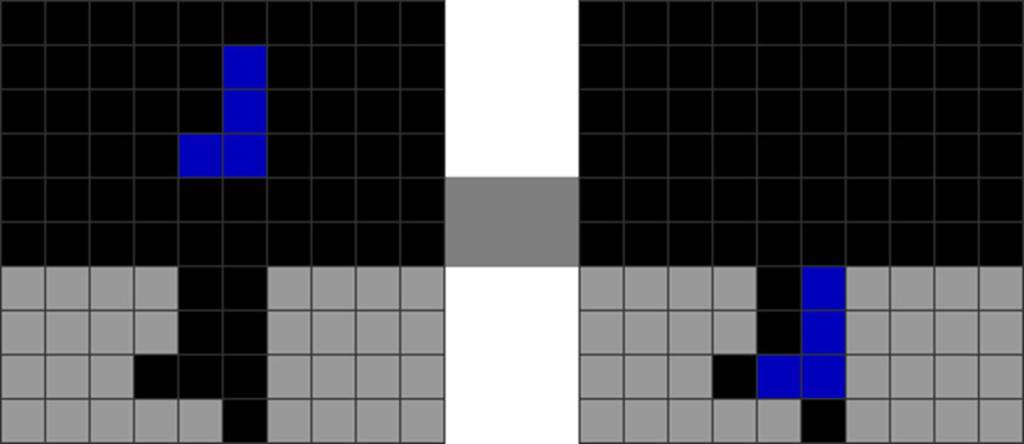
The player prepares to soft drop J into the cavity.
He lowers J vertically into the cavity at this precise point.
3
He rotates counter-clockwise J, and it leads to a double line clear.
This also works:
Diagram Set 5-8
1
2
Rotate L horizontally clockwise.
The following J-spin double is rare but can be helpful in misdrop fixes:
Diagram Set 5-9
1
2
The player prepares to soft drop the J into the cavity.
The J piece reaches this precise spot.
3
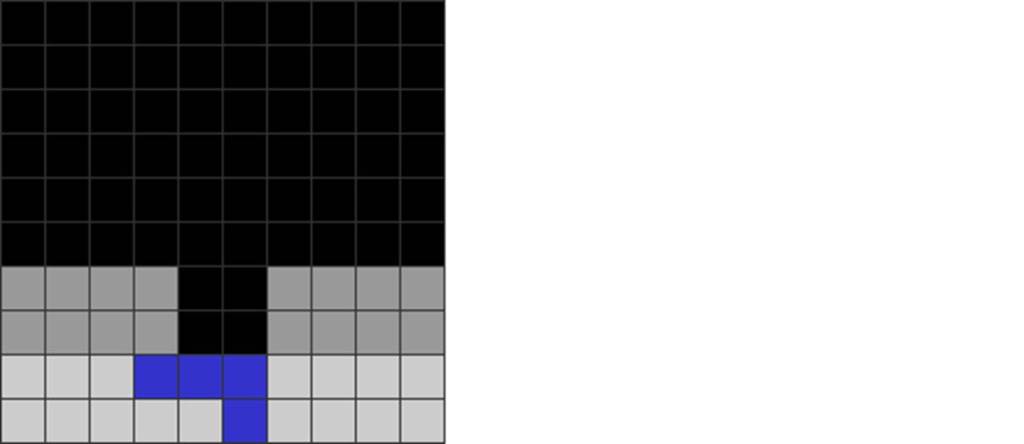
He rotates it clockwise. It spins 90 degrees into the cavity, causing a J double line clear.
L and J Spin Triples
L and J spins can also be triples. Here is the most common one:
Diagram Set 5-10
1
2
The player prepares to soft drop the L into the cavity.
The L touches the setup’s overhang.
3
He rotates the L into the cavity clockwise, resulting in an L-spin triple.
The overhang height can take on the following shapes for an L-spin triple to work:
Here are ways to L-spin-triple each one:
Diagram Set 5-11
1
2
Diagram Set 5-12
1
2
Last 2 Sets: The above shows several configurations for L (J if mirrored) spin triples. The overhang is variable, and the ones above work.
Applications
The methods below are common L or J tuck used to resolve a misdrop or poor stacking. It is also used deliberately to construct the below T-spins non-linearly.
Diagram Set 5-13
1
2
3
The player spins the L into the cavity counter-clockwise to make a T-spin double.
Diagram Set 5-14
1
2
3
Same, with a J spin clockwise.
You can also use L and J spins to create T-spin setups non-linearly:
Diagram Set 5-15
1
2
Diagram Set 5-16
1
2
Diagram Set 5-17
1
2
Diagram Set 5-18
1
2
Diagram Set 5-19
1
2
The above diagrams show various T-spin setups, such as an STSD, T-spin triple, and T-spin double, created using L and J spins.
Learning these spins improves one’s T-spin vision.
Boomerang
Boomerang is an L or J spin into the below cavity to create a T-spin double. This is used predominantly for failed STSD setups or misdrop fixes.
Diagram Set 5-20
1
2
Create this shape and prepare to soft drop J.
The J touches the overhang.
3
4
The J spins into the cavity counter-clockwise, creating a J-spin double.
This results in an aftermath T-spin double shape.
2. S and Z Spin Setups
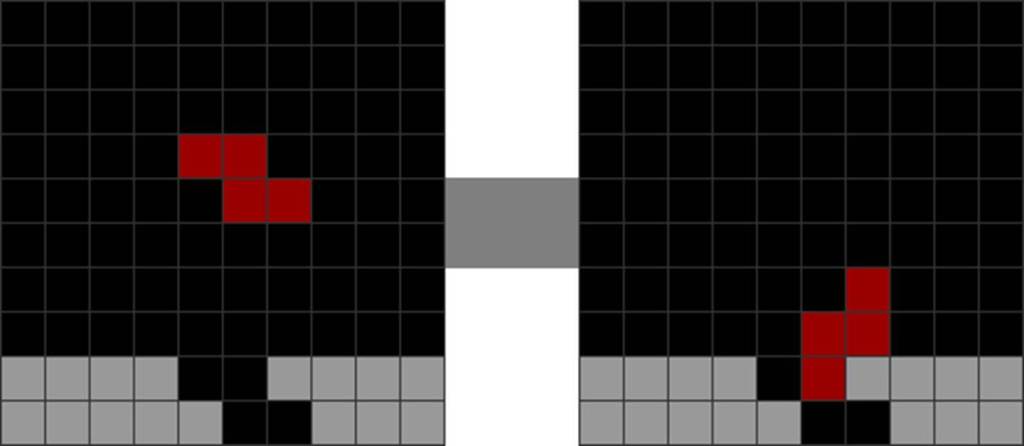
Below are different orientations of S and Z double basic spins. The one immediately below is the most common and helps to improve stacking if learned.
Diagram Set 5-21
1
2
The player soft drops the Z toward the Z-shaped cavity.
He rotates the Z vertically counter-clockwise and soft drops it to this precise spot.
3
He rotates counter-clockwise the Z into the cavity, creating a Z-spin double line clear.
This below is rare but is occasionally used by top Tetris players like Furea to improve stacking.
Diagram Set 5-22
1
2
This sequence is like the last diagram set but has upstacked walls on both sides of the Z-shaped cavity.
Rotate Z in the opposite direction compared to the last diagram set to get it in.
Below is a common S and Z spin used to fix misdrops or the following cavity in unfortunate situations.
Diagram Set 5-23
1
2
To get this Z spin, soft drop the Z vertically into the cavity, then rotate clockwise.
S and Z Spin Triples
S and Z spin triples take several forms.
The first, below, does not need an overhang. This can be tricky for many first-time players; however, it occasionally improves downstacking for the below situation.
Diagram Set 5-24
1
2
The player soft drops the S toward the S-shaped cavity.
The S lands on the bump.
3
The player rotates counter-clockwise the S and it kicks into the cavity, creating an S-spin triple line clear.
The above is the most common S/Z-spin triple form. It may seem difficult to spot, but it has four major ways to create, per my experience:
This variant below uses an overhang:
Diagram Set 5-25
1
2
The player soft drops the S toward the cavity.
He tucks the S under the overhang.
3
He rotates S clockwise, and it enters the cavity, creating an S-spin triple line clear.
Just like L and J spin triples, S and Z spin triples also have unusual overhang variants that work:
S and Z spin doubles and triples can improve stacking and open up more downstacking options in the following situations. Spin the S in like this for the above two cases, respectively:
Diagram Set 5-26
1
2
Lower the S under the overhang and rotate it clockwise into the cavity.
Diagram Set 5-27
1
2
Tuck the S into the C-shaped overhang and rotate it clockwise into the cavity.
Here is a final S and Z spin method:
Diagram Set 5-28
1
2
3
Put the S horizontally under the cavity in step 2. Rotate it to kick it into the cavity, resulting in a line clear.
These methods should only be used as a last resort, as S and Z spins do not give any bonus attack for most Tetris games. They also need a second soft drop to fill the cavity.
Applications
Here are the applications of S and Z spins:
Diagram Set 5-29
1
Alt. A
Alt. B
The player has two choices from the first step. He can spin the Z under the T or the Z under the S. This leads to more optimal, flatter stacking.
Diagram Set 5-30
1
2
The player tucks the Z under the J for a flatter downstack.
Diagram Set 5-31
1
2
The player puts the T horizontally, creating a Z-spin triple opportunity that concludes when the Z is soft-dropped and spun into it. The resultant field is clean.
Thus, S and Z spins can improve stacking, reducing the field’s overall jaggedness and maximizing stacking smoothness.
Here’s a magic trick I sometimes use to fix DT Cannon opener misdrops:
Diagram Set 5-32
1
2
The player misdrops the DT Cannon Opener with the Z piece on the right.
He soft drops another Z on top of the first misdropped Z.
3
4
He rotates it clockwise, kicking the Z into the cavity.
He rotates it clockwise, making the Z horizontal and tucked neatly into the cavity.
S and Z spins are sometimes used to create non-linear T-spin setups like these:
Diagram Set 5-33
1
2
The player soft drops an S into the shape, rotating it clockwise to get it in.
Once S enters the cavity, the player pushes it to the right, forming a regular T-spin triple.
3. I Spins Setups
I spins are the trickiest of all spins.
Pierce
Pierce (Japanese: Nuki) is the most common I spin method. It involves sliding a horizontal I into the cavity below.
This is useful for cleaning up or fixing some misdrops. It happens a lot. This is its most common application:
Diagram Set 5-34
1
2
The player pre-rotates I counter-clockwise and soft drops it to the extreme left column like this.
3
He rotates I clockwise and spins it horizontally, kicking it into the cavity for an I-spin single.
Doing this fixes the bottom row’s horizontal gap. The astute player can quickly see how this is an STSD opportunity after step 3.
Note that the wall being 3 blocks high makes it easier for I-spins to work (the red circle below) if the I-spin is not at the corner.
Others
Here are other I-spins:
Diagram Set 5-35
1
2
An I-spin mini. In step 2, rotate clockwise.
Diagram Set 5-36
1
2
Another I-spin mini-like variant. Rotate counter-clockwise in step 2.
Diagram Set 5-37
1
2
The player spins an I into the cavity counter-clockwise. This is useful for mid-game repairs.
Applications
This case happens sometimes, but rarely, to make a quick Tetris:
Diagram Set 5-38
1
2
This is an I-spin opportunity with an overhang ready, made using the J piece.
The player soft drops an I under the overhang.
3
4
He rotates the I clockwise, kicking it into the cavity.
I is placed, leading to a Tetris.
Note the clever placement of the J, which uplifts the 3-blocks-tall part of column 4 to at least 4 for the Tetris.
The situation below is used to abort C-spins in desperate emergency skimming.
Diagram Set 5-39
1
2
A C-spin is ready. However, the player wishes to abort it because of emergency reasons like a lack of T or being spiked suddenly.
He spins the I into the cavity clockwise and rotates it, resulting in an I-spin double. The resultant shape exposes the Tetris hole in column 5 cleanly.
I-spins can let you create otherwise impossible T-spins. Here, the player spins an I into the cavity to make a T-spin triple:
Diagram Set 5-40
1
2
The player prepares to soft drop the I into the cavity. Pre-rotate clockwise.
He spins I into the cavity clockwise and counter-clockwise, creating a regular T-spin triple setup.
I-spin Snaking (Advanced)
I-spin snaking is an exotic I-spin that is rarely used in real-life games. It is used primarily for one puzzle in Tetris Effect: Connected’s single-player mode.
This method is a novelty technique that I don’t recommend taking seriously. Here it is:
Diagram Set 5-41
1
2
Pre-rotate clockwise. The player soft drops the I toward the cavity.
It enters the cavity.
3
The player rotates it counter-clockwise, causing I to become horizontal, leading to an I-spin single line clear.
C. Hybrid All-spins T-spin Setups
I have worked out hybrid T-spin setups that incorporate both T-spins and all-spins into them, such as:
Diagram Set 5-42
1
2
The player soft drops S toward the setup.
He rotates clockwise and kicks in the S piece.
3
4
He rotates it again clockwise, leading to an S-spin single.
The resultant shape is a regular T-spin triple.
The above example is May, one of the original all-spin methods mapped out in some online guides. It has an S-spin skim that leads to a T-spin triple setup.
This means there is a T-spin within the setup, but it also contains a non-T-spin.
These methods are useful for mid-game repairs. However, in guideline Tetris, all-spins (such as S and Z spins) do not sustain back-to-back bonus or grant additional damage like a standard T-spin.
The T-spins within them make them viable if a misdrop mandates that you must make these setups to repair.
1. S and Z Hybrid T-spin Methods
S and Z hybrid T-spin methods are the most common compared to all the other spins. This is because it’s straightforward to insert an S or Z spin between a T-spin setup without disrupting anything. Conversely, other spins that involve L and J pieces have severe overhang requirements.
Here are practical ones:
Diagram Set 5-43
Diagram Set 5-44
Diagram Set 5-45
Diagram Set 5-46
Diagram Set 5-47
Diagram Set 5-48
Diagram Set 5-49
Diagram Set 5-50
Diagram Set 5-51
The above methods are primarily practical, given enough skill, foresight, risk assessment, planning, and stacking. I have done these spins because of misdrops to recover.
2. L and J Hybrid T-spin Methods
L and J hybrids are more challenging to map out than S and Z ones because overhang requirements disrupt setups. Some need a 2-wide gap to insert an L or J spin into it, which makes it impossible to insert T-spins.
Many L and J hybrid T-spin methods are recovery methods — they should not be used unless your field messes up. Here are the practical ones:
Diagram Set 5-52
Diagram Set 5-53
Diagram Set 5-54
Diagram Set 5-55
Diagram Set 5-56
Diagram Set 5-57
Diagram Set 5-58
Diagram Set 5-59
Diagram Set 5-60
As you can see above, many hybrid L and J T-spin hybrids help salvage a lousy stack, but they break back-to-back bonuses. They shouldn’t be used except for recovery.
3. I Hybrid T-spin Methods
I-spin hybrid T-spin methods are best used for recovery. They mainly involve these:
Diagram Set 5-61
1
2
3
The player uses an I-spin single to create a regular T-spin triple setup.
Diagram Set 5-62
1
2
3
The player uses an I-spin single to create a regular T-spin double.
Diagram Set 5-63
1
2
3
Same, leading to an STSD.
See one commonality? The practical I-spin T-spin hybrid methods all involve a variation of a Japanese technique called Pierce. This involves a horizontal I spin to correct overhang height issues or fix misdrops.
The above diagram’s original steps have overhangs that are too tall. Using Pierce fixes them.
D. Application of All-spins and Soft Drops to Improve Stacking
One can use all spins and soft drops to improve stacking significantly.
Jagged shapes can be avoided or mitigated with lots of soft drops and spins of other pieces. This allows one to stack better and avoid wasting Ts and Is for local parity fixes.
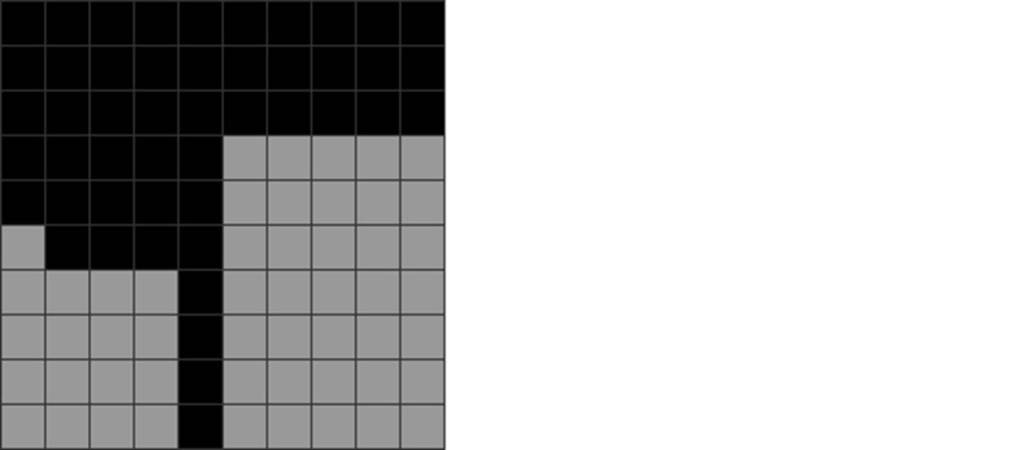
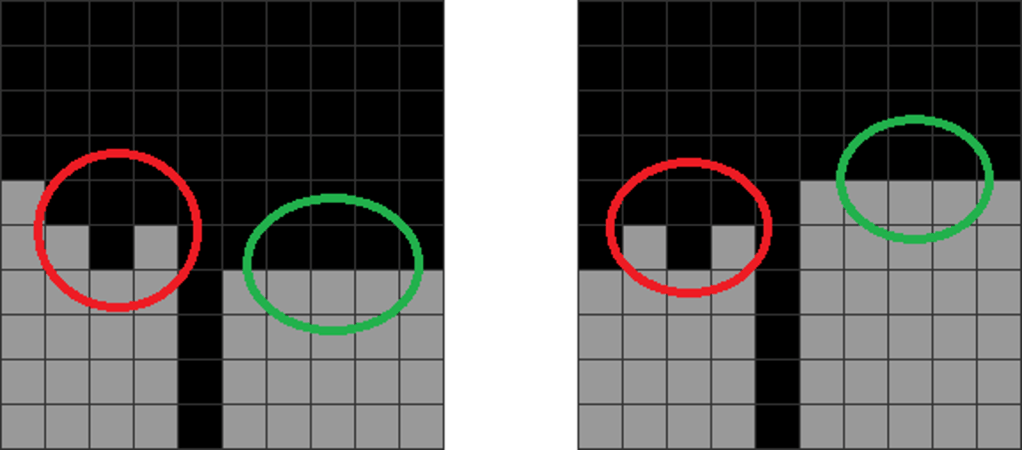
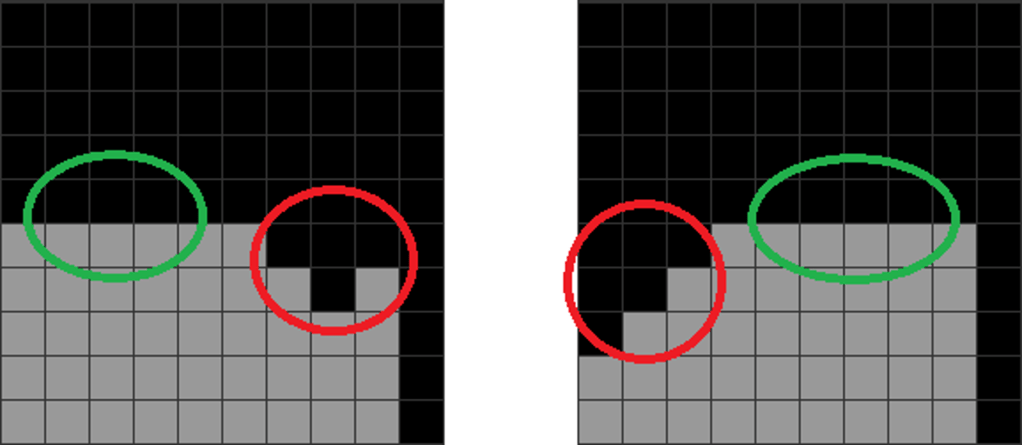
Local parity, instead of global parity, refers to situations like these:
Regionalized areas with uneven parity, such as in the red-circled areas, are best minimized unless one wishes to make a T-spin out of them. However, the green-circled areas show even parity, which is more desirable.
Stacking to avoid local parity imbalances frees up Ts and Is for T-spins and Tetrises. I recommend being frugal when using soft drops as they incur a significant opportunity cost in guideline Tetris, where they are slow.
Thus, if you need two or more soft drops to fix a situation, it is best to avoid it (unless it is to fix misdrops).
This section shows common stacking issues that can be optimized. Not wasting a T to fix these issues is optimal if you get these issues.
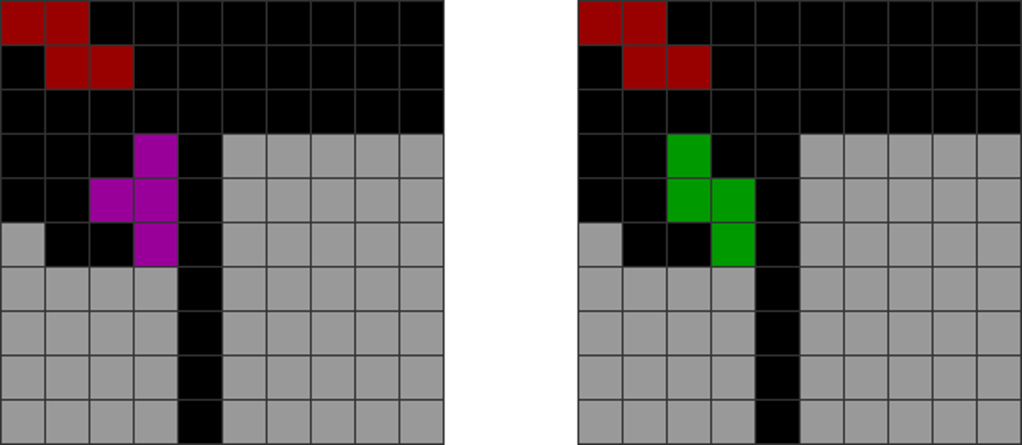
Situation 1:
For illustration purposes, the lavender blocks beneath are not filled.
Diagram Set 5-64
1
Alt. A
This pattern, caused by a horizontal S placement, leads to jaggedness. Only a vertical T on the far left can stabilize the stack.
The player can instead put the S vertically like this, then soft drop and spin the L into the lavender-colored area.
Alt. B
Another choice to Alt. A involves putting the S vertically and soft-dropping the O into the lavender-colored area.
Step 1 is one of the most common patterns that beginners use unintentionally. It has terrible follow-ups, and I recommend avoiding it like the plague! Using Alt. A and Alt. B saves a T from being wasted in the stack.
Situation 2:
Diagram Set 5-65
1
Alt. A
This bad placement pattern leads to a jagged bump and later issues. This can mostly be fixed by placing T vertically in column 1.
The player can instead put the J horizontally like this, then soft drop and spin the L into the lavender-colored area.
Alt. A moves J’s upward-jutting bump to the extreme left, which creates a smooth taper that can be quickly followed up with better stacking. It also saves a T in the stack.
Situation 3:
Diagram Set 5-66
1
Alt. A
This left pattern leads to field division and is ill-advised.
The player puts the T vertically. He soft drops and spins the Z into the lavender area.
Alt. A leads to better stacking continuations as it is flatter and more joined.
Situation 4:
Diagram Set 5-67
1
Alt. A
The player puts a Z to fill the leftmost cavity.
Put a Z horizontally and spin an L into the lavender area flatly.
Alt. B
Same, with an L spun under the S.
While there’s nothing wrong with placing the Z in the above manner (step 1), it creates a bump at its peak, with a hole in column 1, which needs to be filled later with an I or T piece. Preventing such wastage will allow you to use the T and I pieces for T-spins and Tetrises instead.
If you don’t mind sacrificing a soft drop’s time penalty, Alt. A and Alt. B help stabilize the stack better.
Situation 5:
Diagram Set 5-68
1
Alt. A
This situation with vertical S and Z is usually horrific. It creates an L or J dependency between the S and Z pieces.
Spinning Z under the S leads to a flatter, safer stack.
Situation 6:
Diagram Set 5-69
1
Alt. A
This O placement divides the field, which can be bad for beginners who place another O on top of the O.
Spinning S under the O is safer and flatter.
Double stacking Os after step 1 causes two I-piece dependencies on the O’s left and right sides.
Situation 7:
Diagram Set 5-70
1
Alt. A
This horizontal S placement leads to a jagged, stairs-like pattern that can mainly be resolved by placing a T piece later (as shown in the floating vertical T).
Spinning the J under the S into the lavender areas briefly delays the necessary T, letting you use the T for more urgent T-spinning opportunities.
Situation 8:
Diagram Set 5-71
1
Alt. A
The vertical S piece leads to a cavity on the extreme right, requiring filling a vertical I or T piece in column 10.
Spinning the S under the J into the lavender area creates a smoother, flatter, safer stack.
Other Situations:
Each pair has two diagrams. The first is a less optimized placement. The second uses a soft drop to place pieces more optimally. For instance, the first pair’s second picture involves soft dropping and spinning a Z under the S.
Summary and Conclusion
There are endless ways to use soft drops to improve stacking, prevent jaggedness, and reduce T and I wastage. Be creative!
Concept
Summarized Rules-of-Thumb
Flow
Don’t go for more than one soft drop. All spins may be fancy but can slow down the game if used too often.
Form
Memorize the spins of all pieces and know what situation to use them in the mid-game. All spins can improve stacking, which reduces dead-end situations. All-spin hybrid T-spin setups can be used for misdrop recovery.
Balance
Minimize all-spins because of their soft drop penalty — only use them if the cleaner options they provide are worth it.