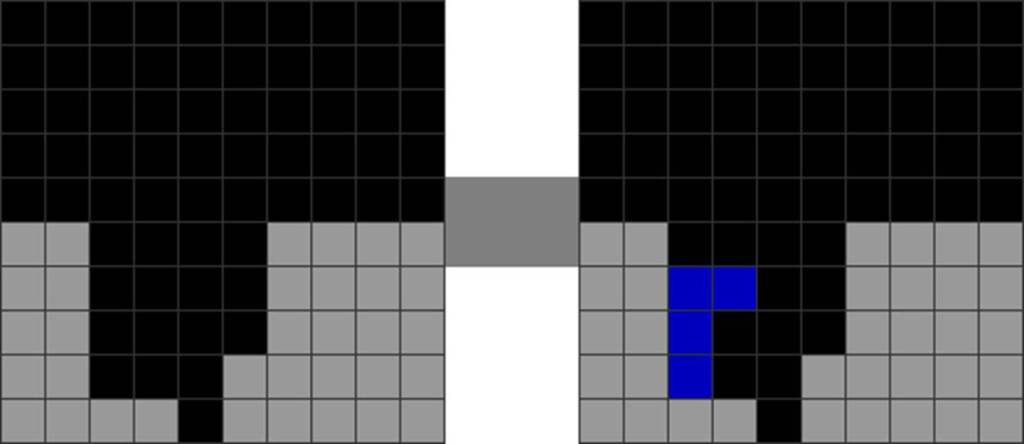
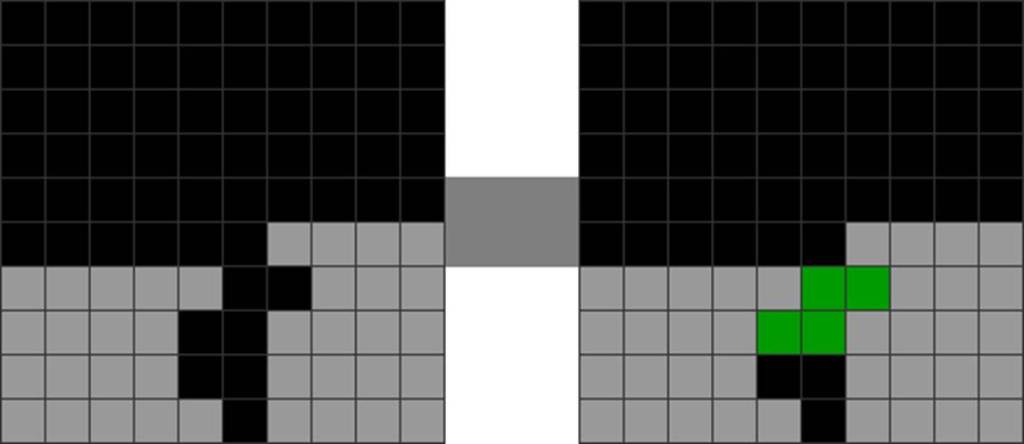
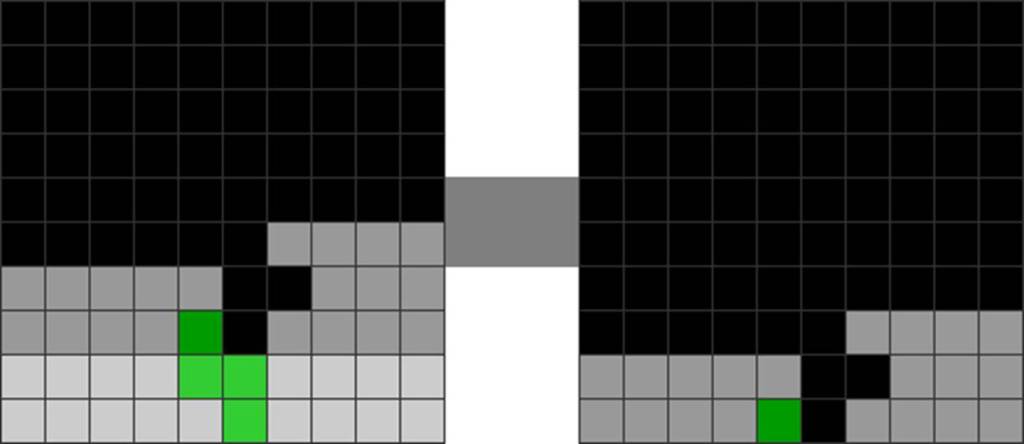
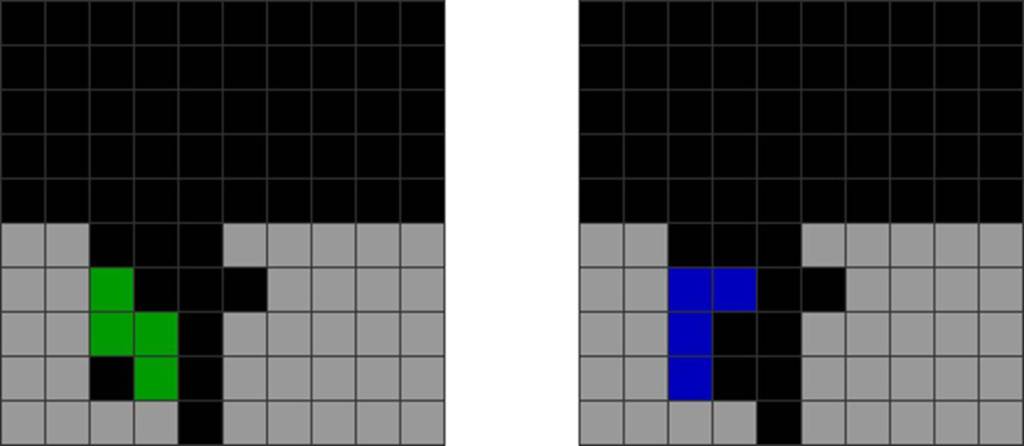
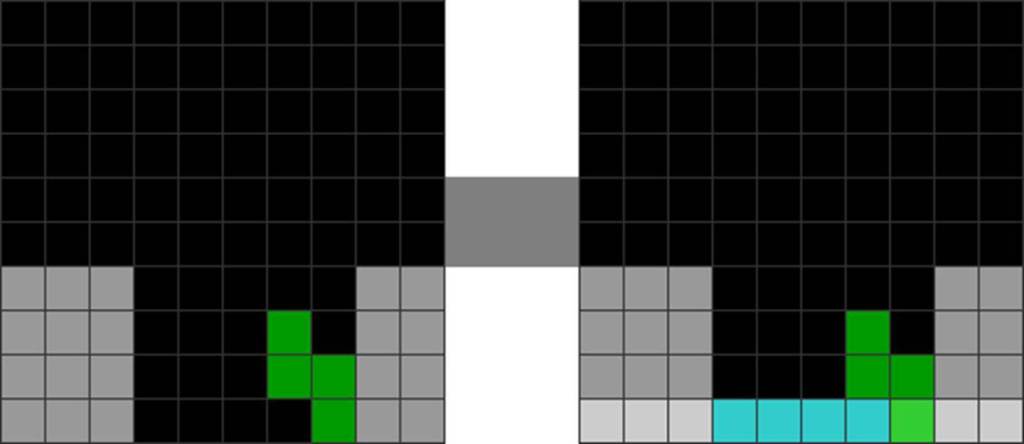
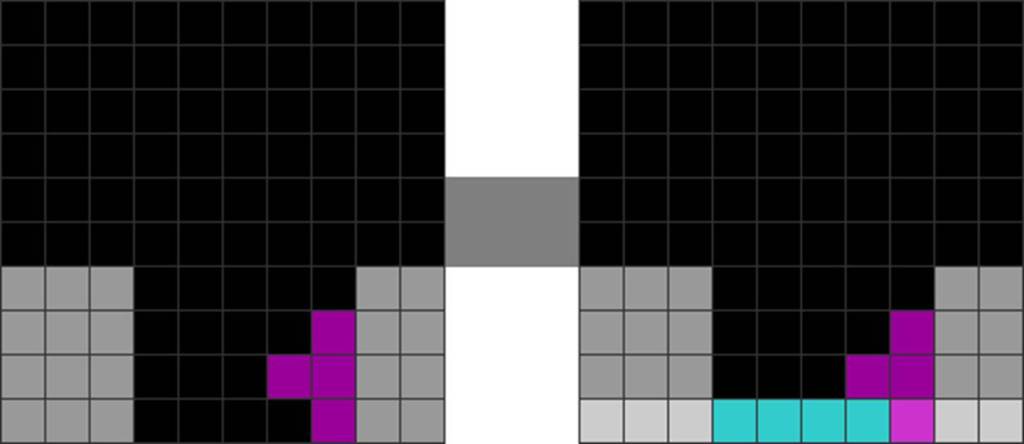
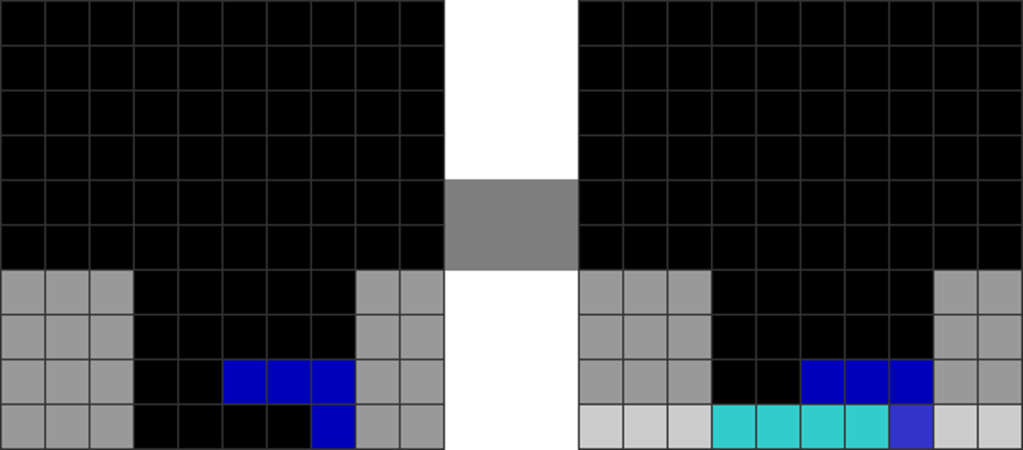
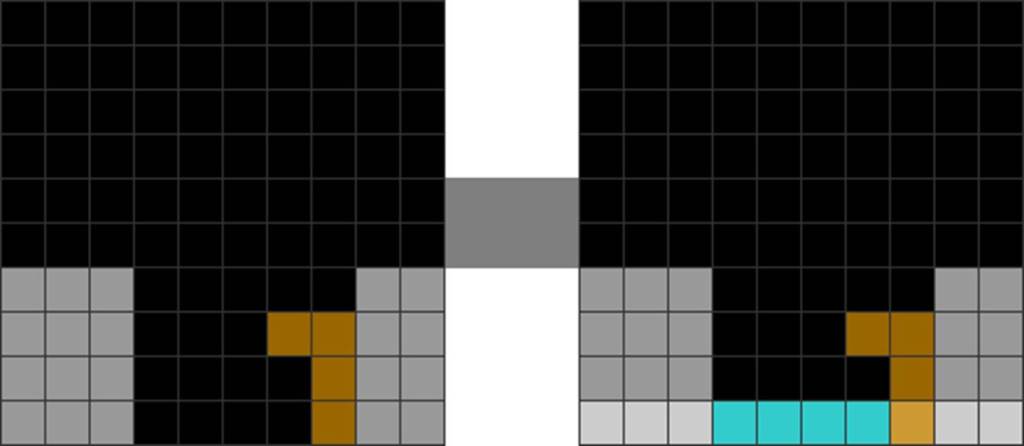
Note: This is a truncated version of book 4’s All-Spin Mid-Game Chances chapter, which is nearly twice as long. The full book chapter contains more details and applications.
Throughout this free partial chapter, I will use the term:
X – Not in TETRIO / Varies ↓
This means that a particular all-spin does not grant back-to-back bonuses in TETR.IO, but might in other Tetris versions.
A. Core Principles
Many players mindlessly spam all-spin methods in games where they are given extra bonuses, such as back-to-backs.
However, they fail to understand their potential parity-altering properties and their ability to disrupt T-spin chaining continuations. Many Tetris versions also do not reward all-spins as much power as T-spins.
Here is a list of critical core principles to apply:
1. Minimizing Alterations to Create Parity Imbalances
The core principles of parity management apply not only to T-spins but also to all-spins.
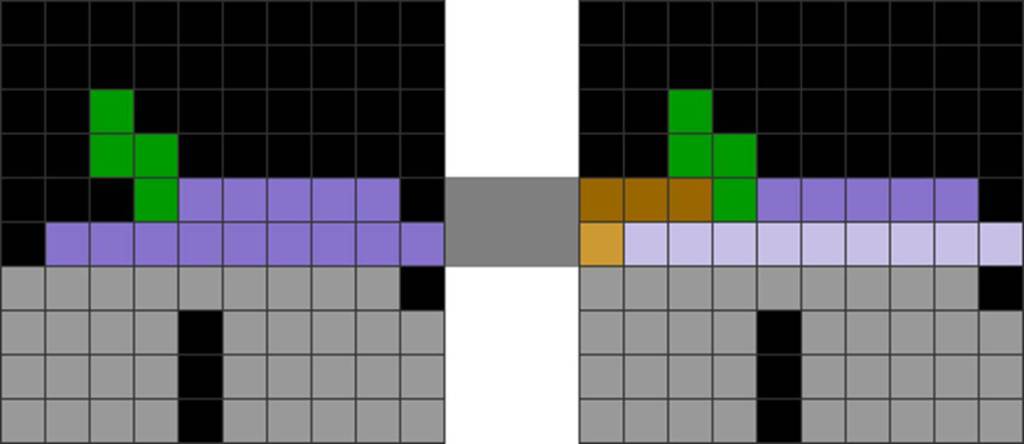
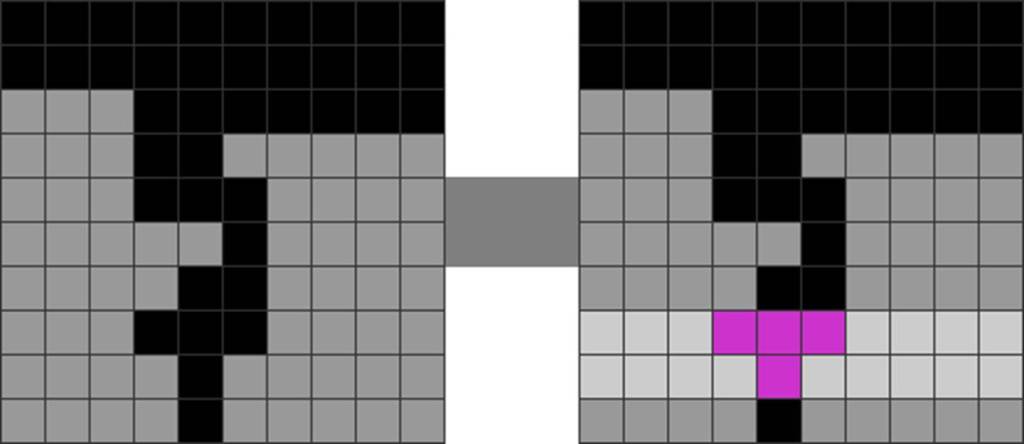
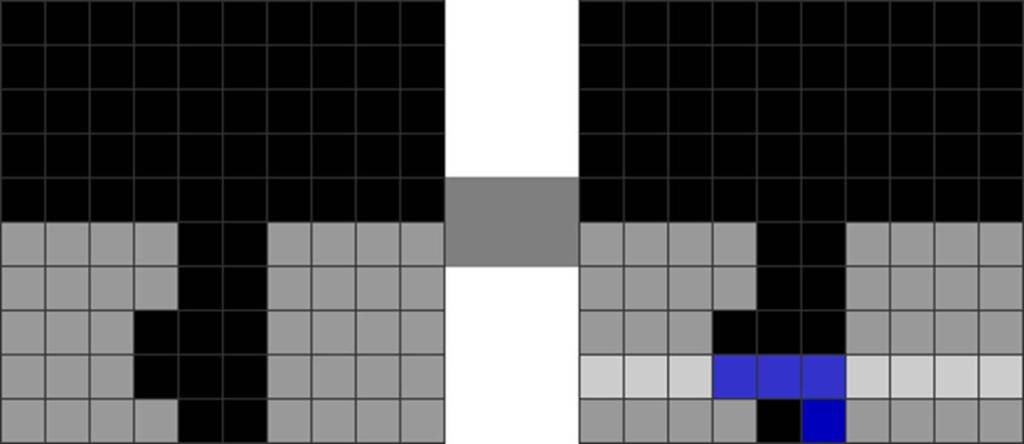
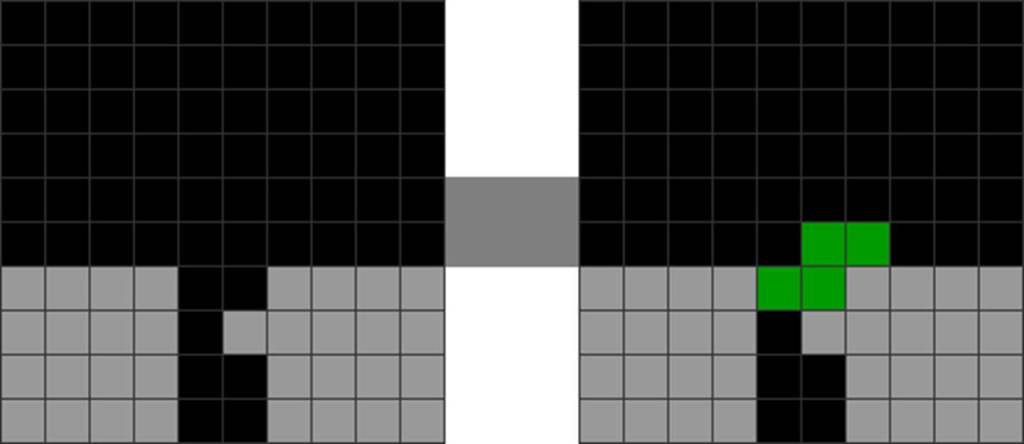
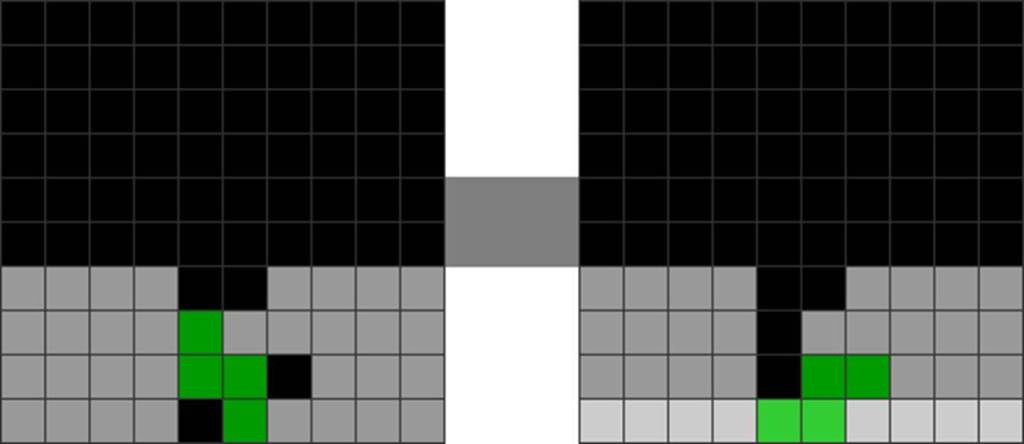
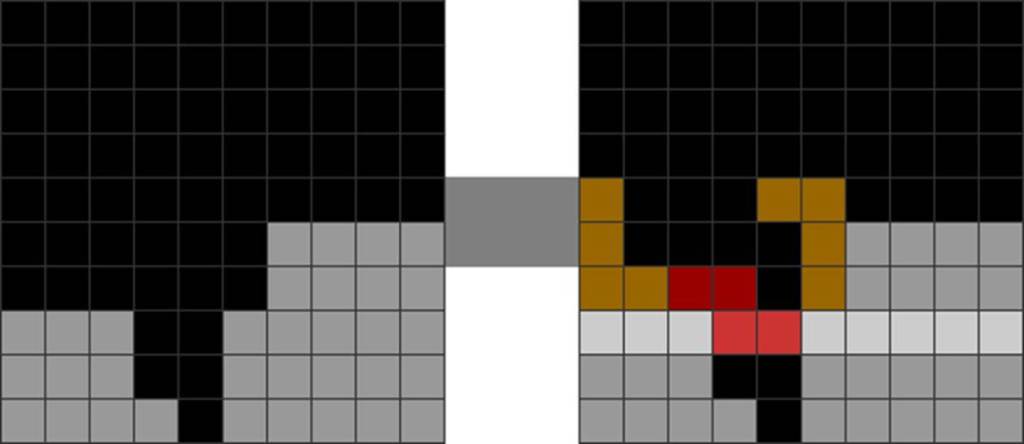
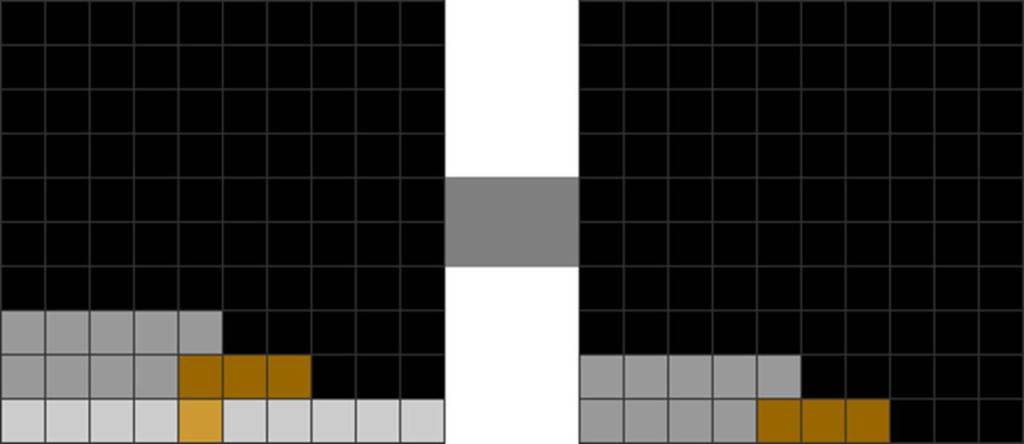
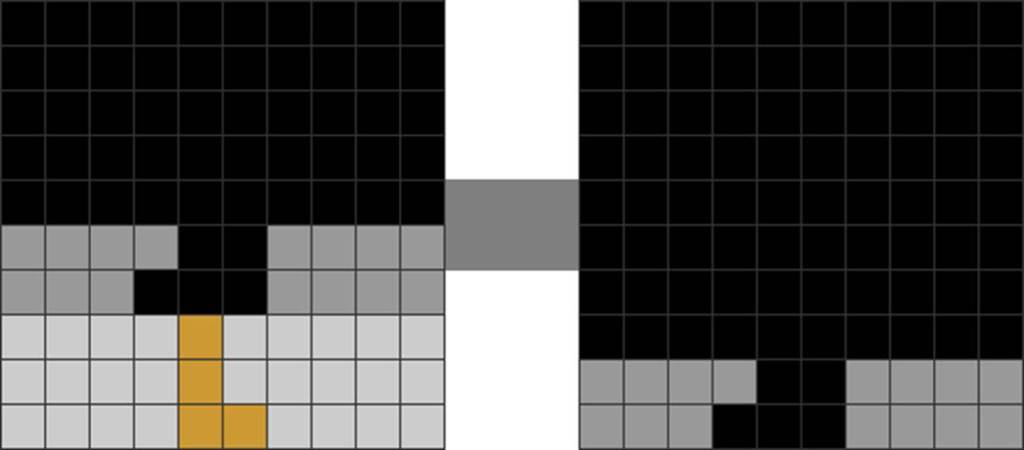
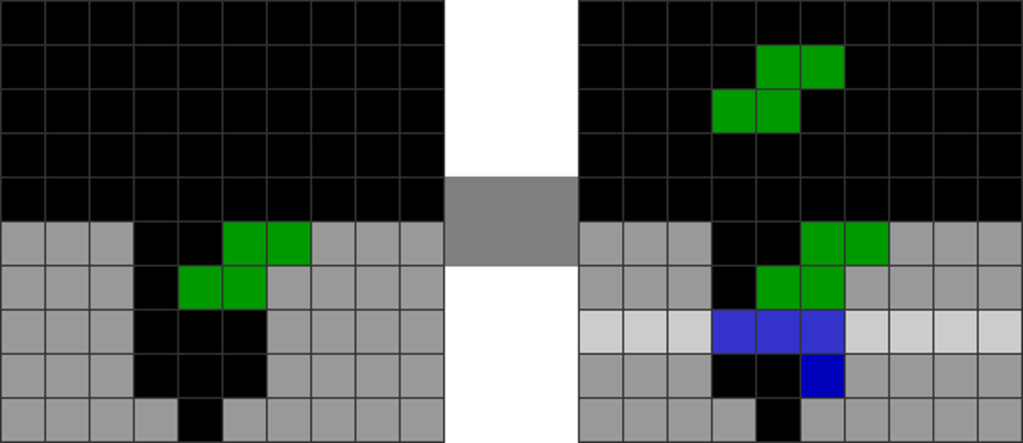
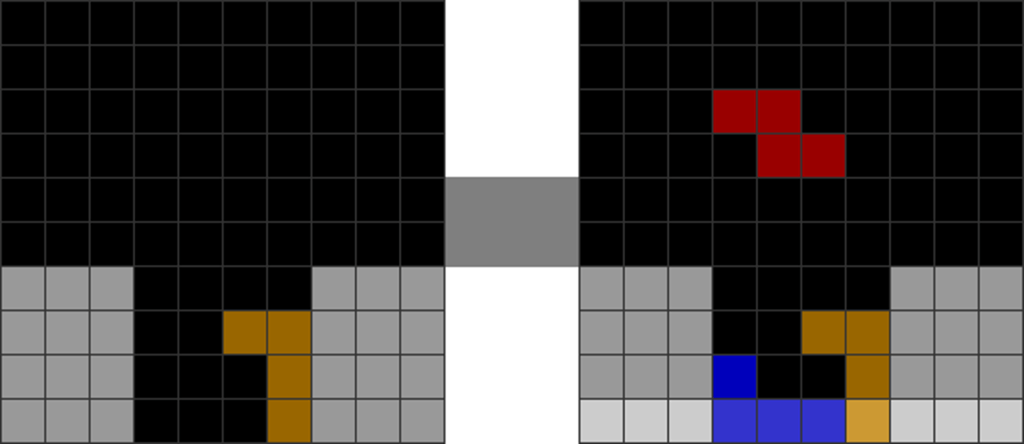
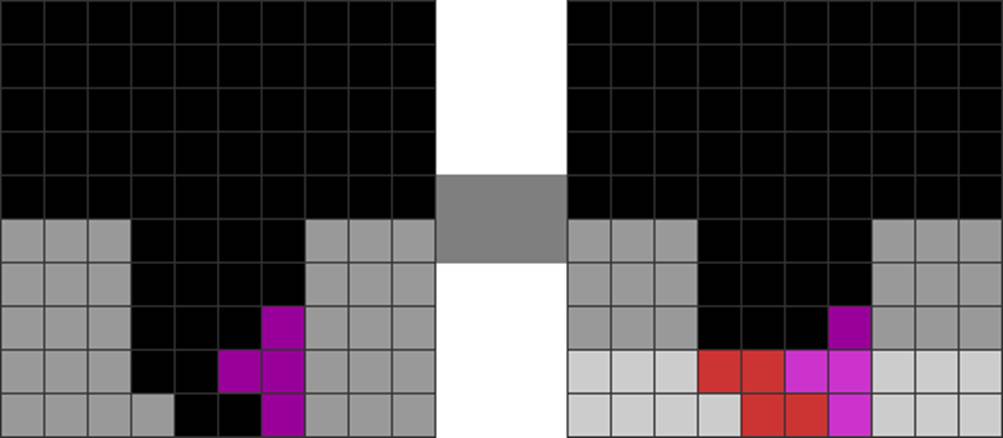
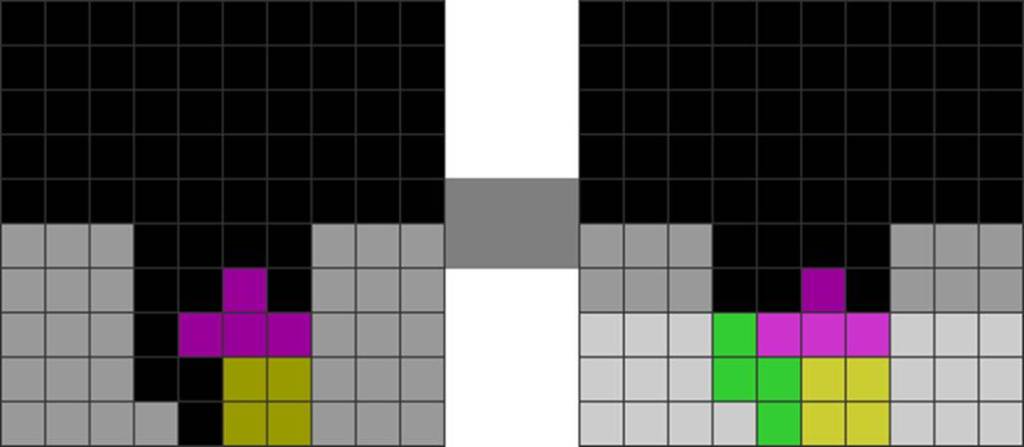
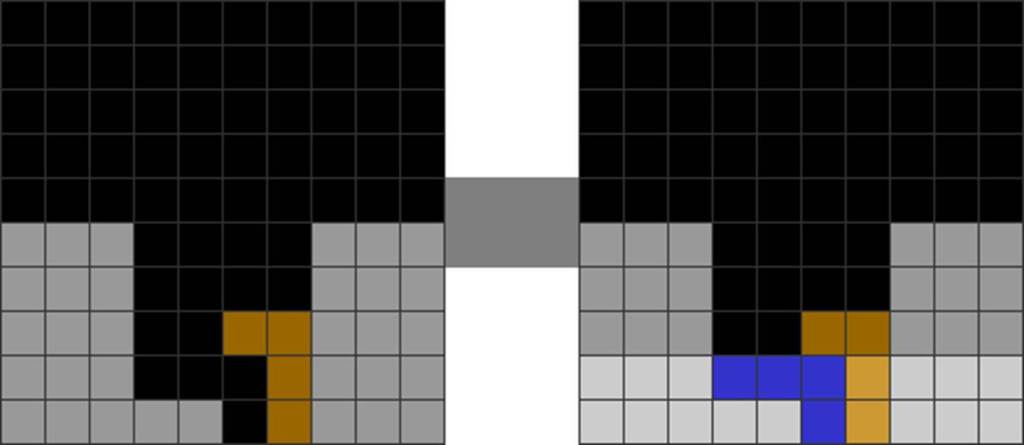
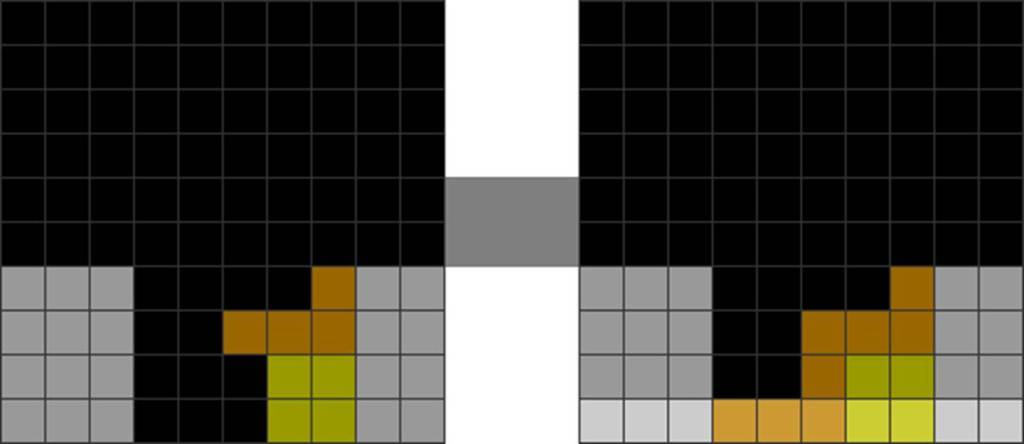
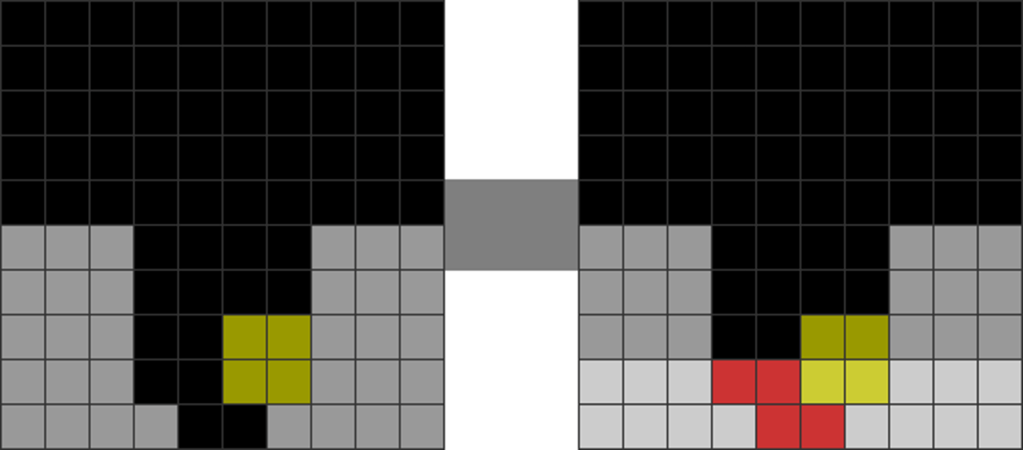
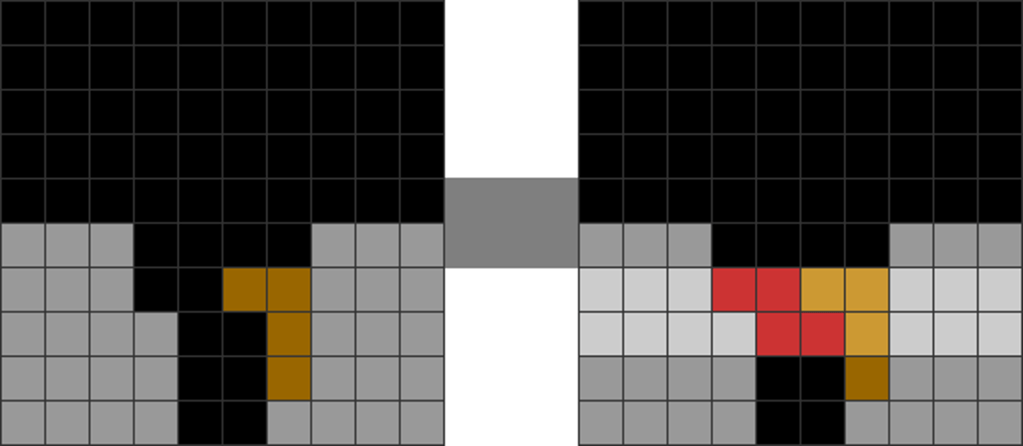
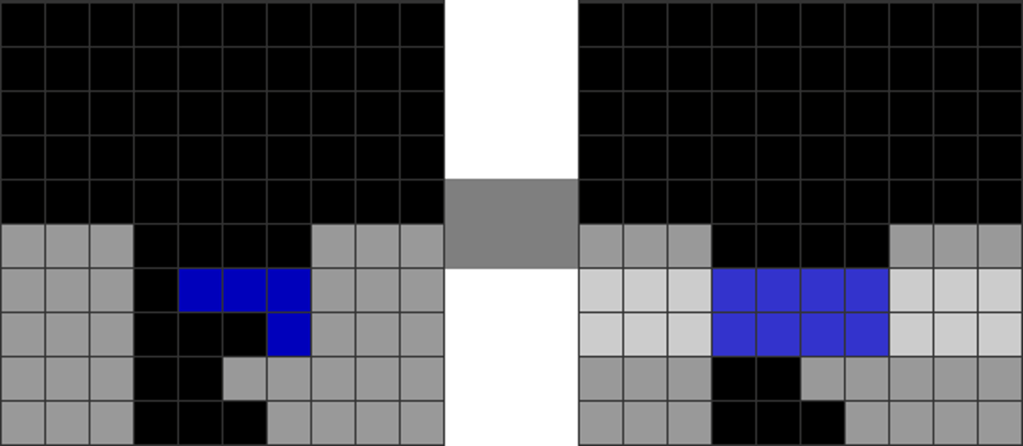
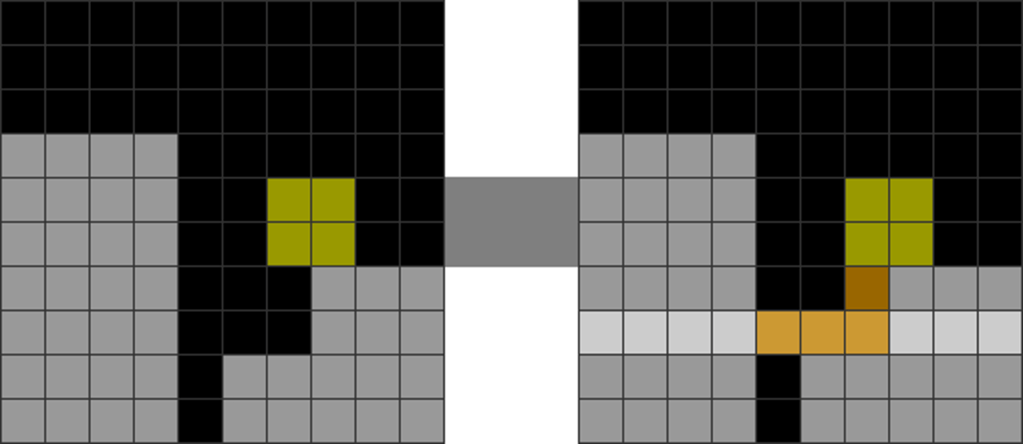
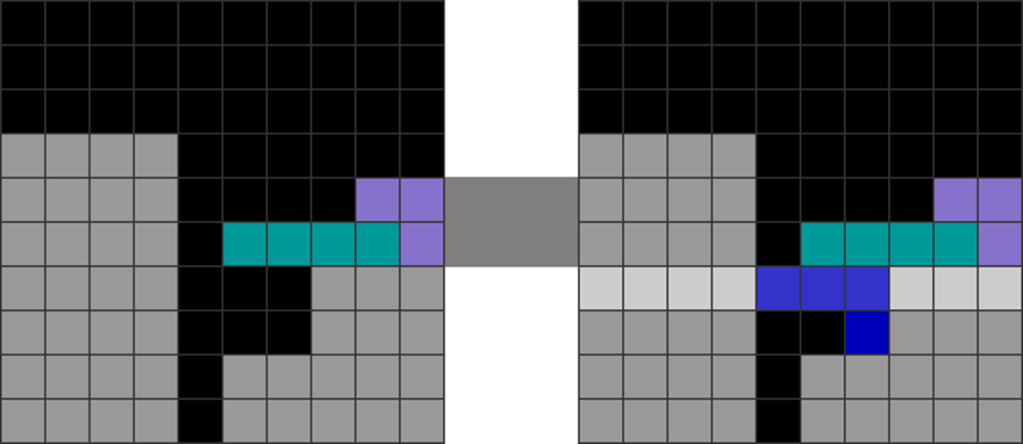
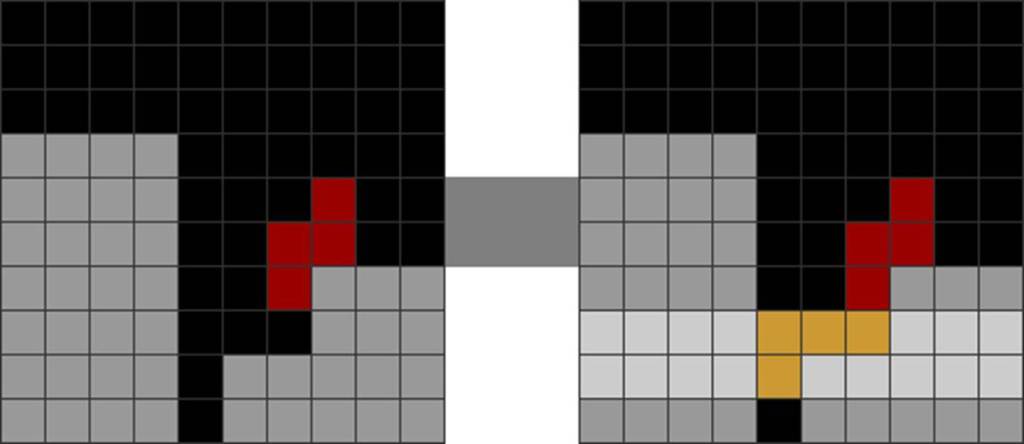
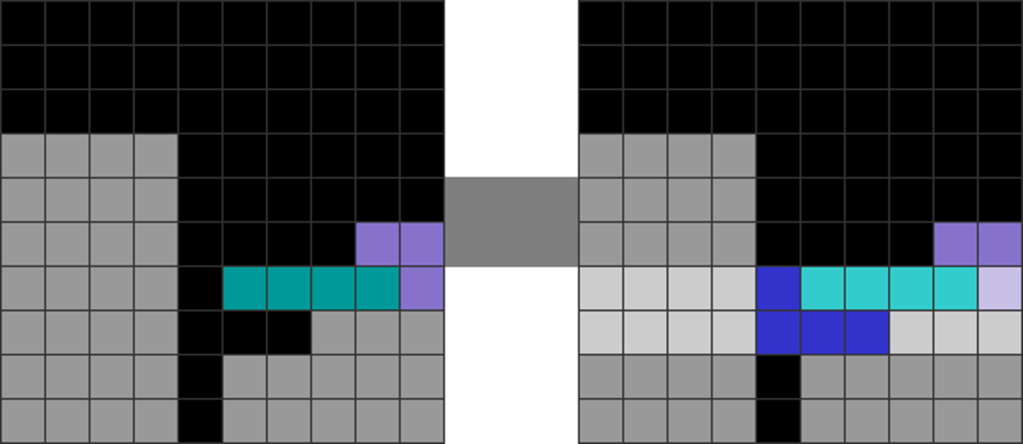
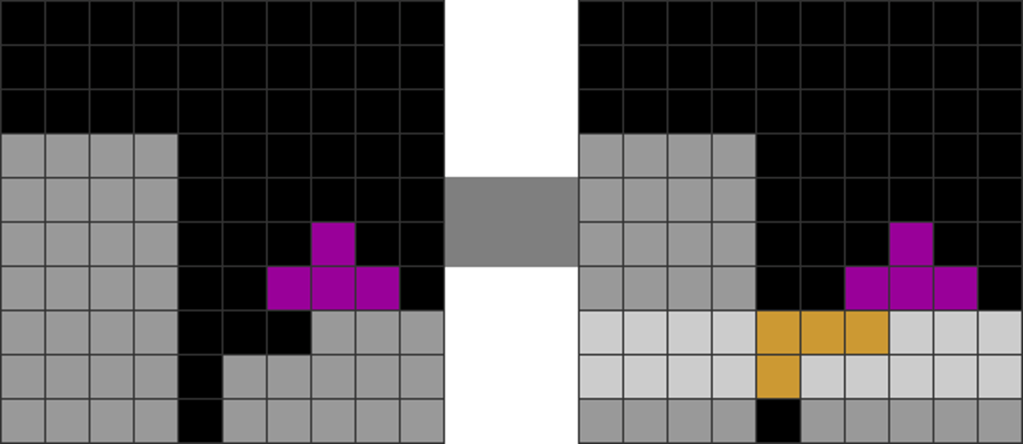
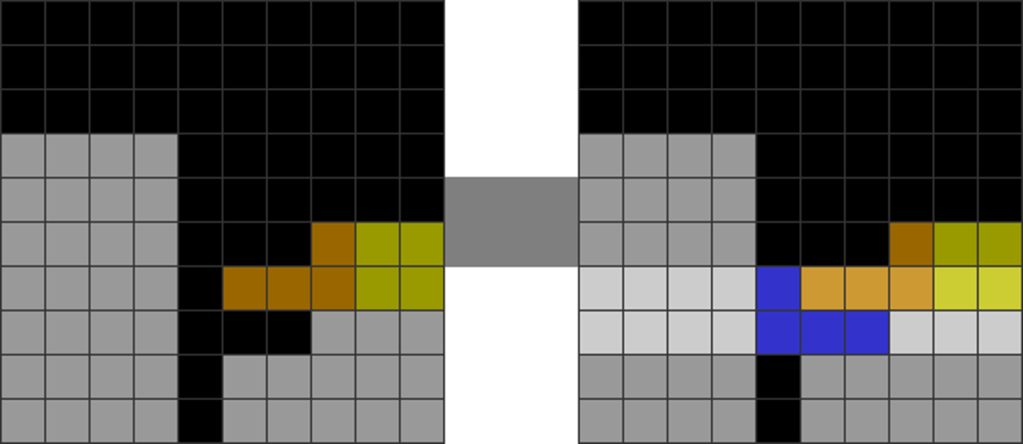
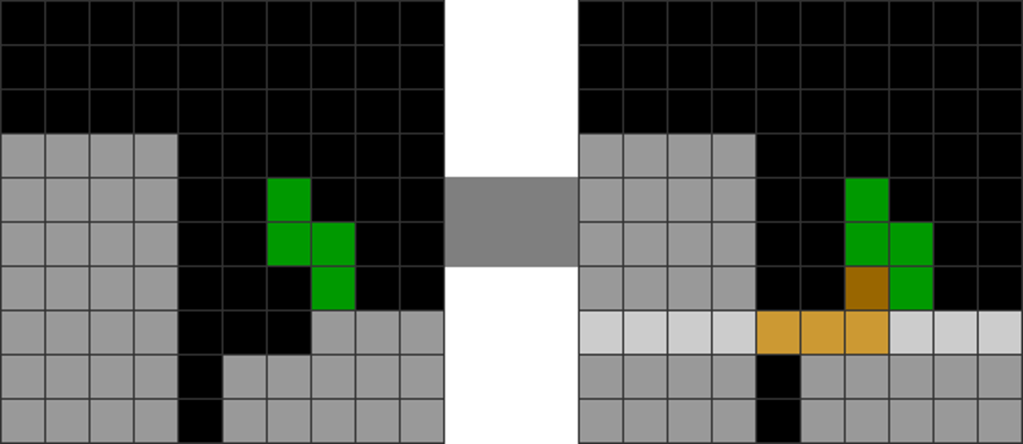
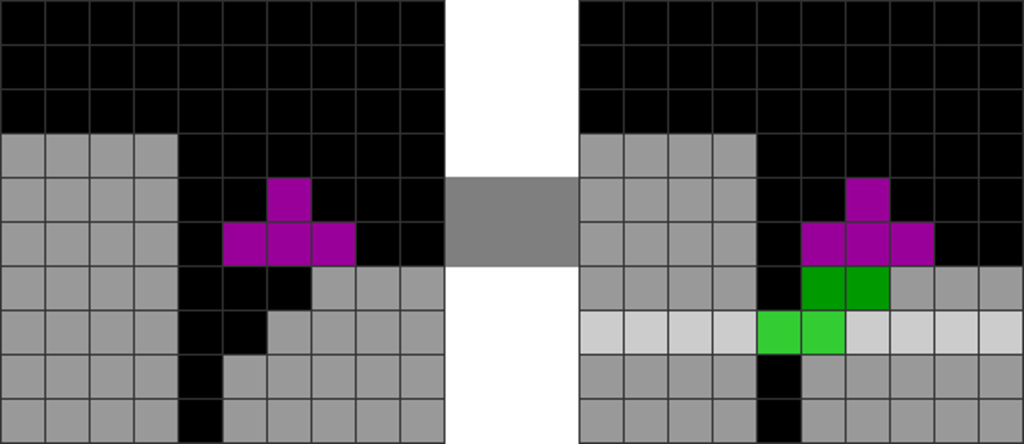
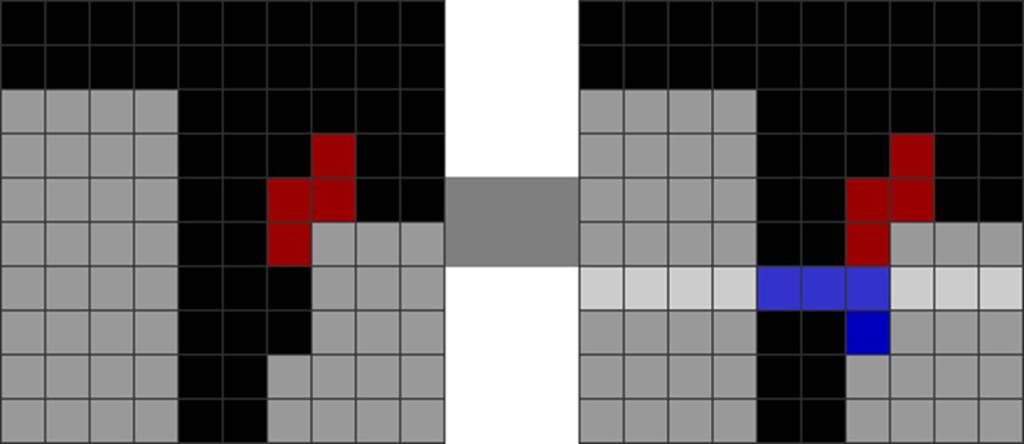
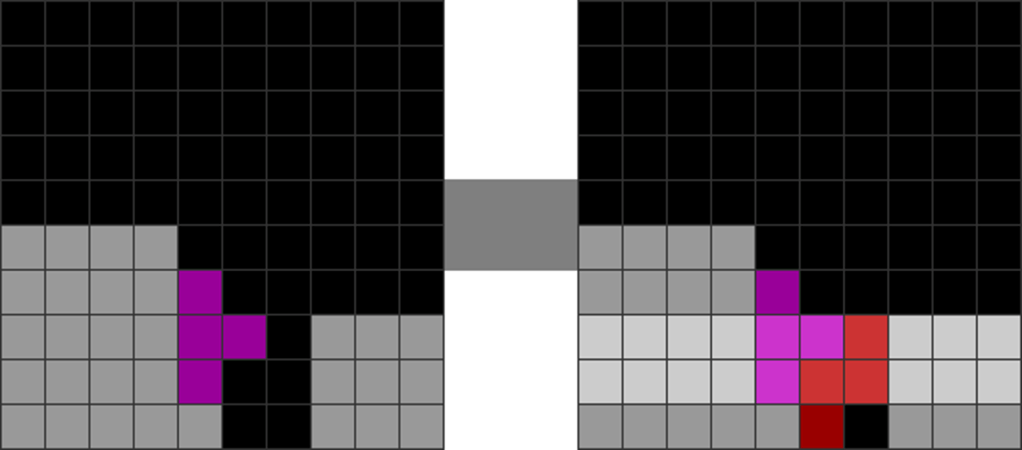
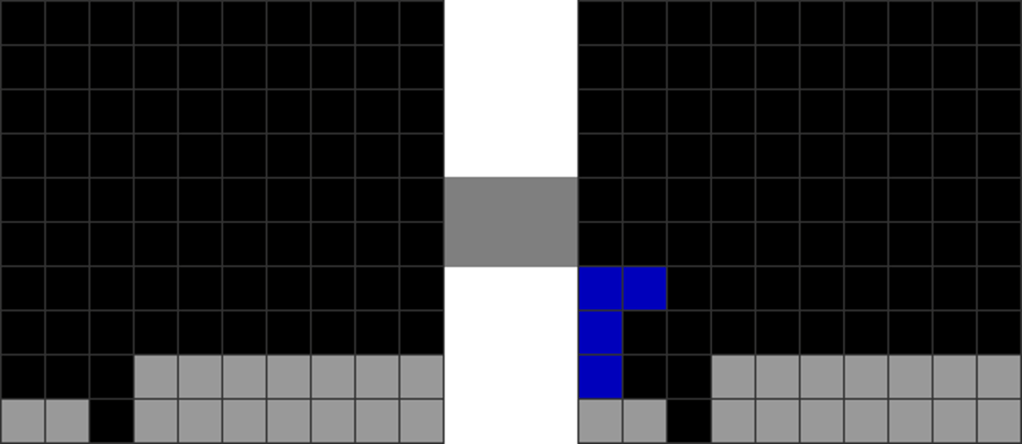
Many non-T-spin all-spins do not involve using a T to make the line clear, reducing firepower. Also, as Book 2’s Parity Management chapter has explained, the singles, triples, and separate line clears created by the all-spin can most likely alter local parity:
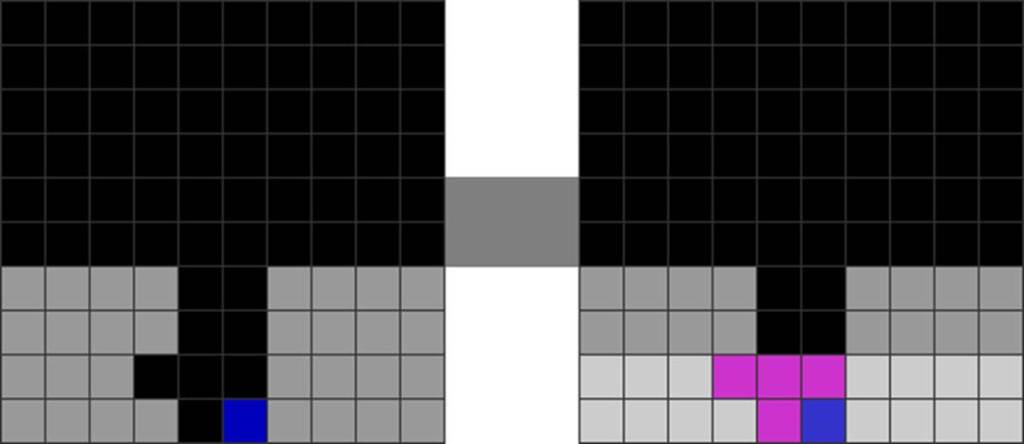
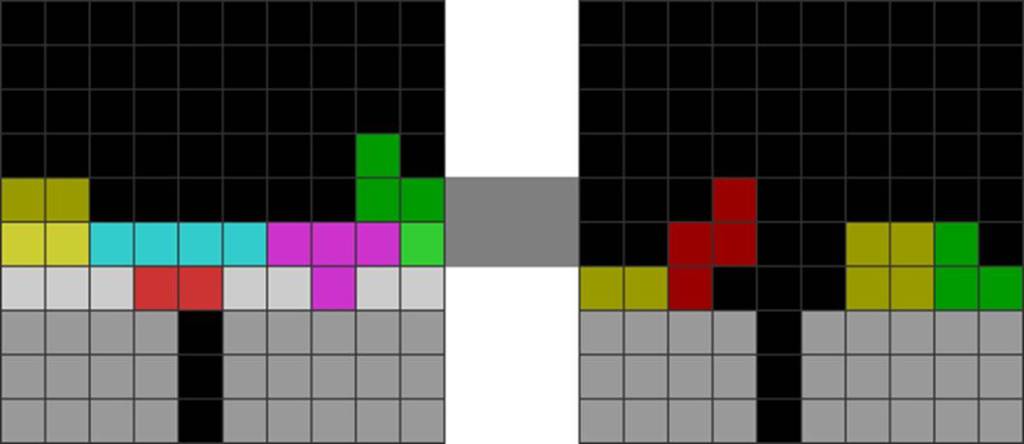
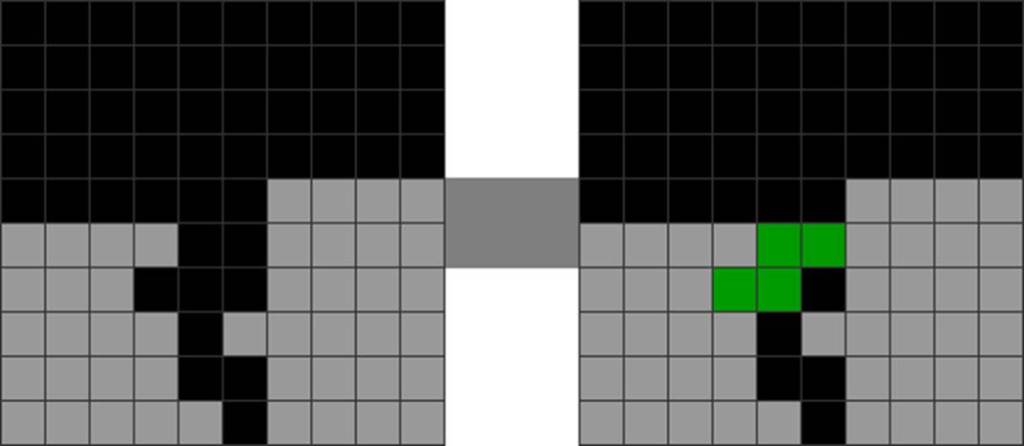
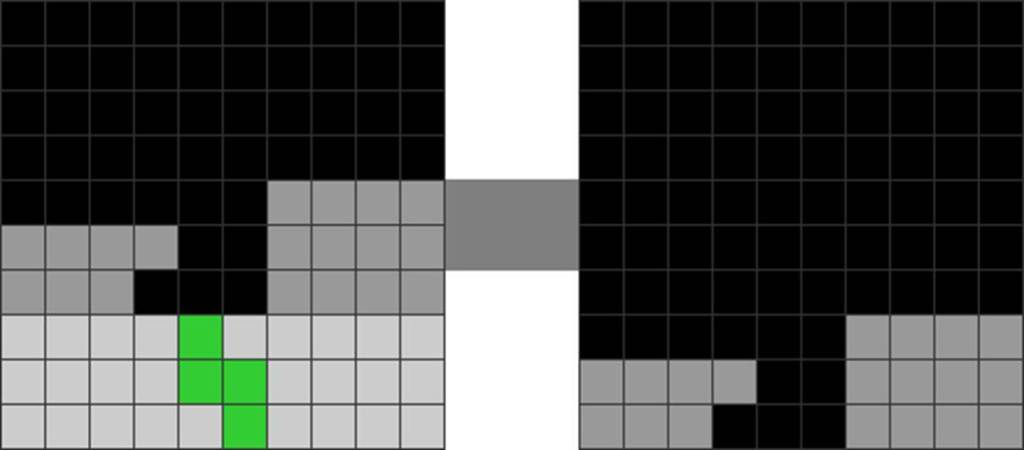
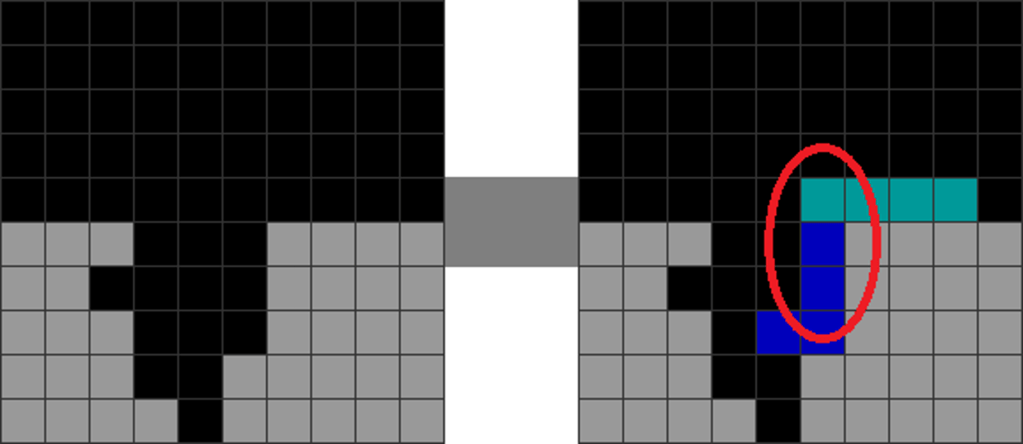
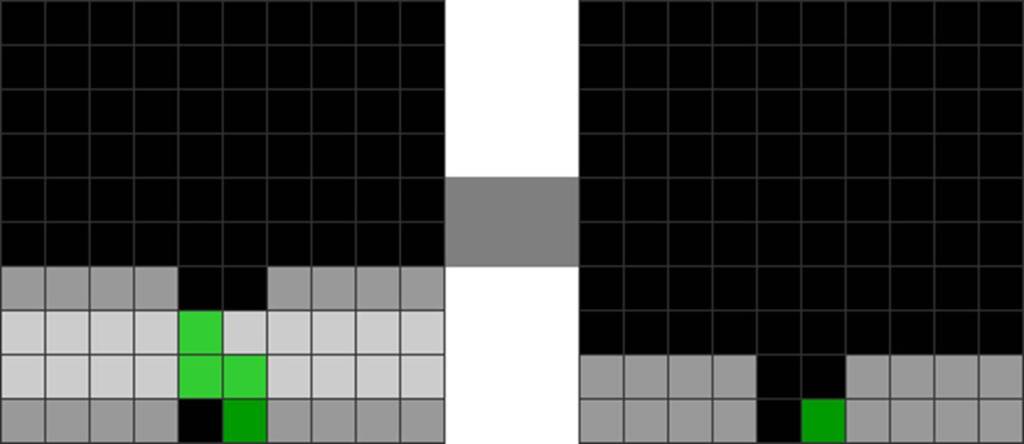
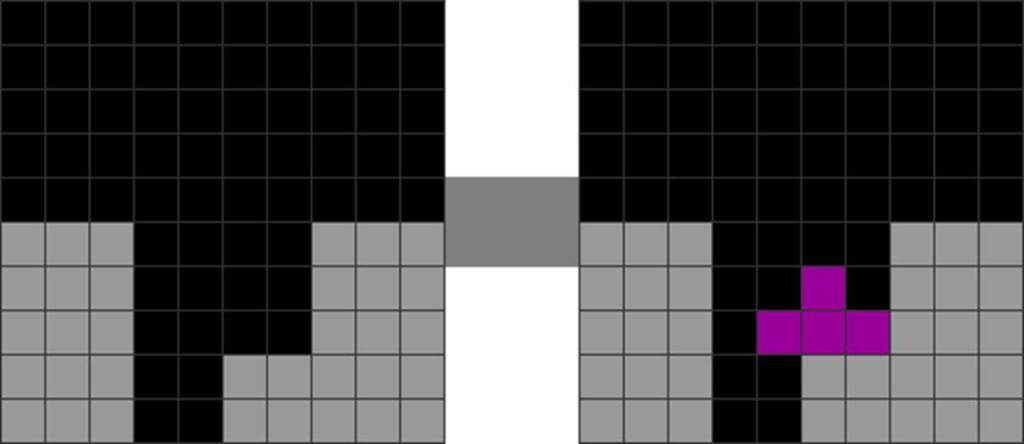
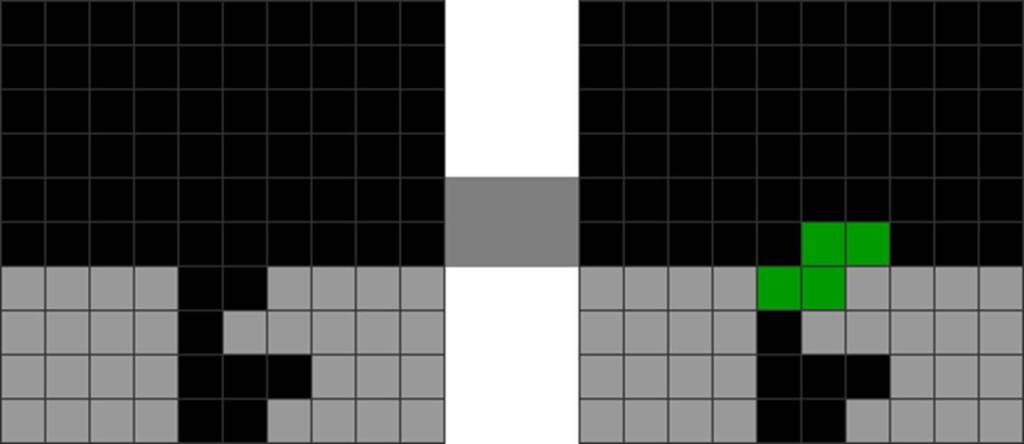
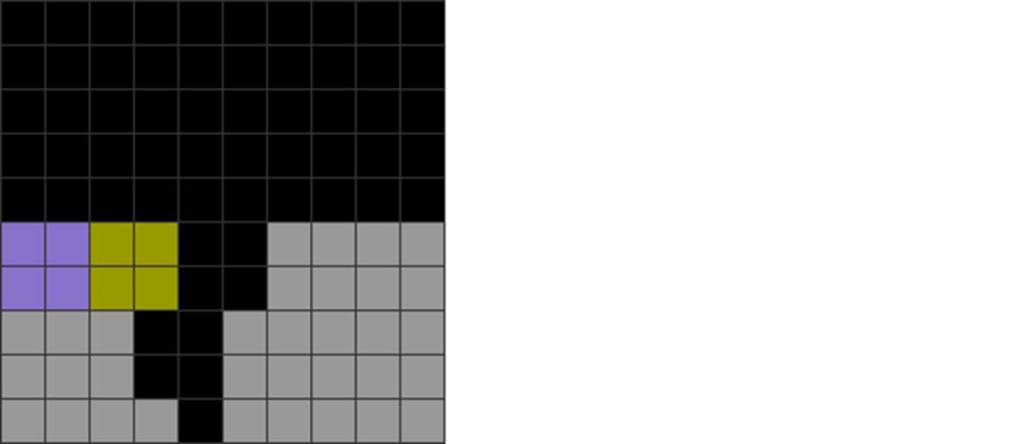
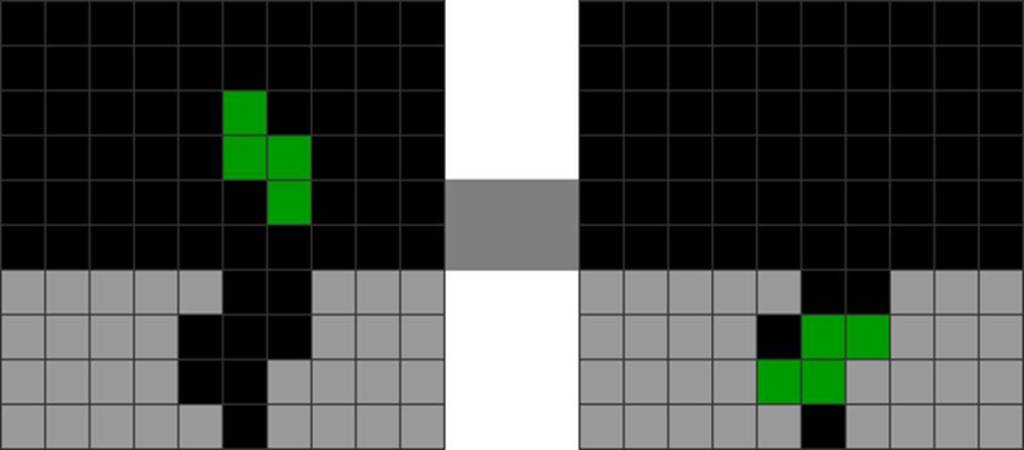
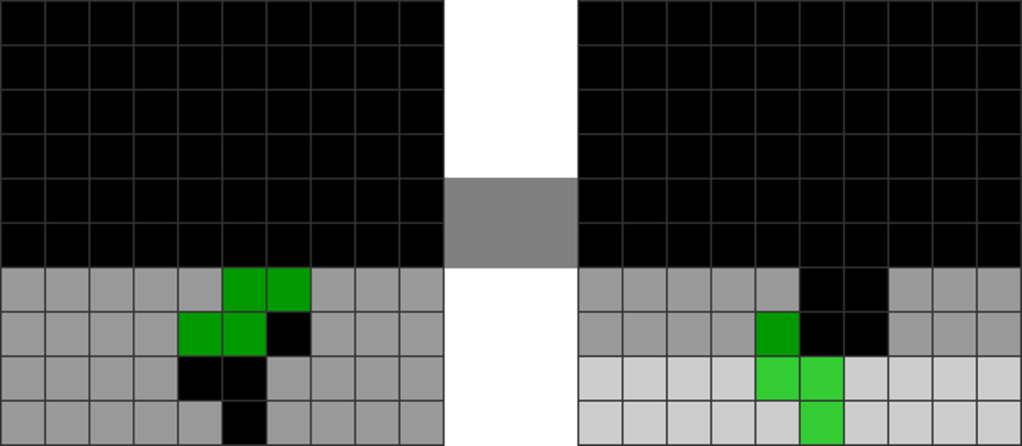
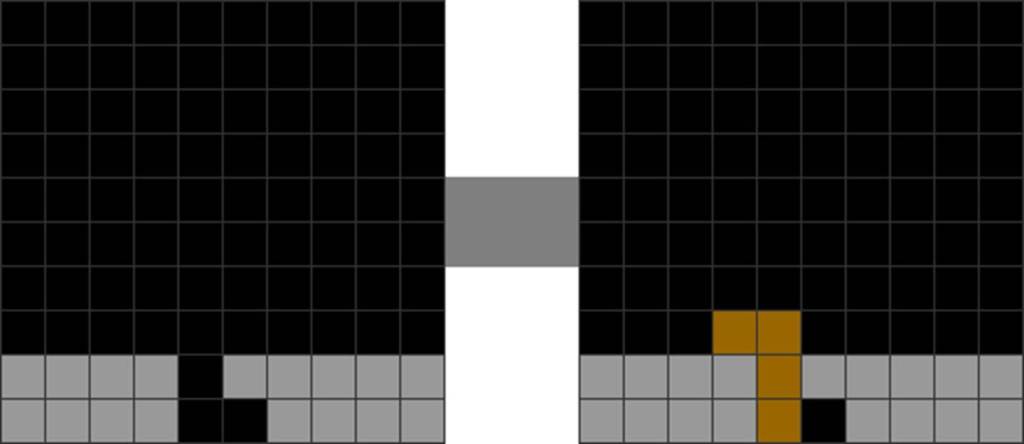
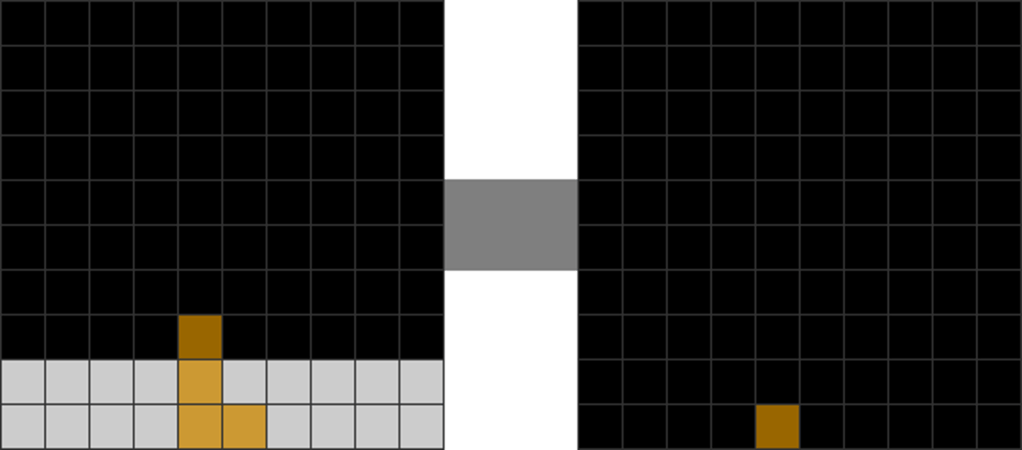
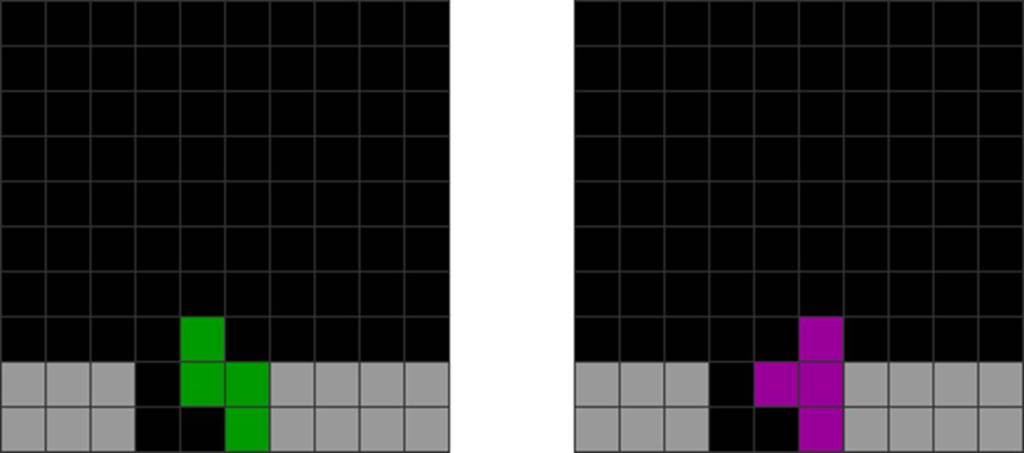
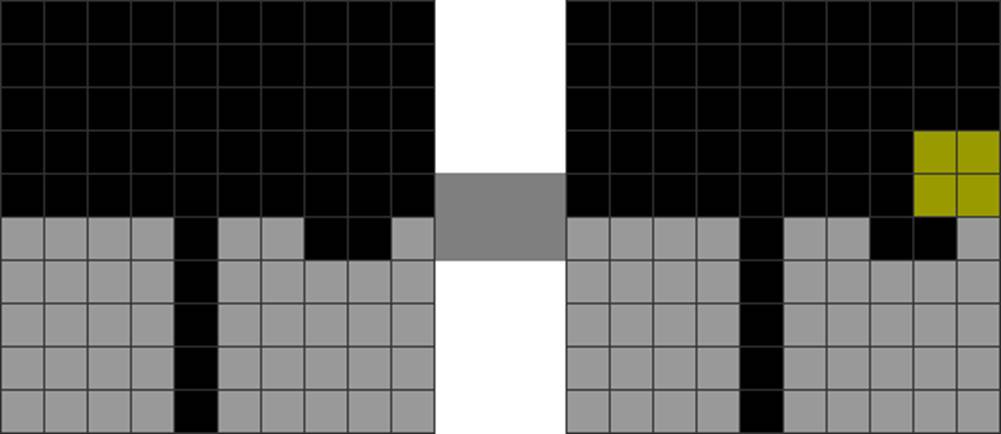
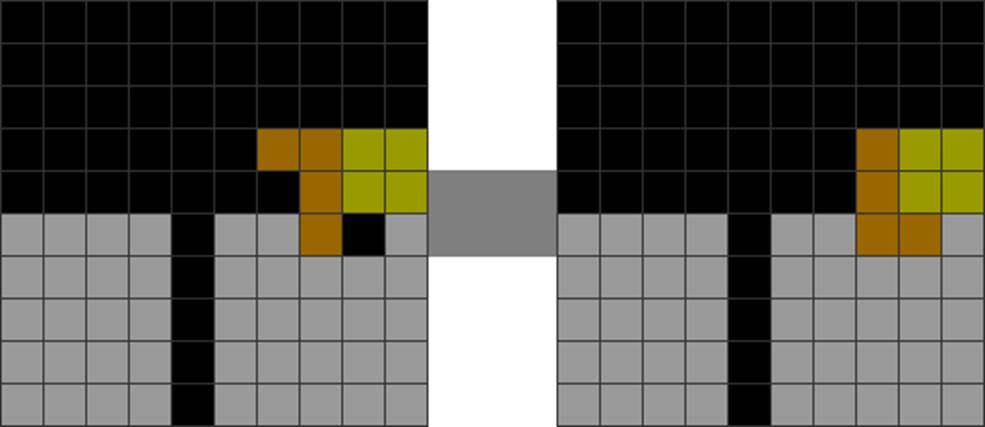
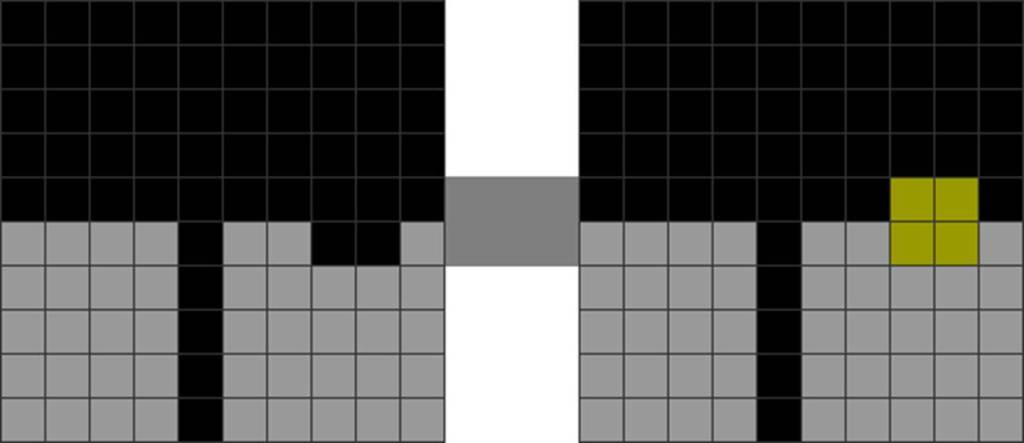
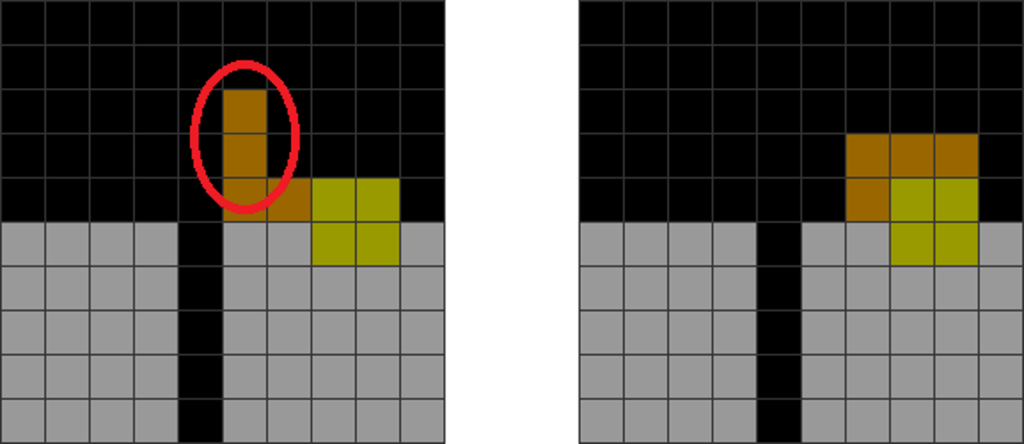
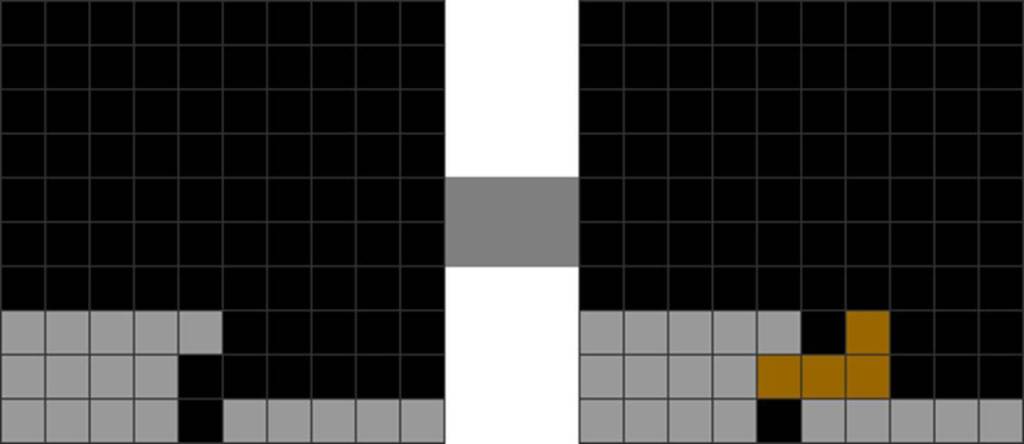
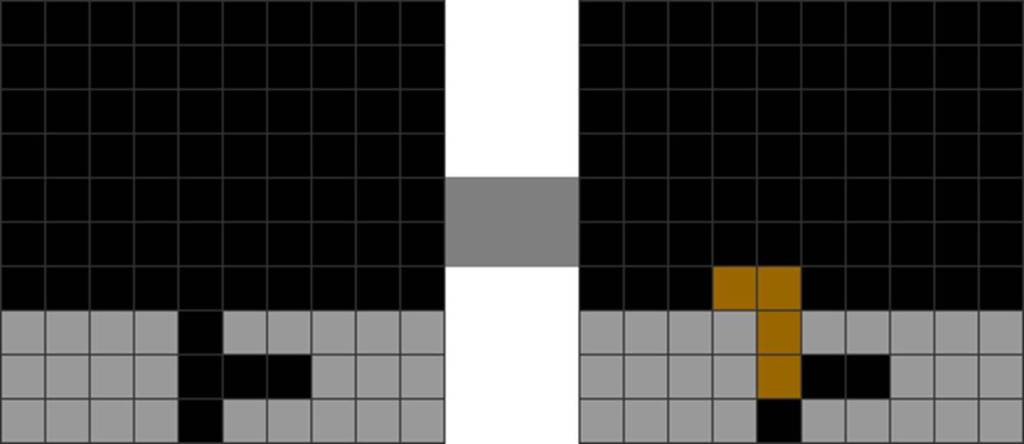
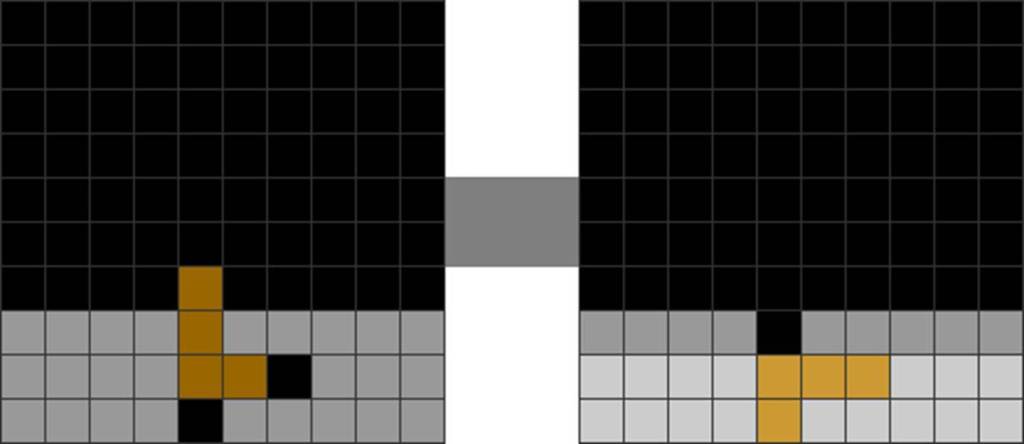
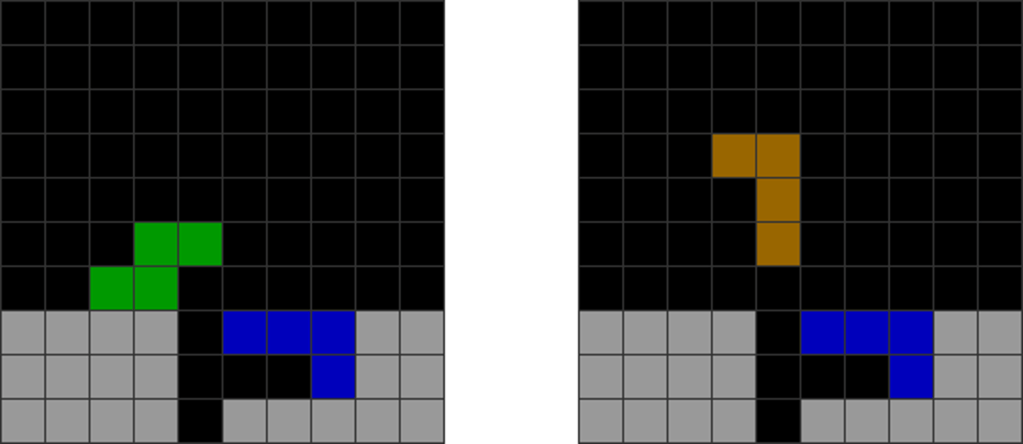
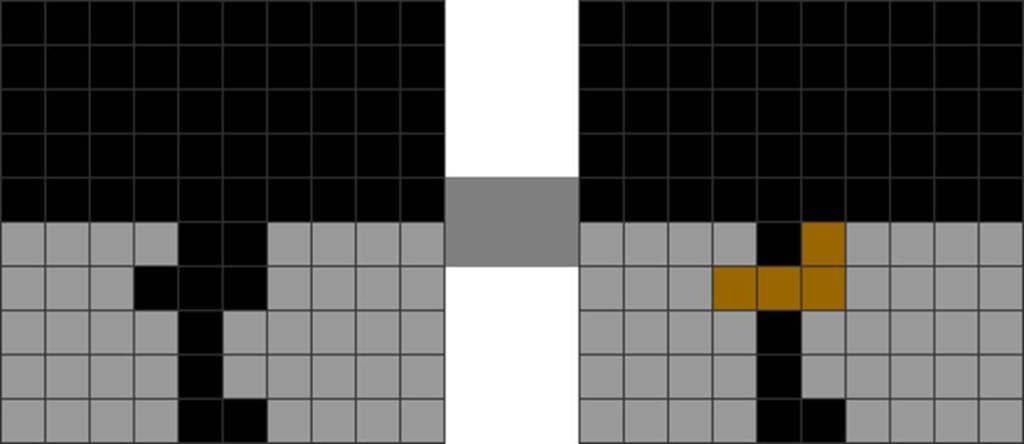
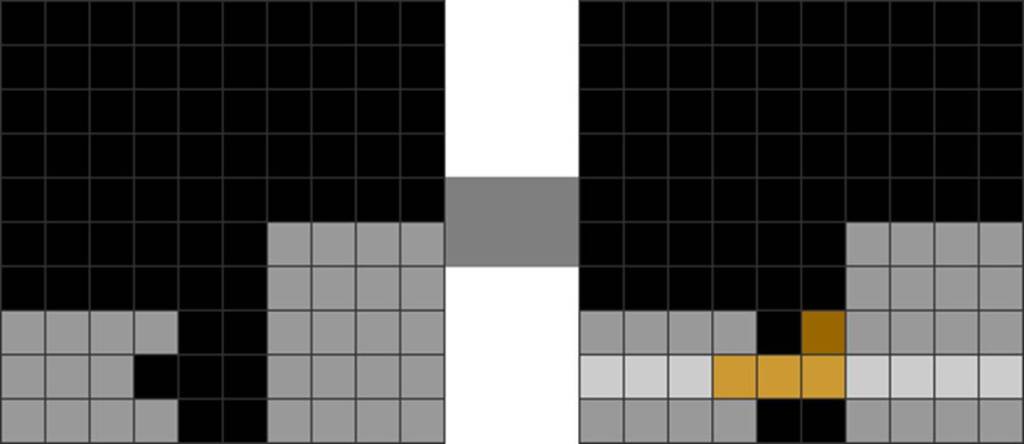
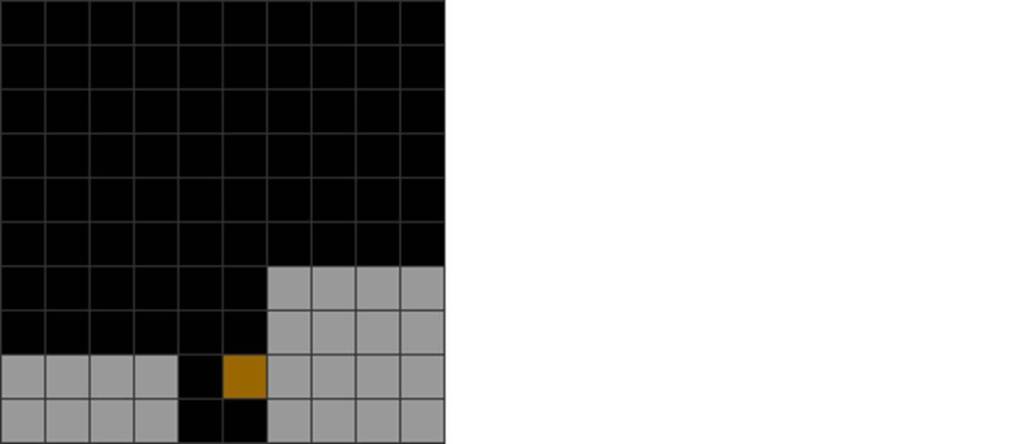
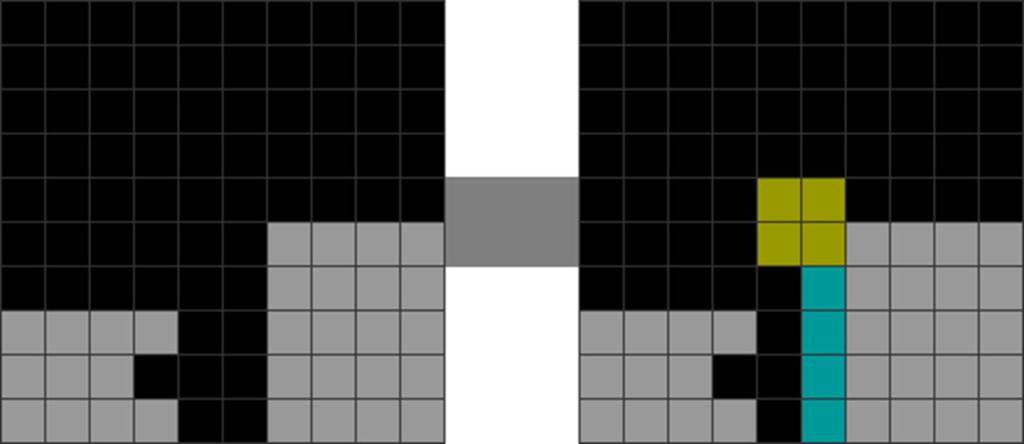
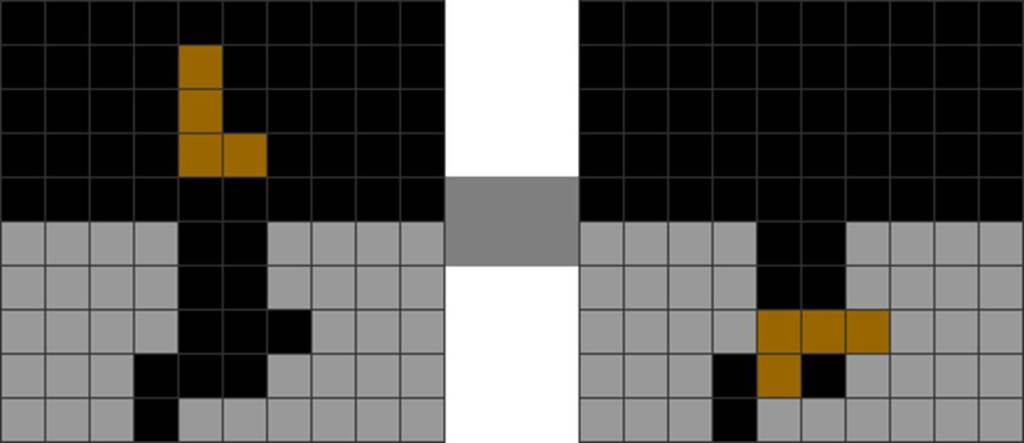
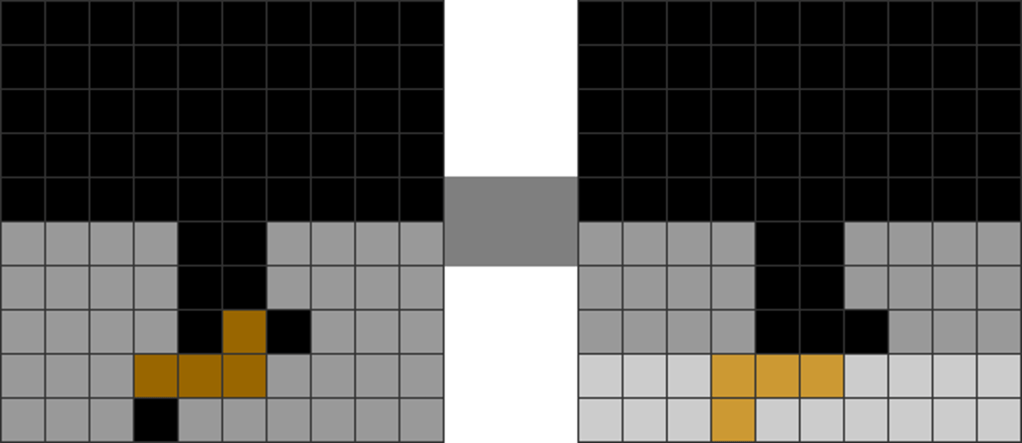
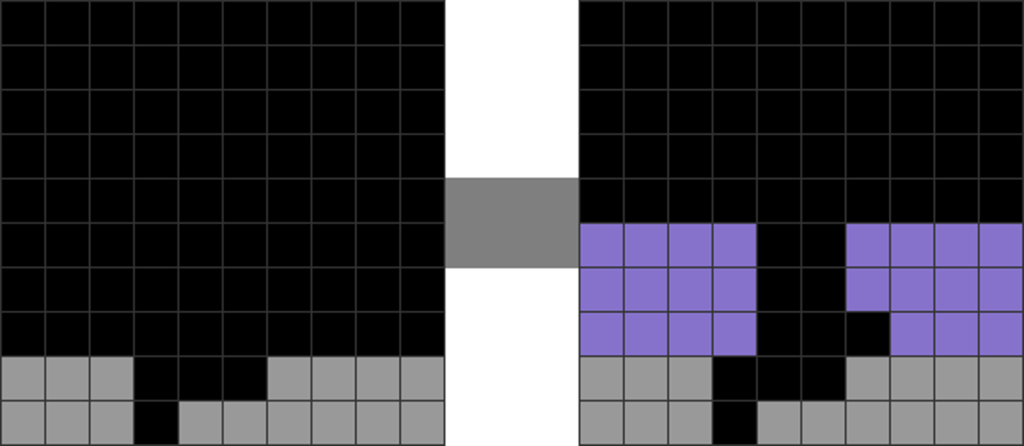
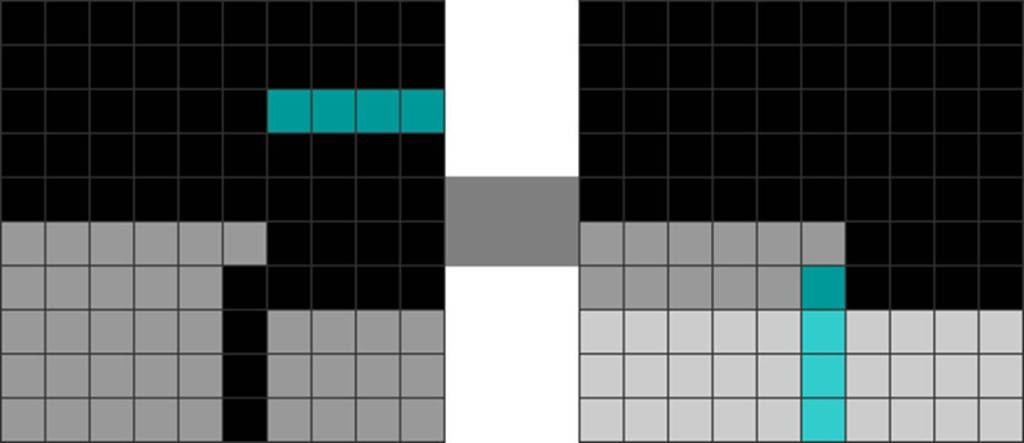
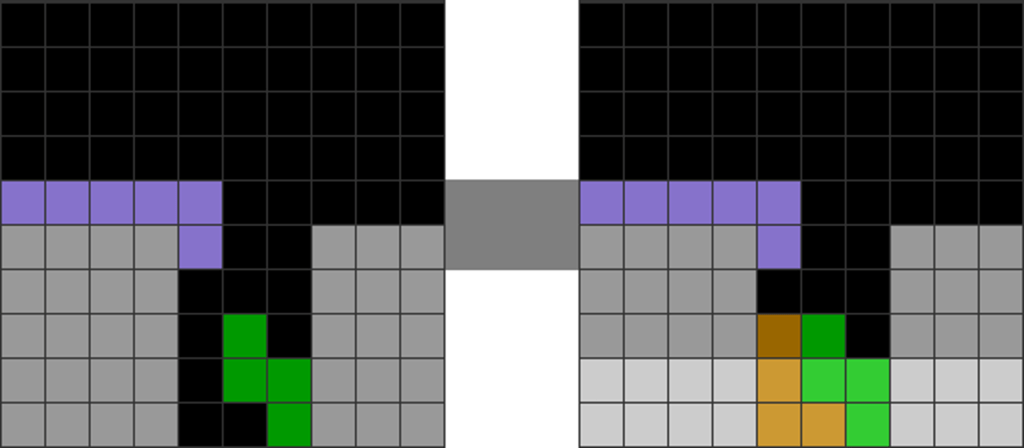
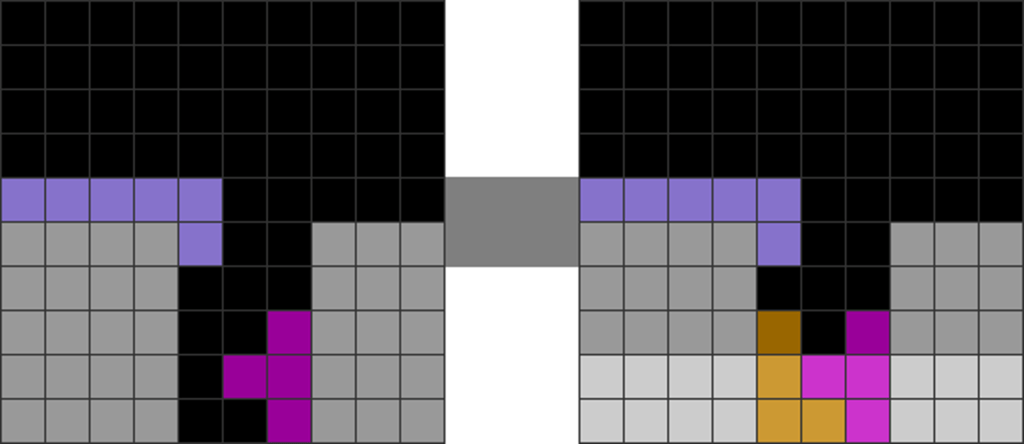
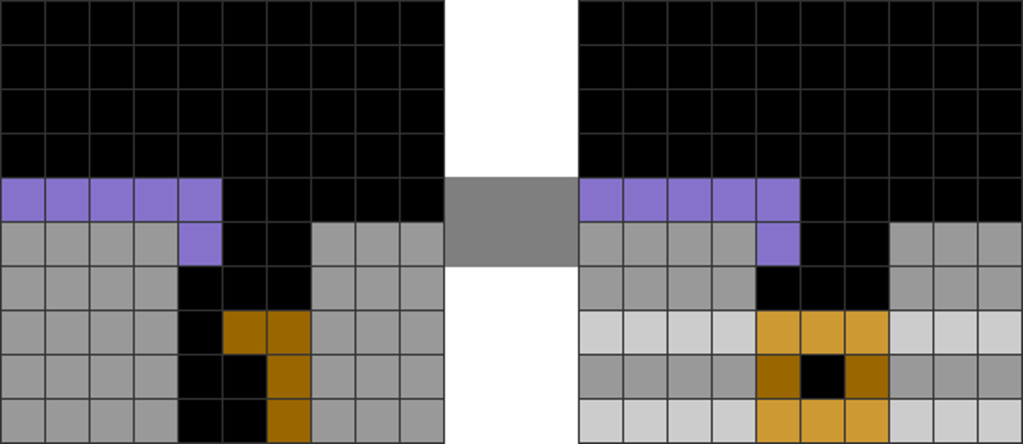
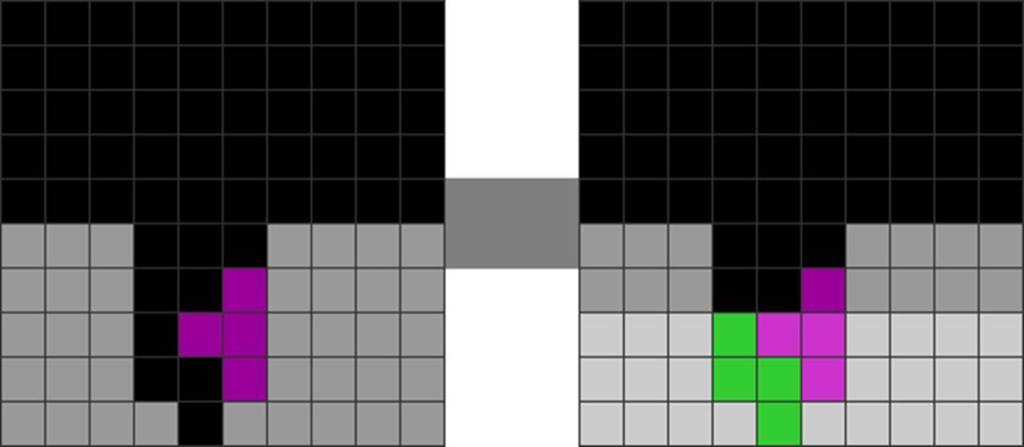
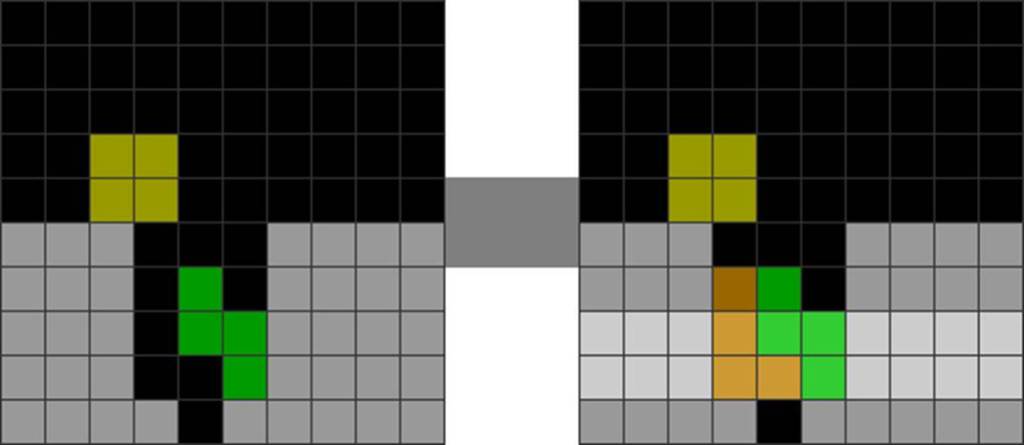
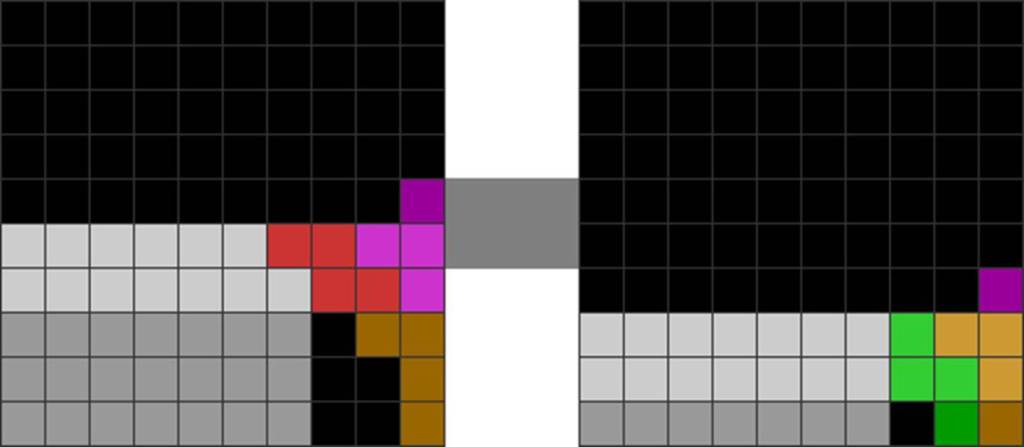
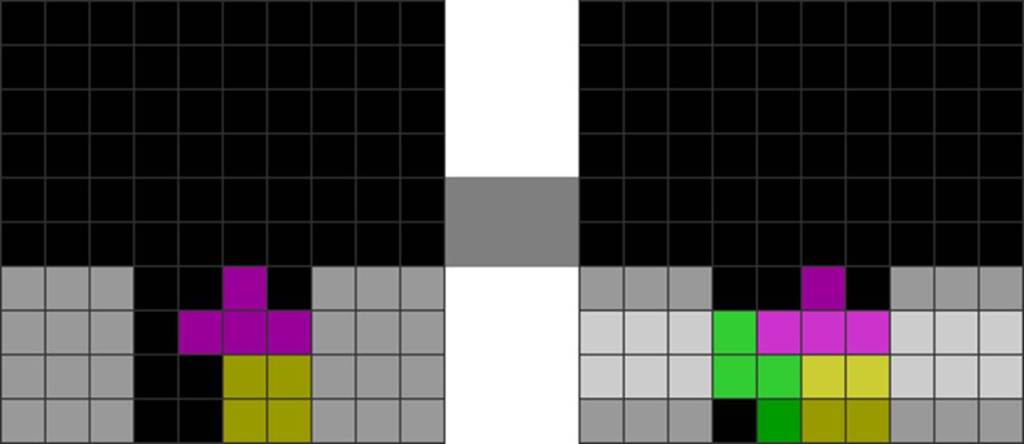
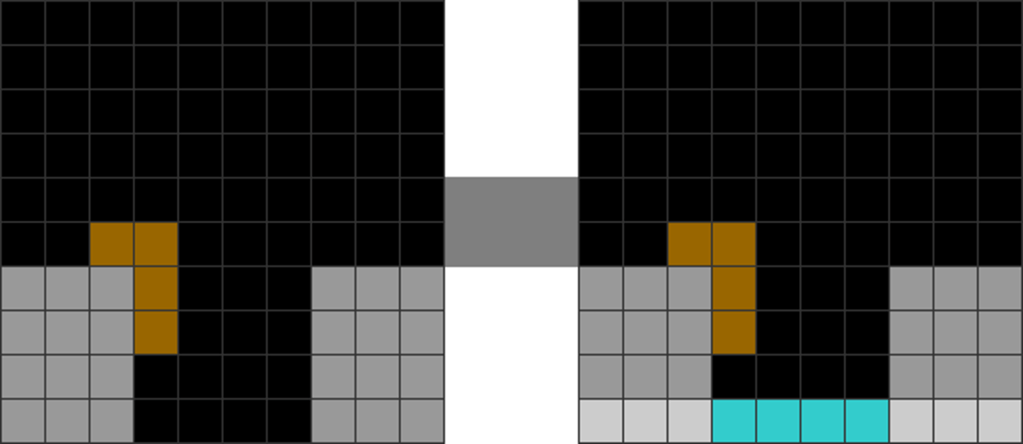
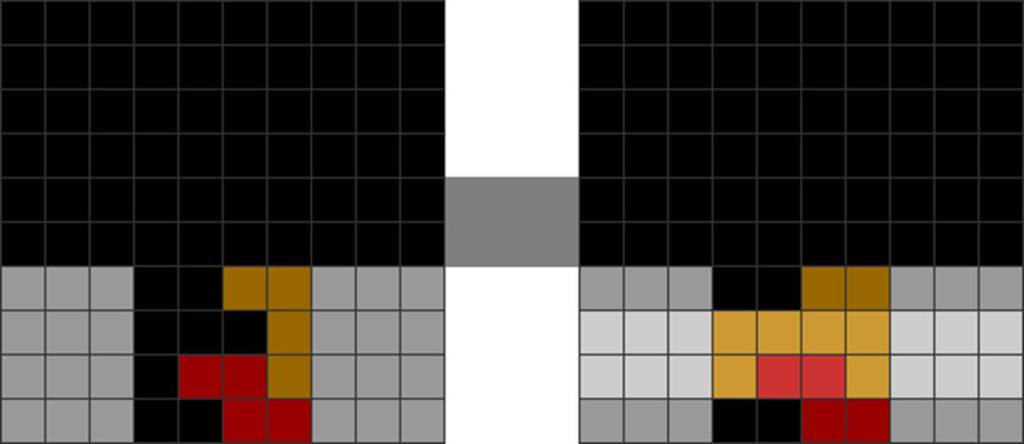
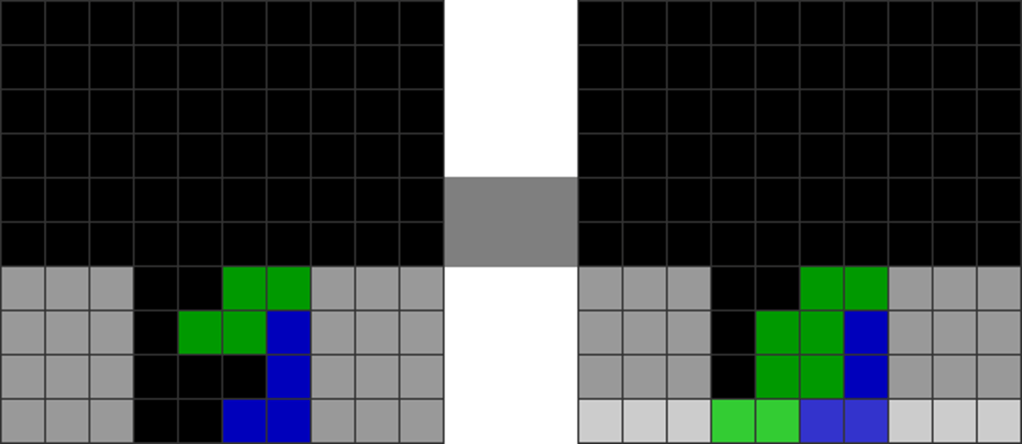
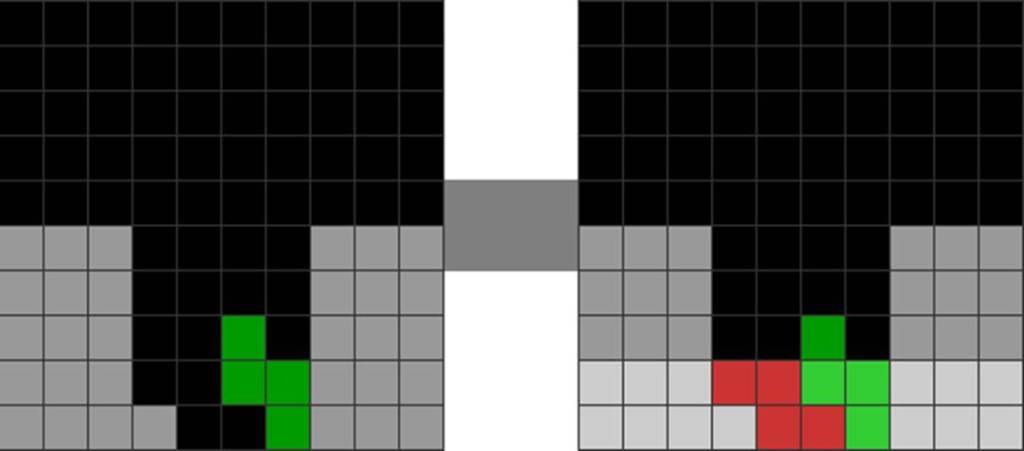
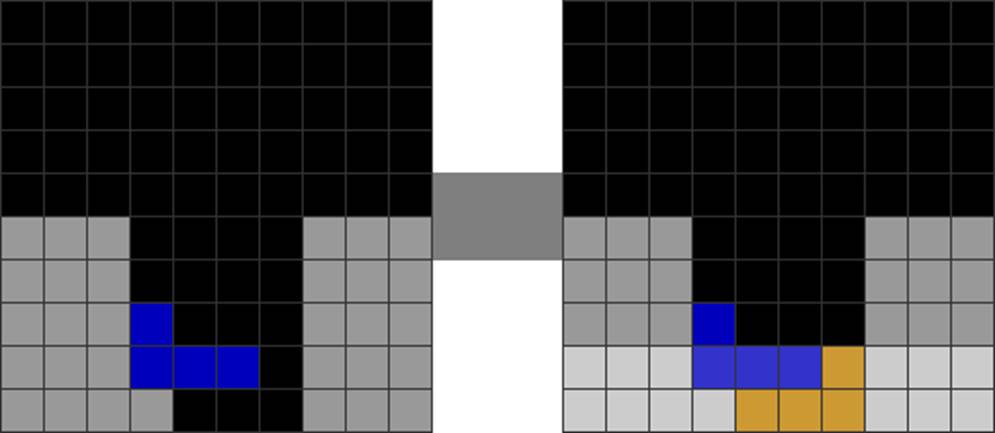
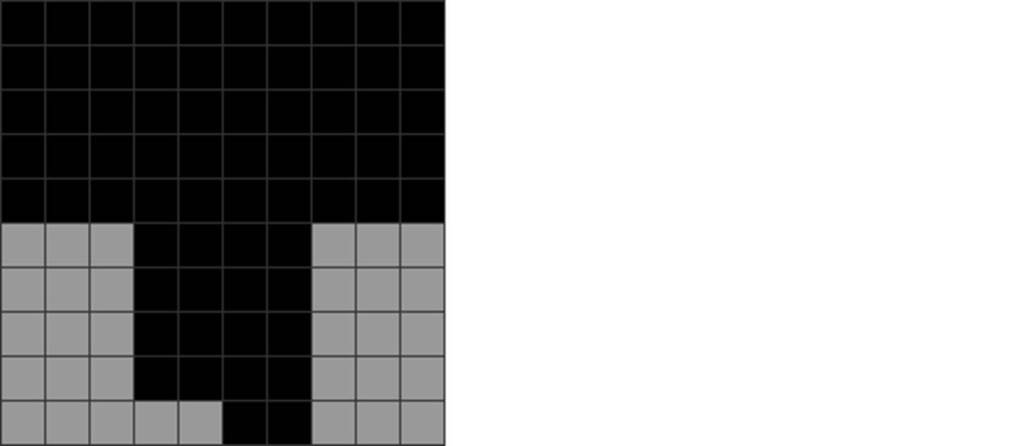
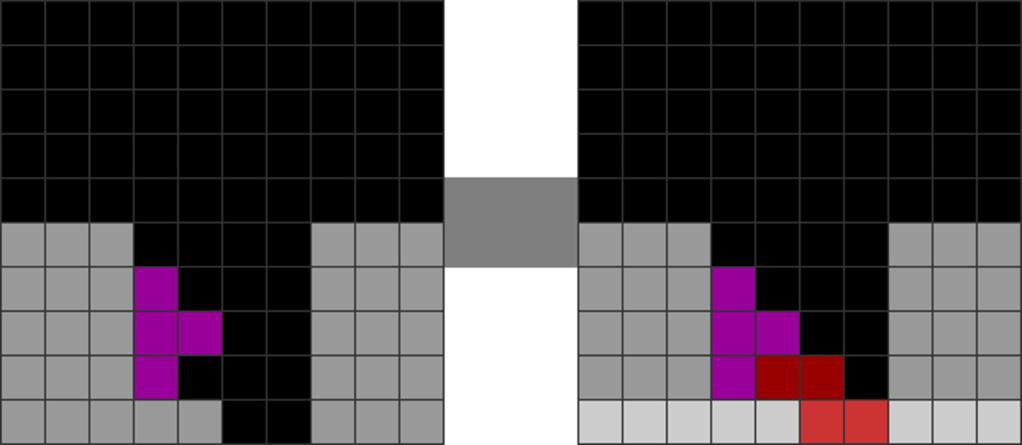
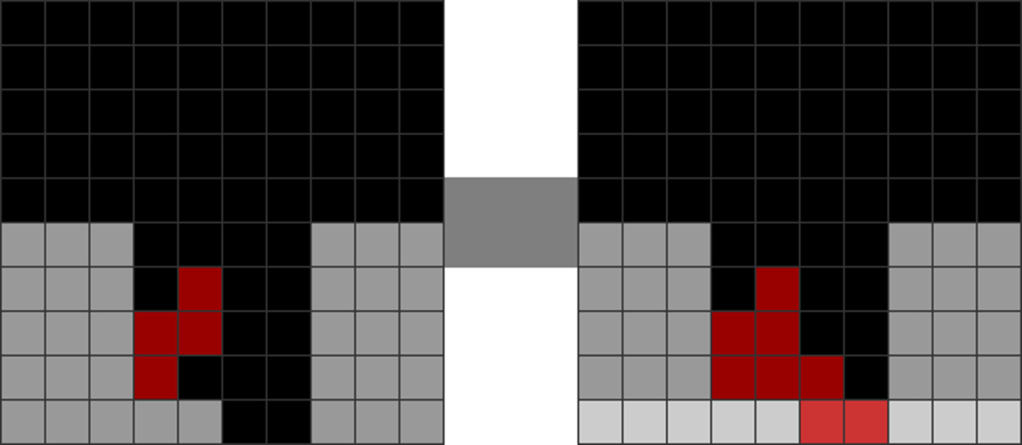
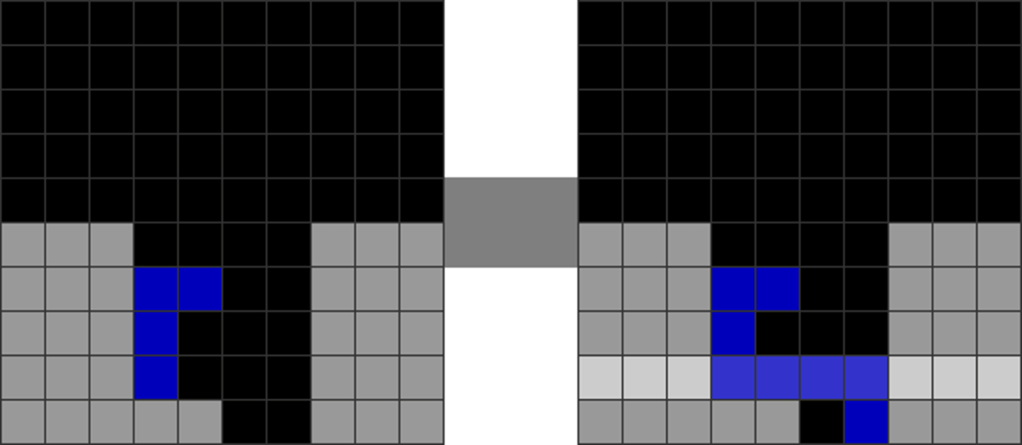
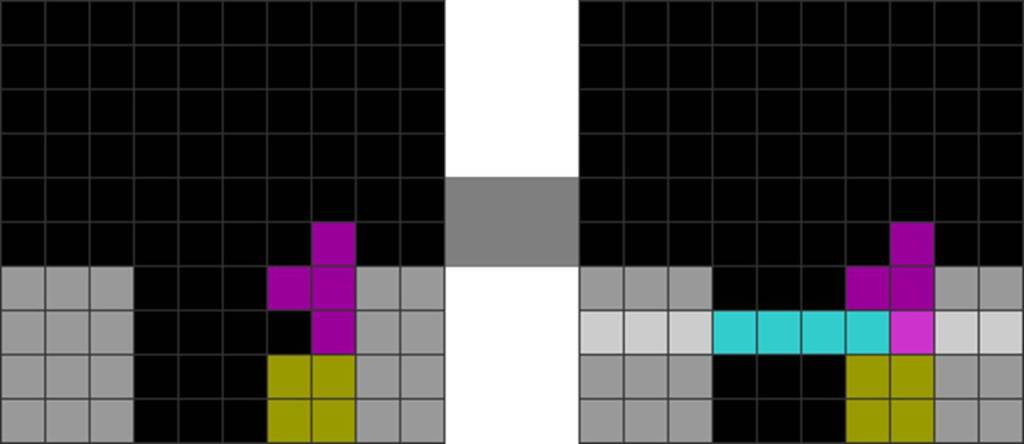
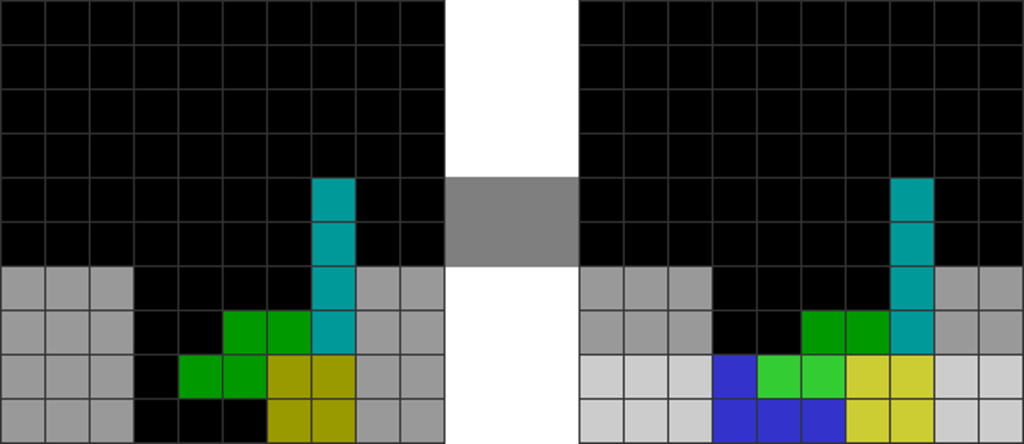
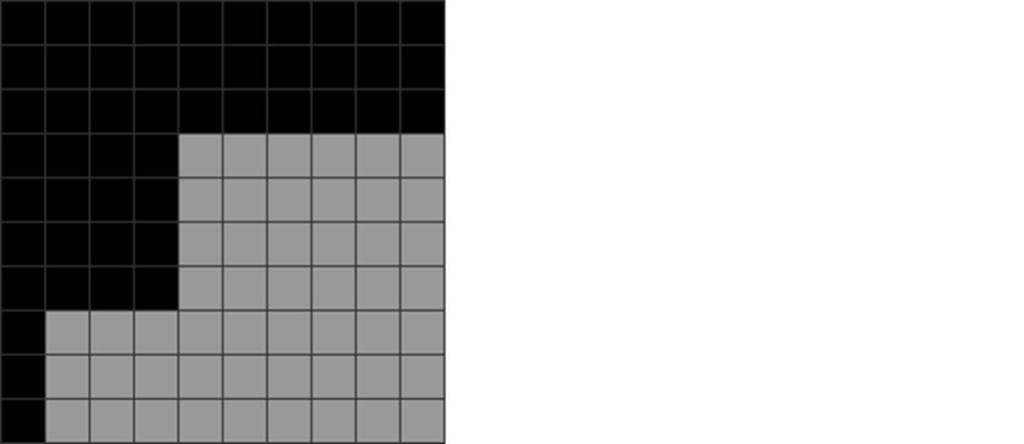
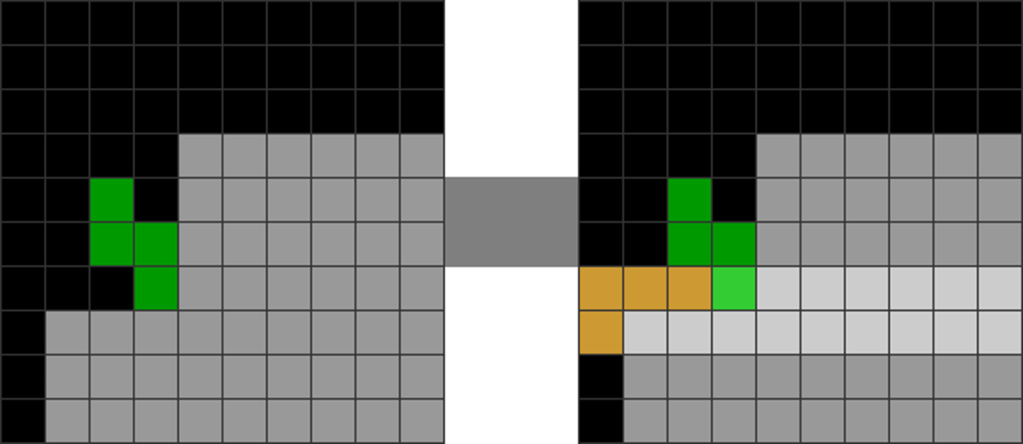
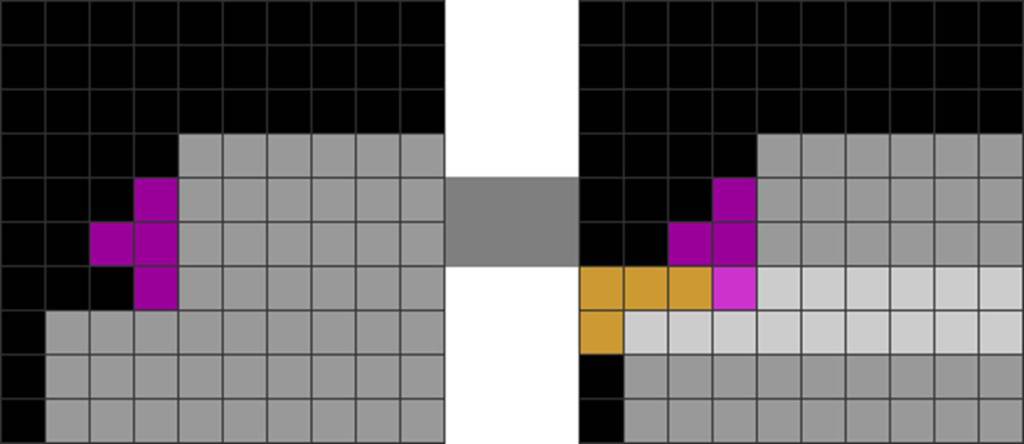
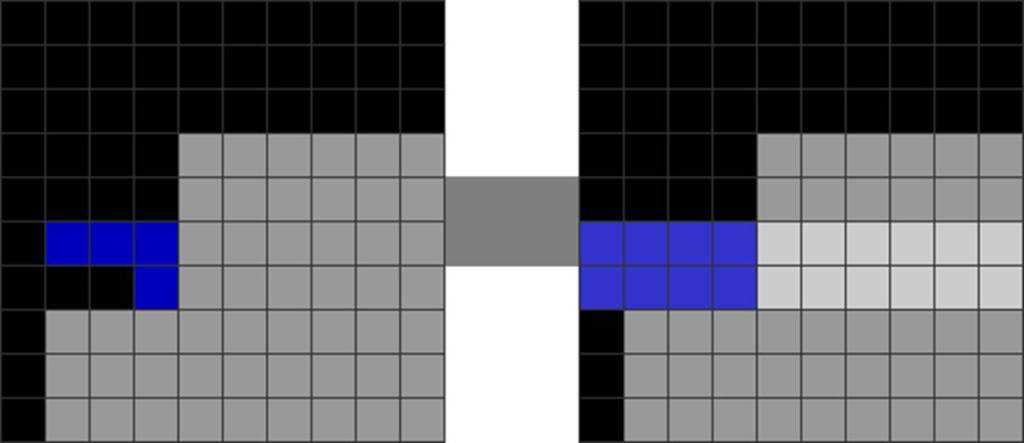
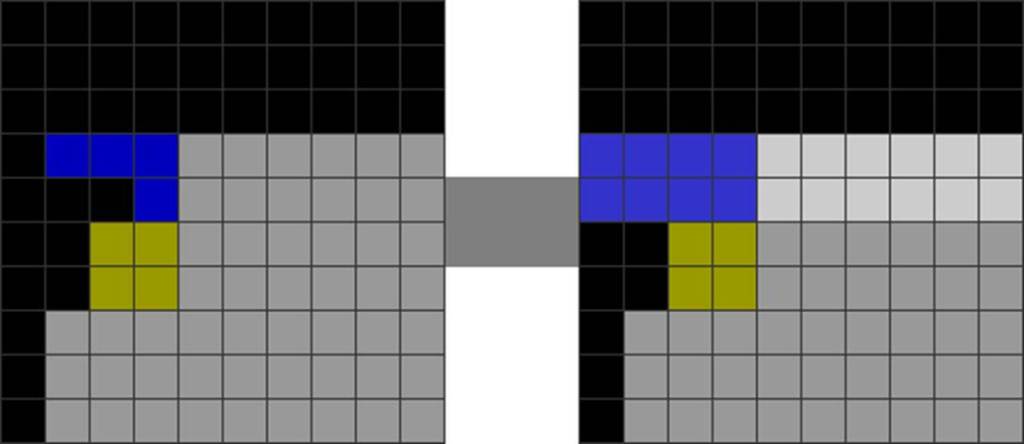
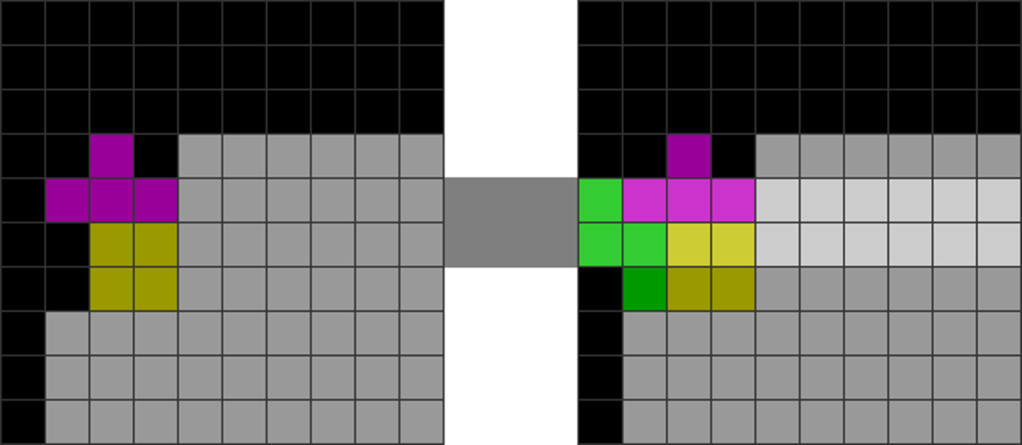
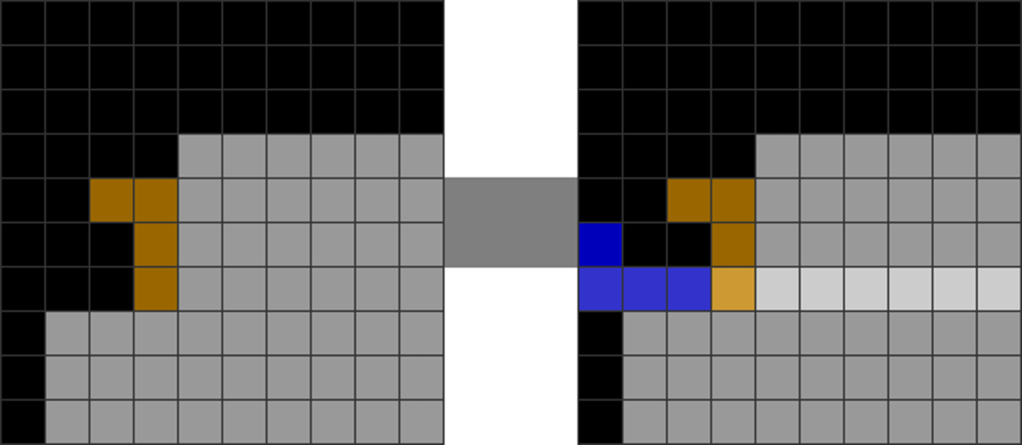
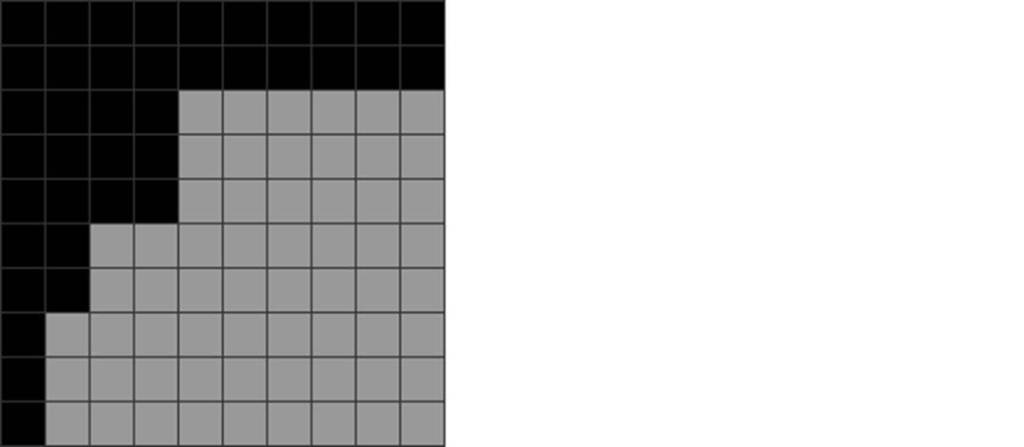
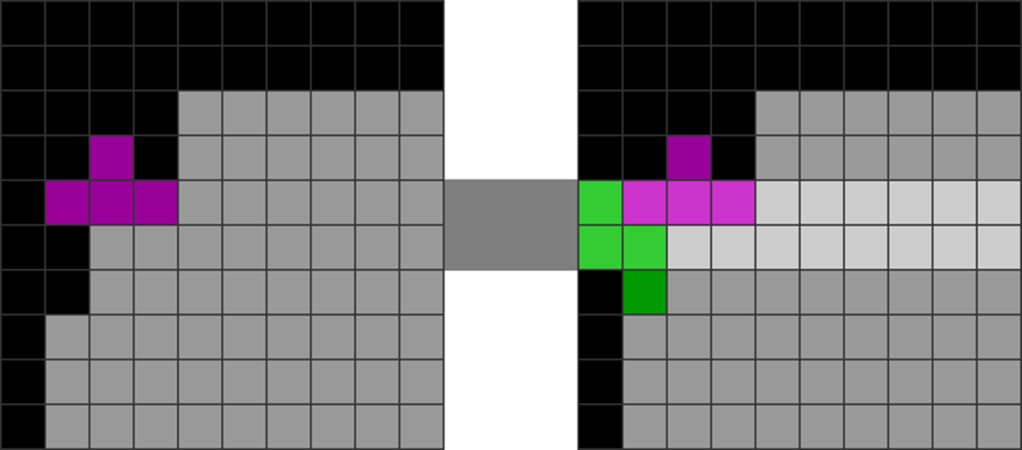
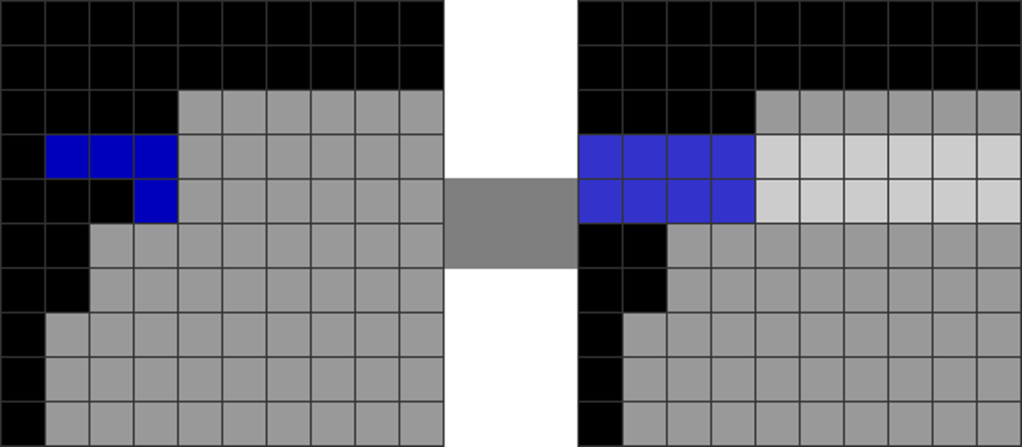
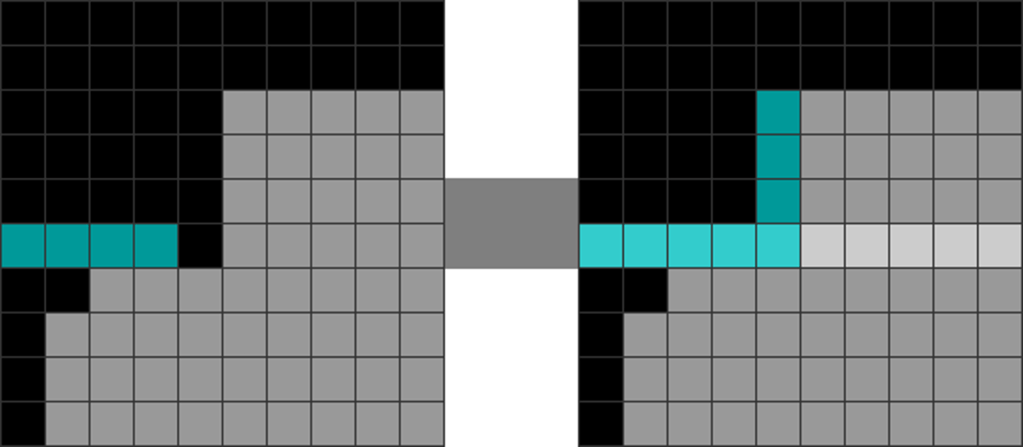
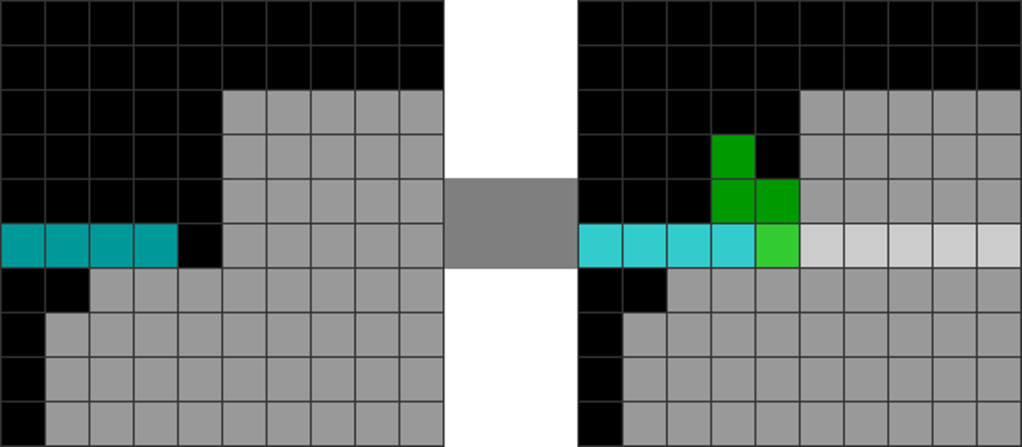
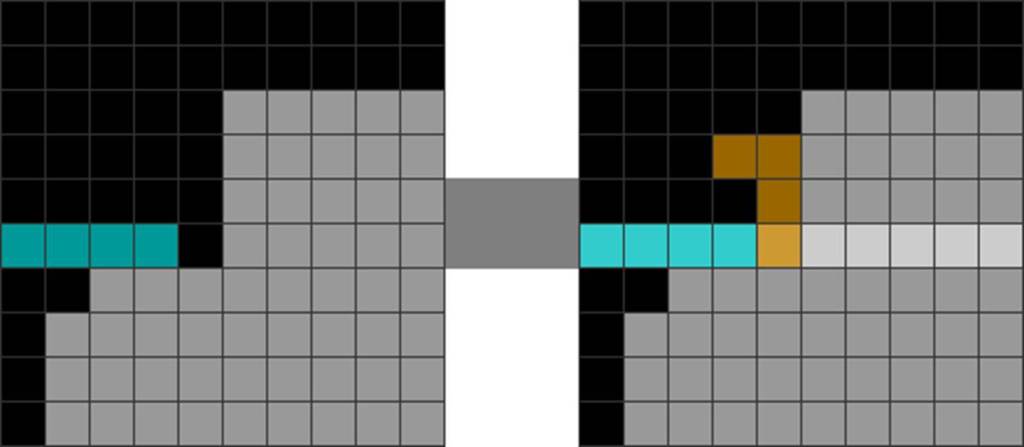
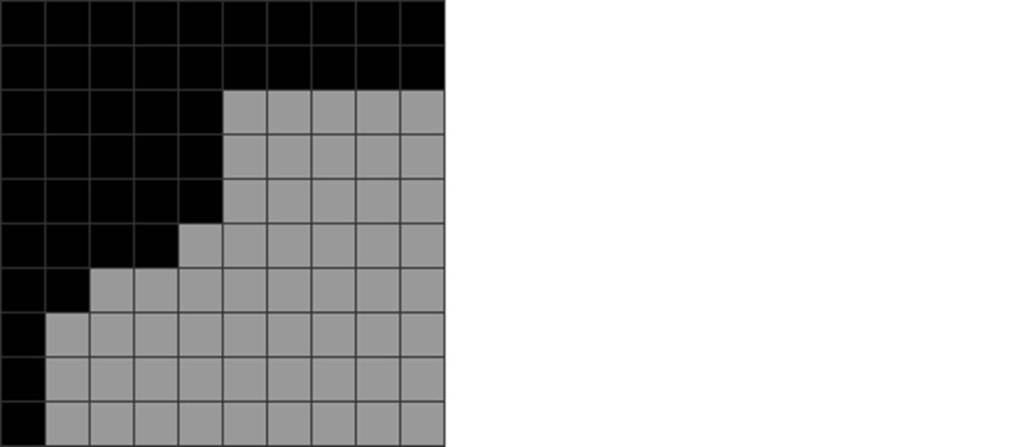
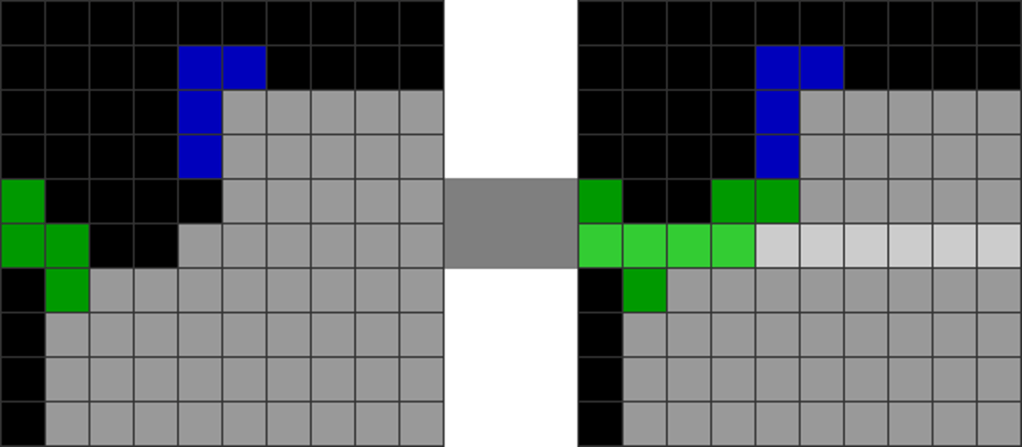
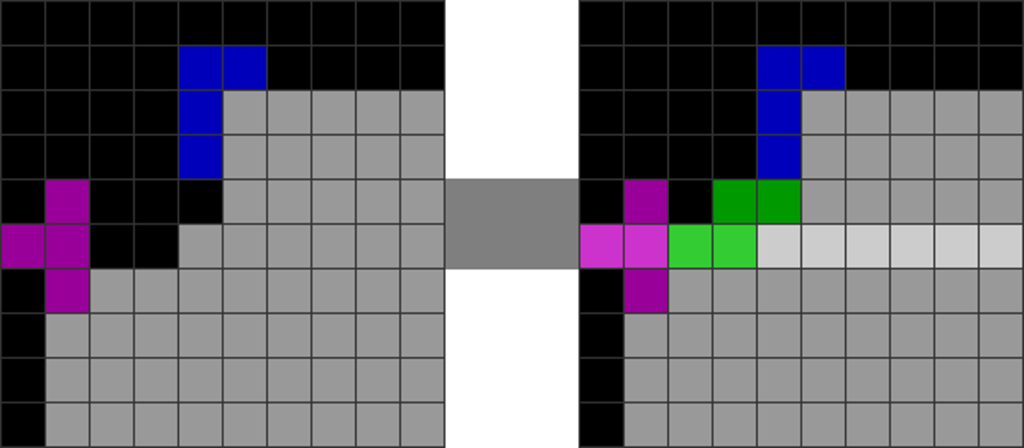
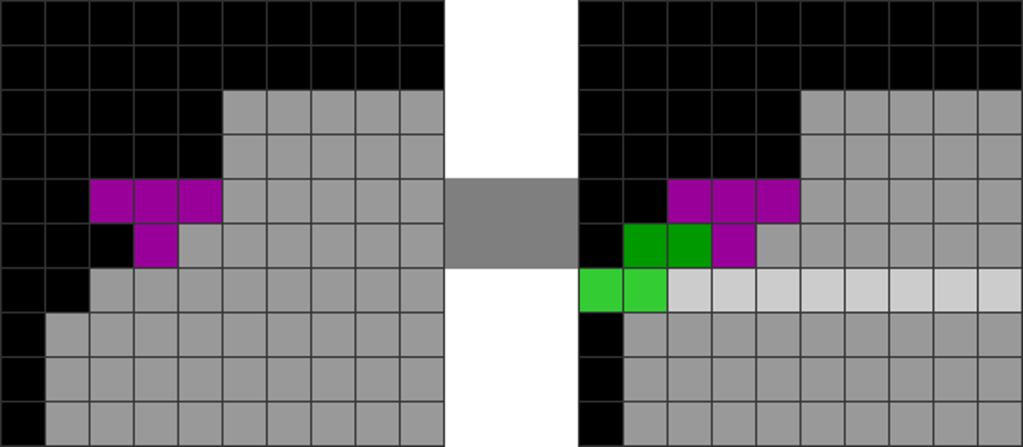
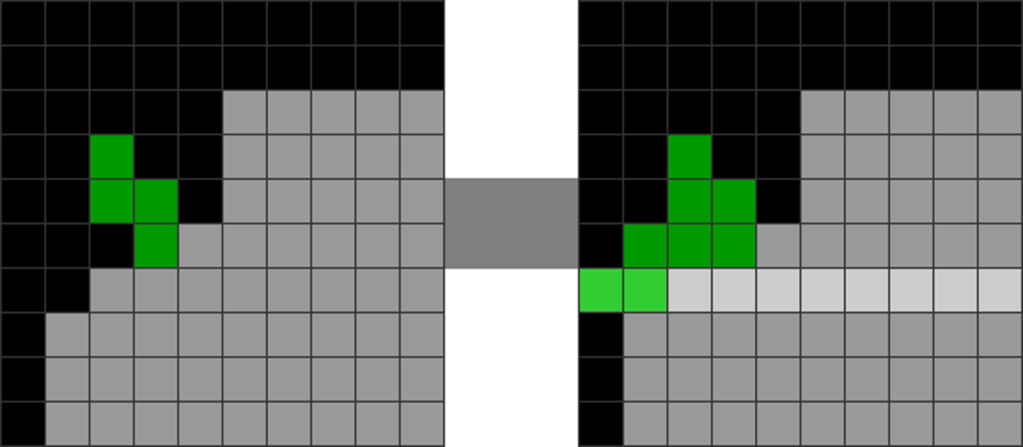
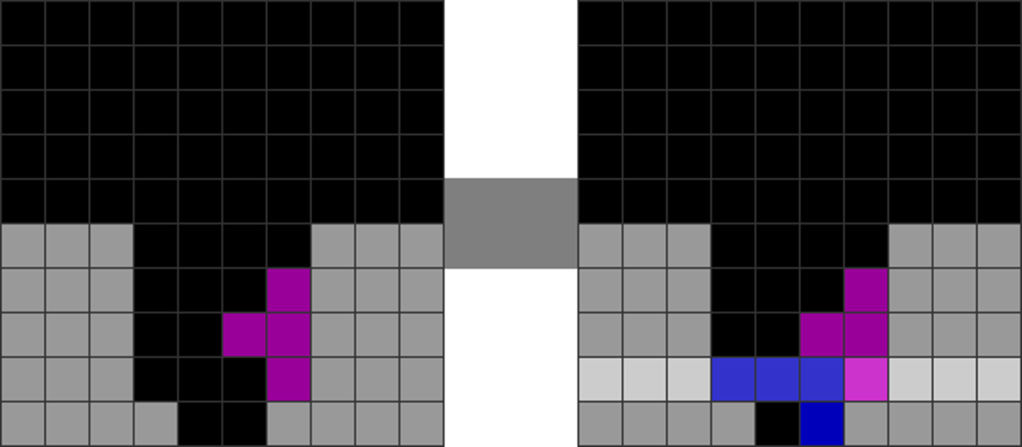
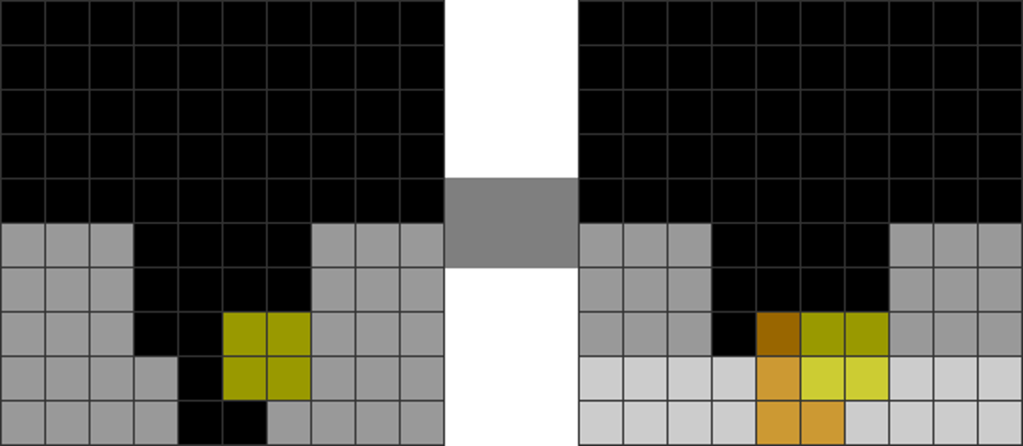
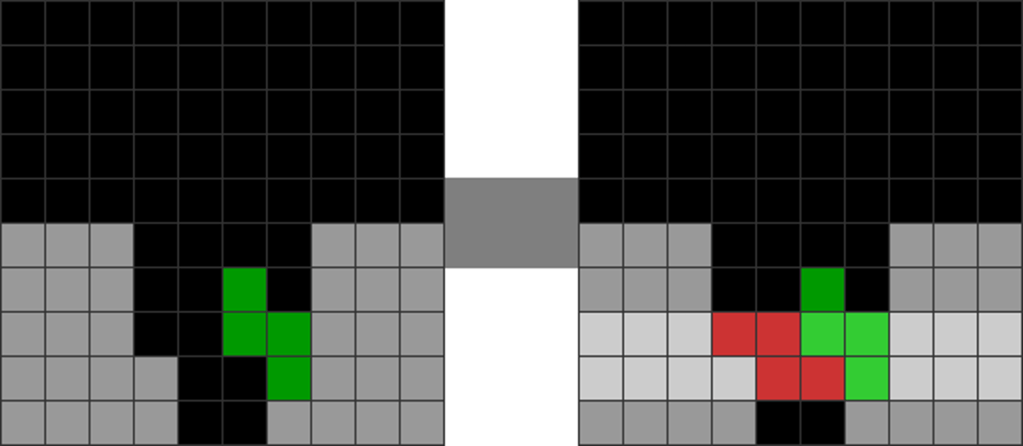
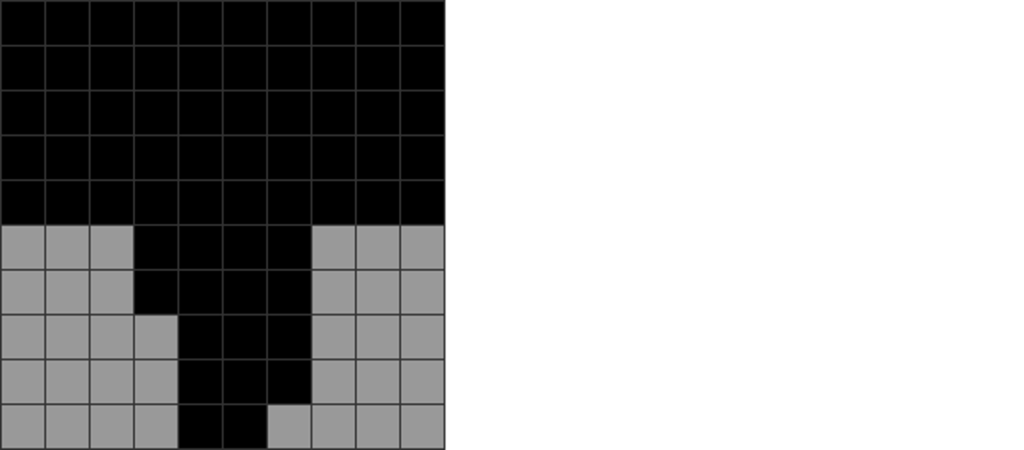
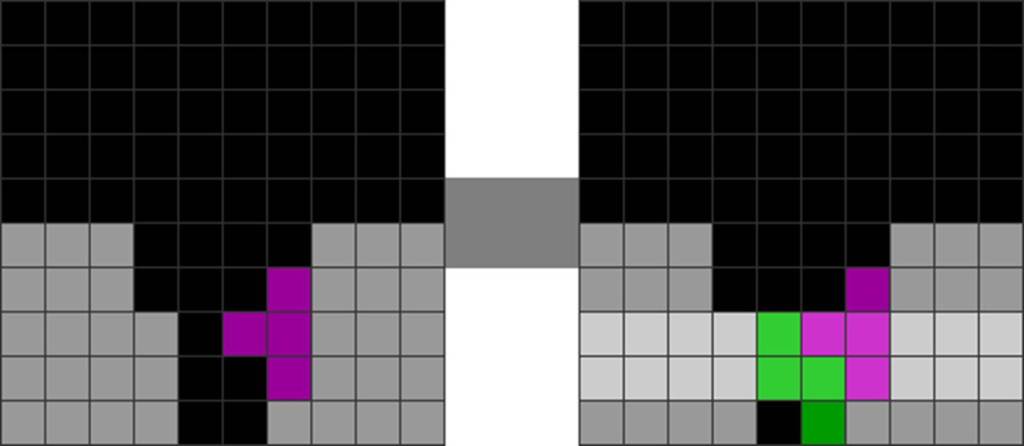
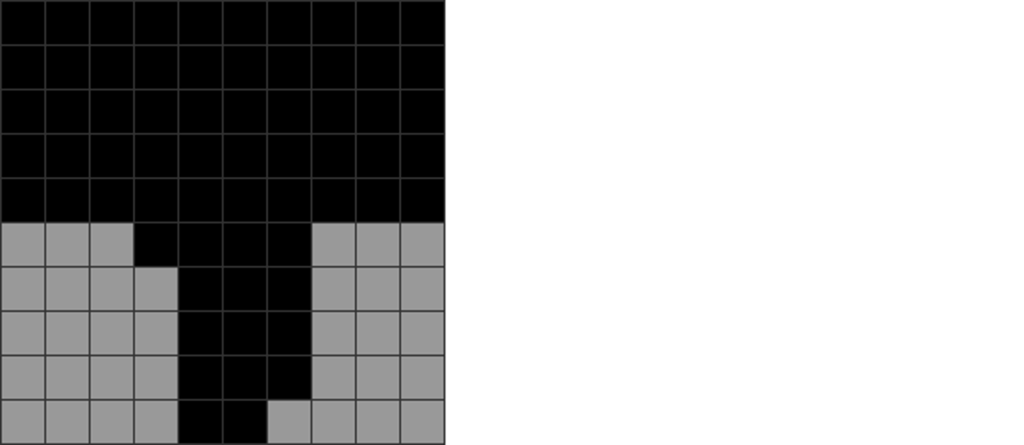
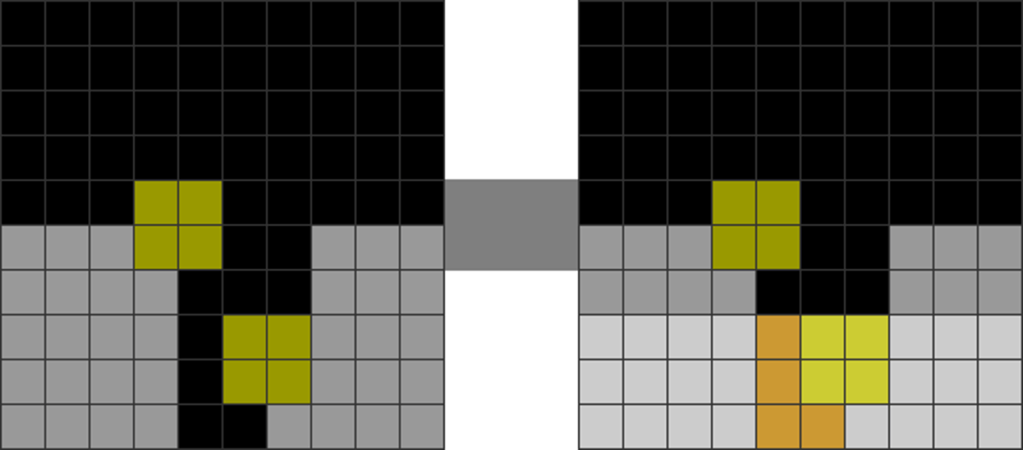
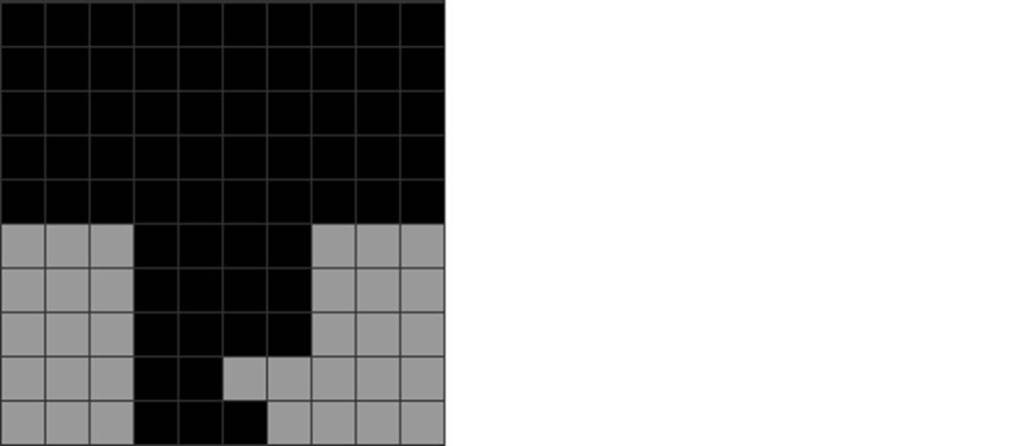
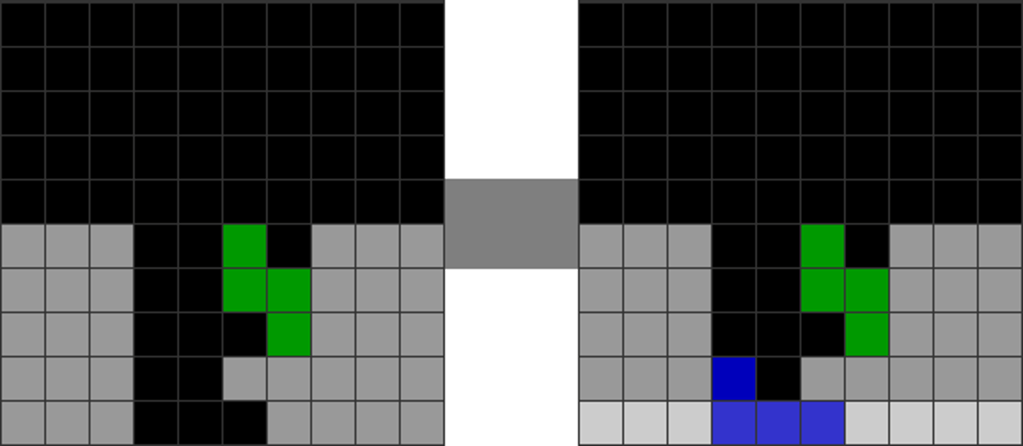
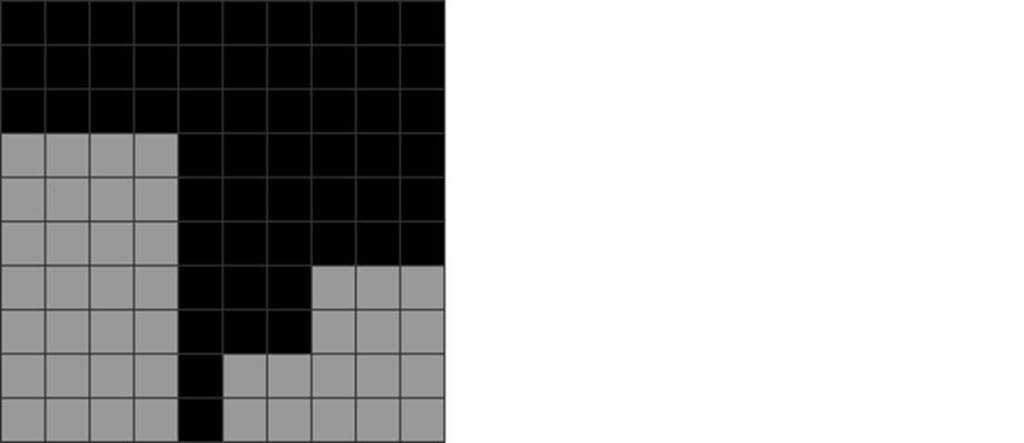
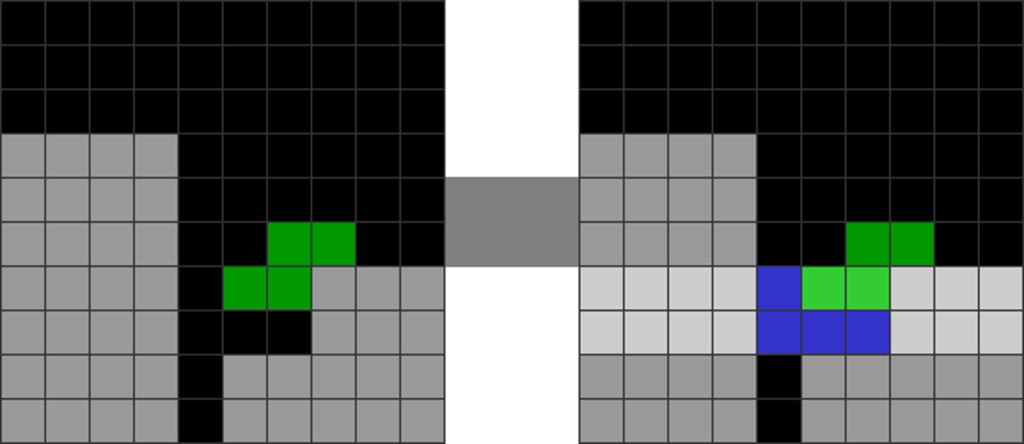
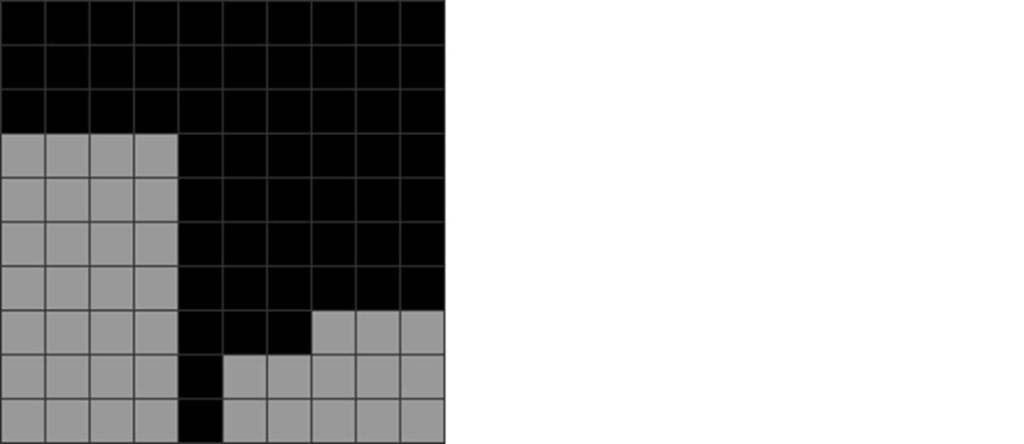
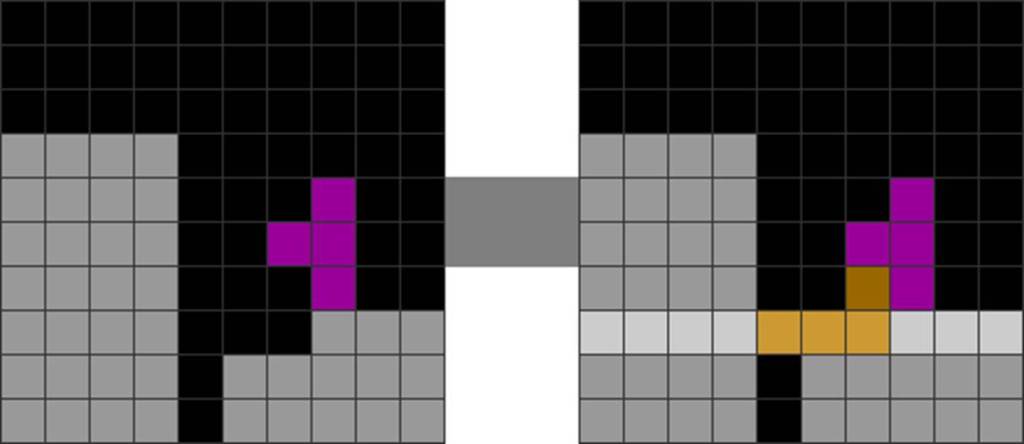
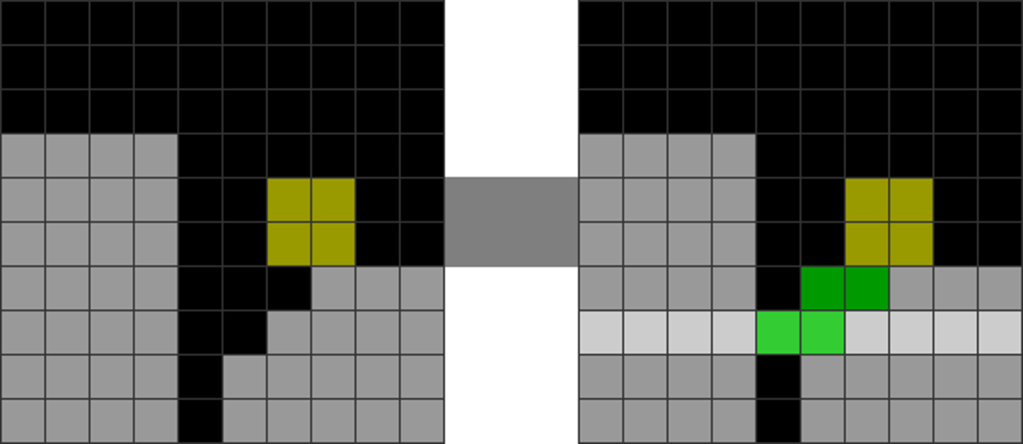
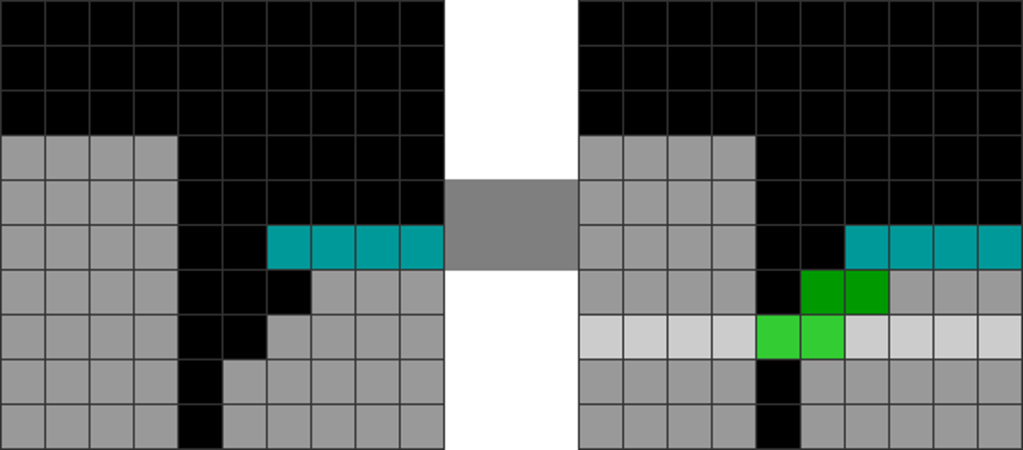
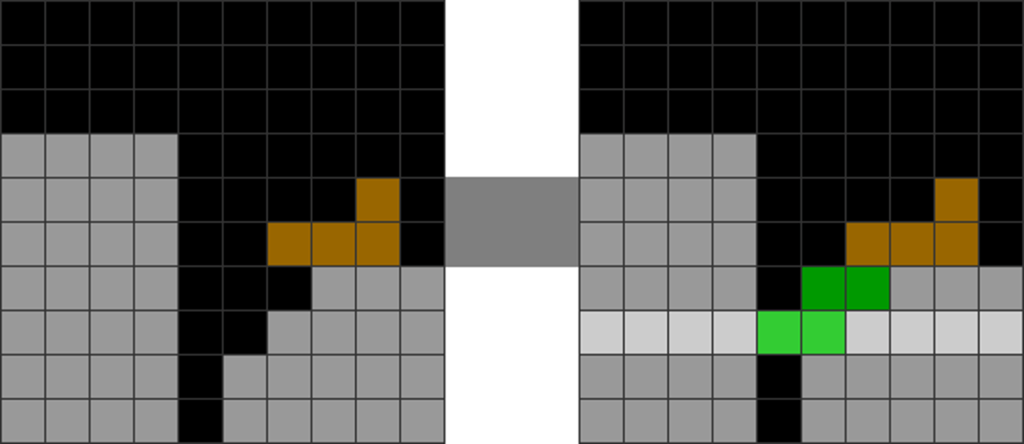
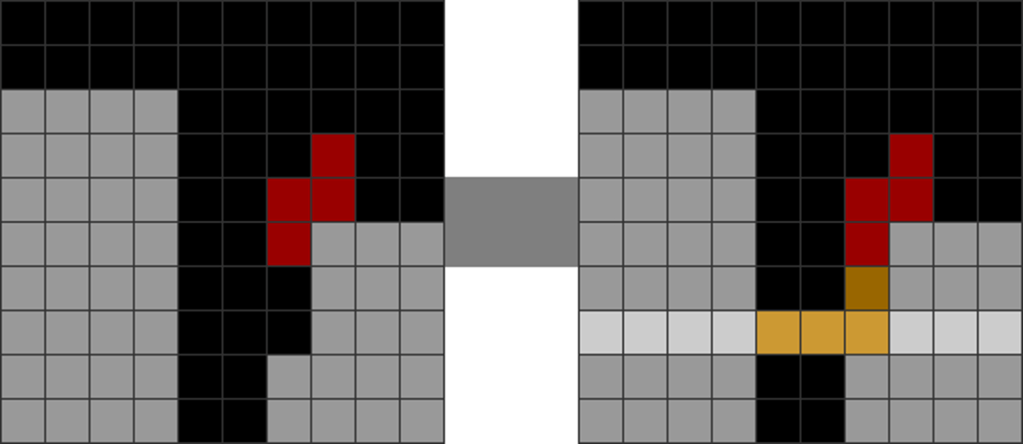
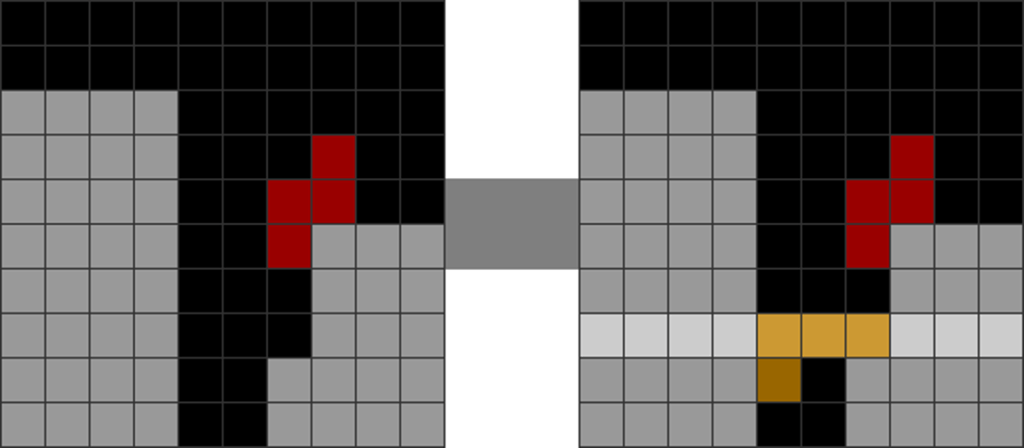
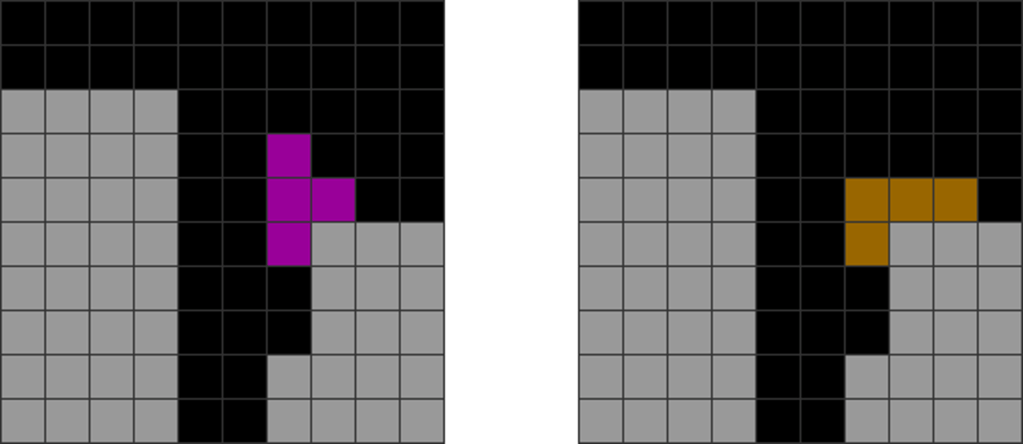
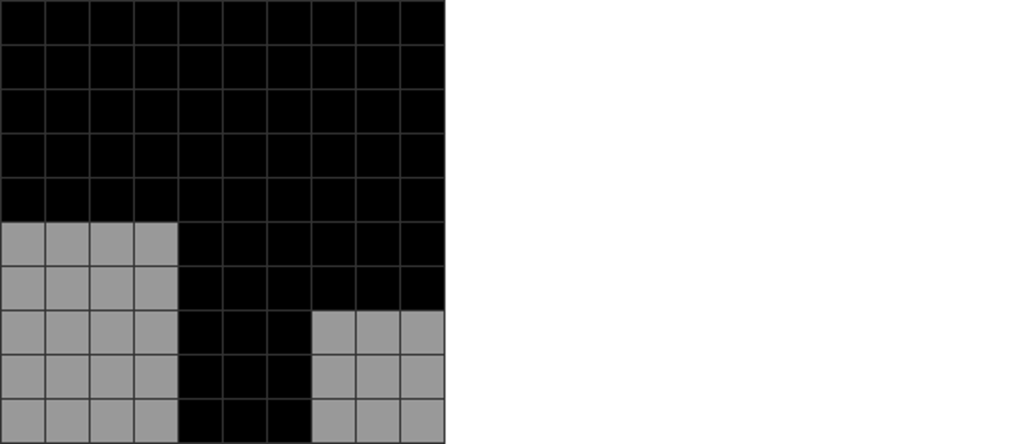
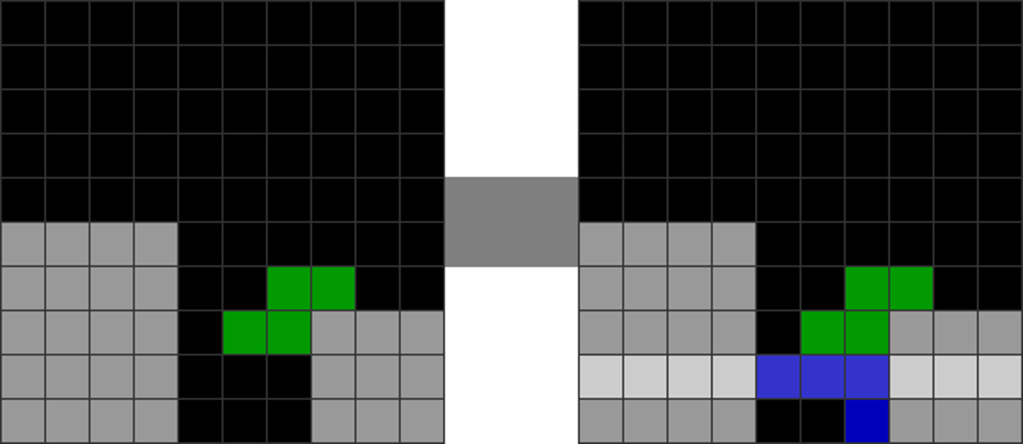
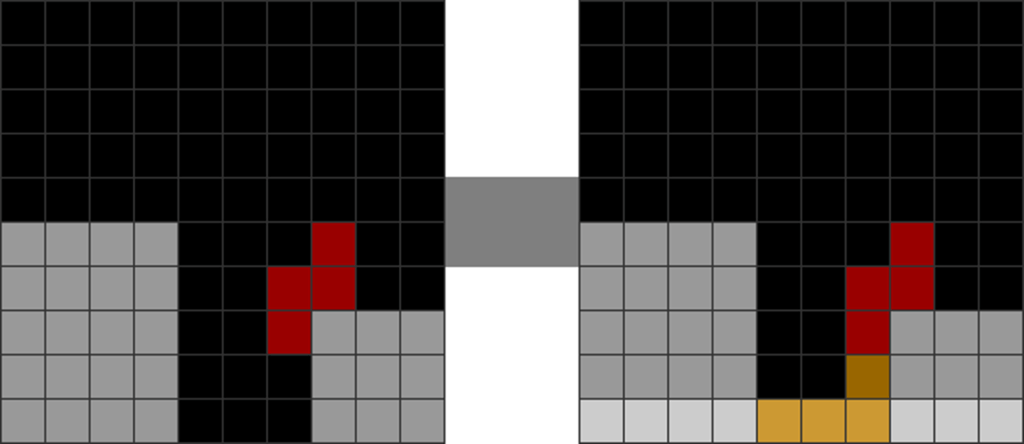
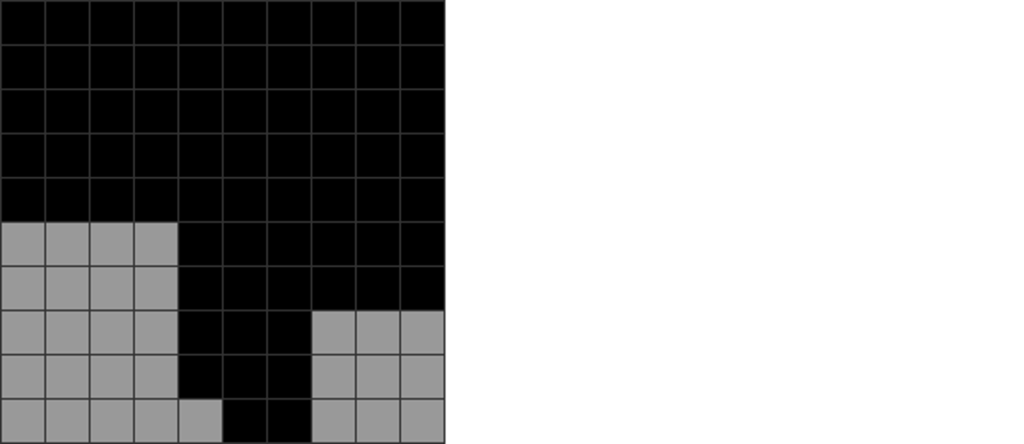
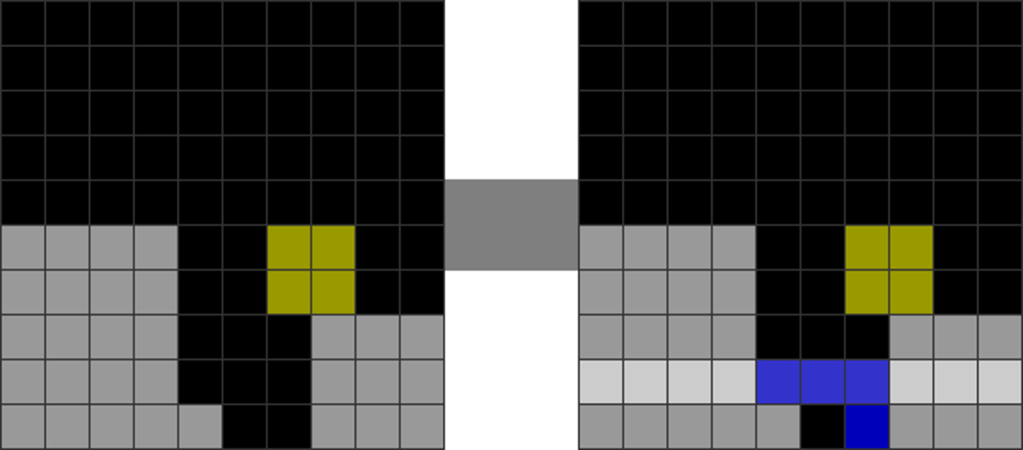
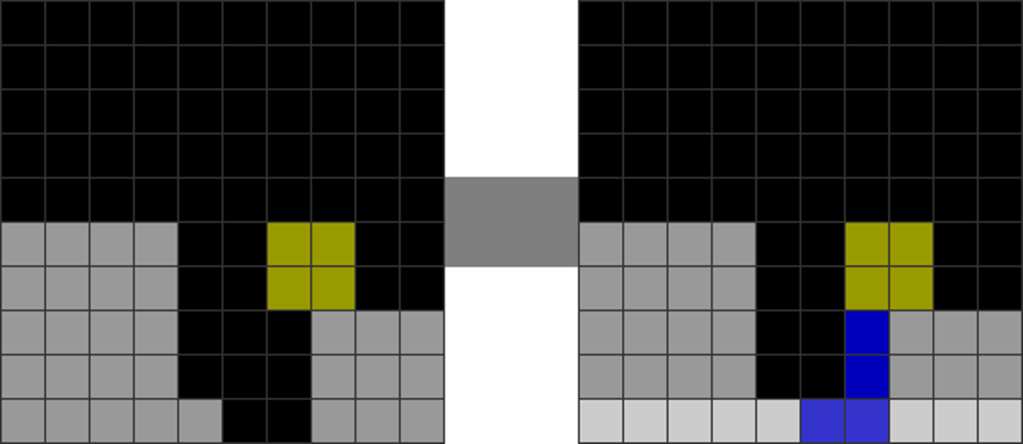
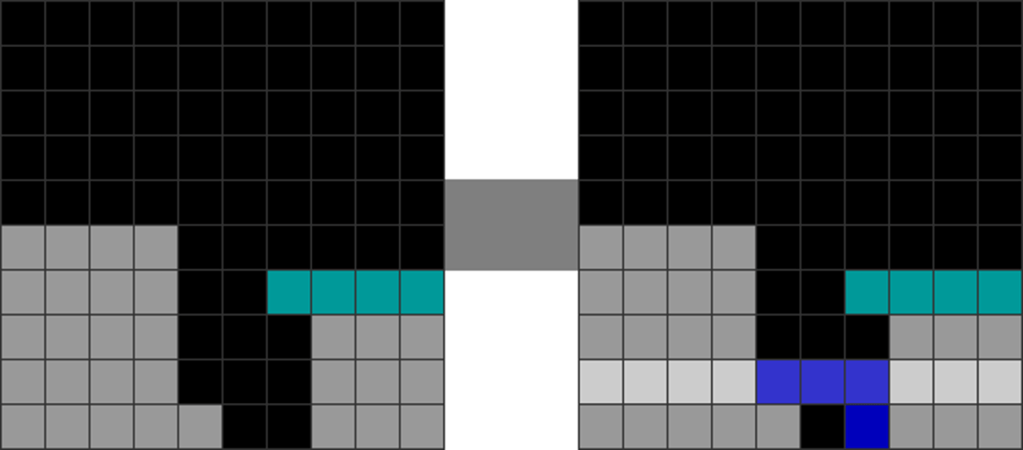
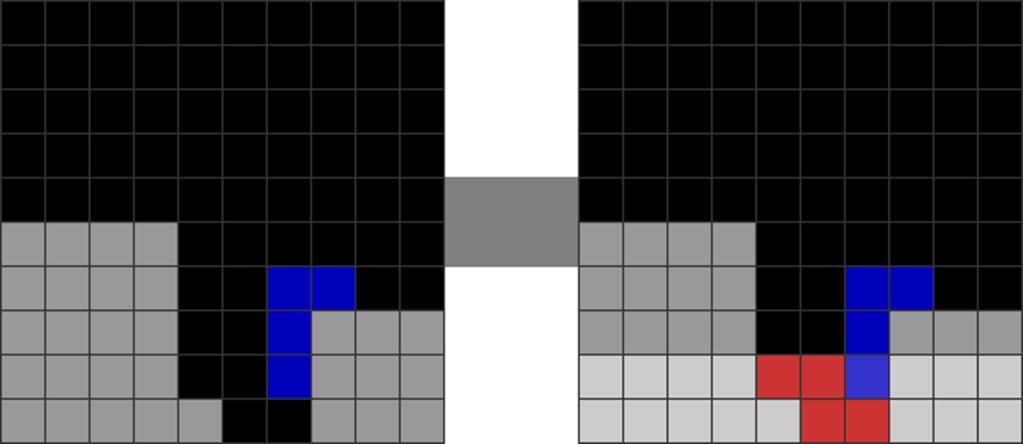
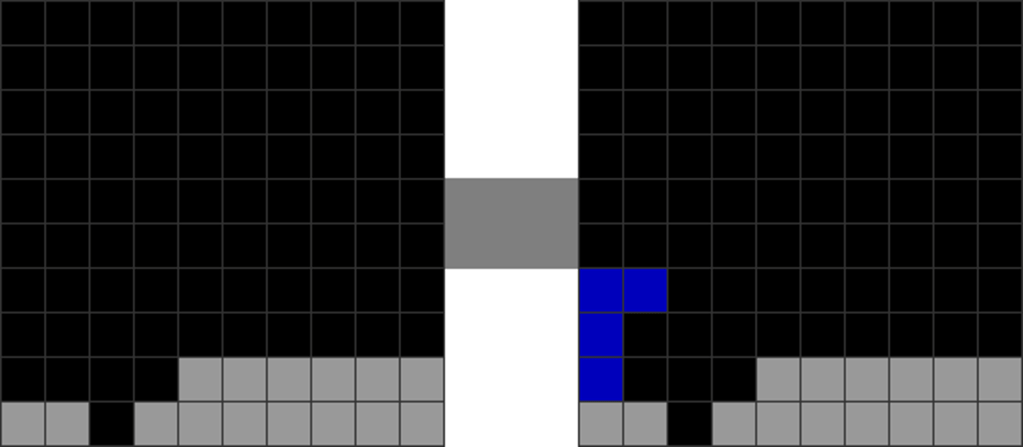
Here, the sequence shows how some all-spins alter a locally parity-balanced field to a parity-imbalanced one. The above L-spin is a single that does not perform the line clear with a T piece. This likely alters parity.
When a player performs too many of these kinds of line clears, the field’s local parity is repeatedly and chaotically reset. This makes it unpredictable.
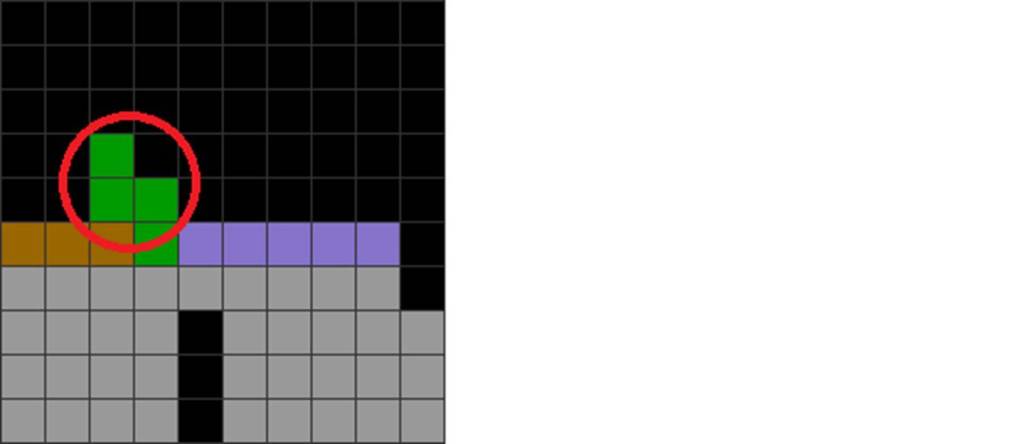
Most importantly, altering a parity-balanced field to an imbalanced one might cause the following: the field becomes jagged, minimizing long-term stacking and downstacking smoothness and continuations.
However, it is not to say that one should not alter parity with all-spins. Sometimes, using an all-spin to change local parity from an imbalanced state to a balanced one is practical and essential.
2. Minimize Giving Up Too Many T-Spins for All-Spins
In many official and unofficial Tetris games, all-spins may not be granted the same damage bonus as T-spins. Hence, they are less potent than T-spins.
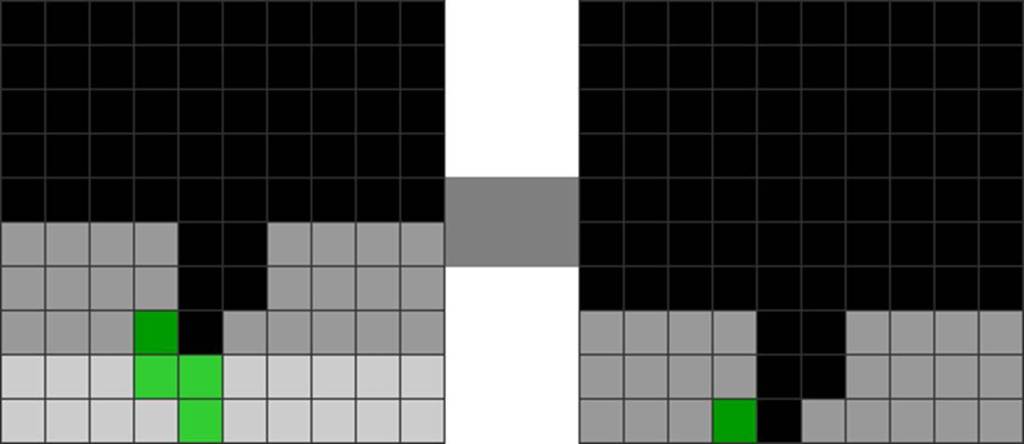
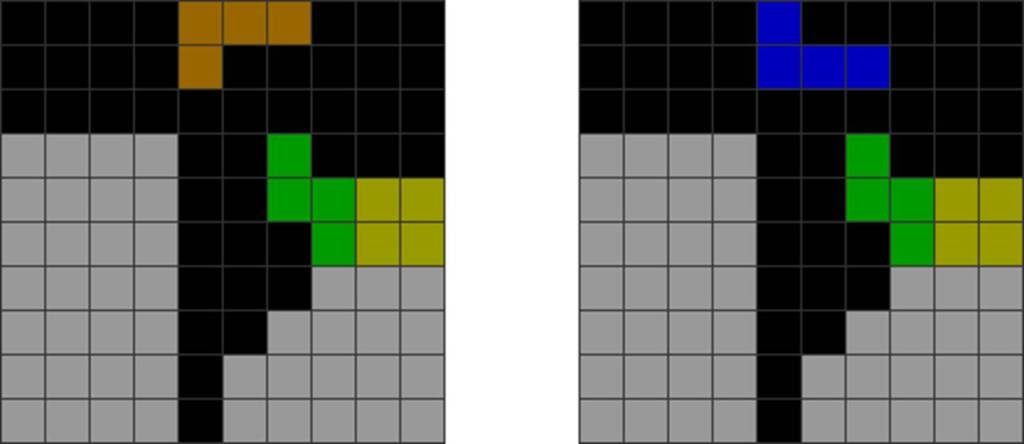
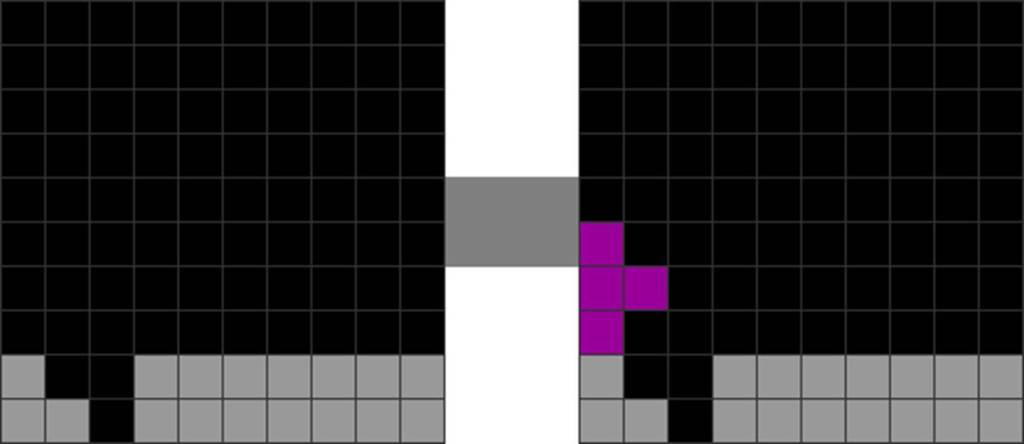
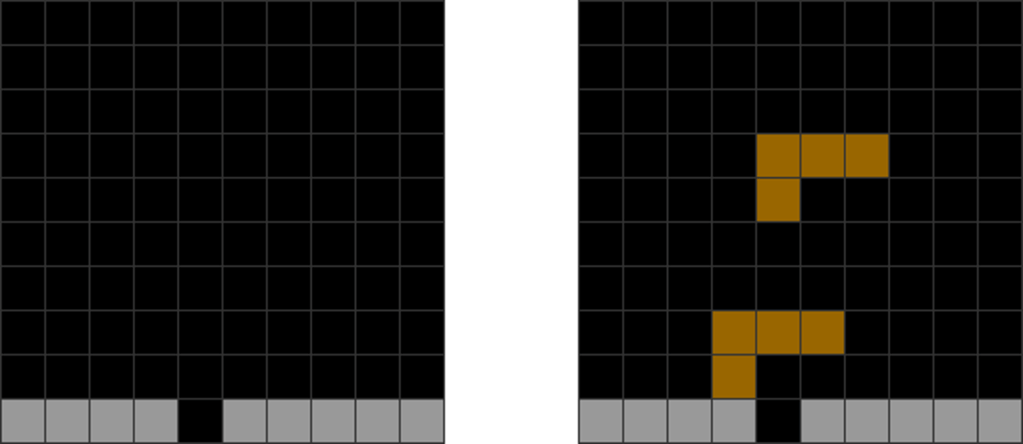
As seen above, some players may spam too many all-spins but fail to prioritize T-spins, which grant far more consistent damage.
In games where all-spins grant only back-to-backs, they should serve mainly as fillers between T-spins and Tetrises to sustain back-to-backs. However, when a more powerful T-spin or Tetris option is quickly available, one should not spam too many all-spin setups.
The only exceptions are Tetris variants that have a chaining or charging bonus, where back-to-backs add to a counter that incrementally increases damage, like in TETR.IO. In such cases, prioritizing more all-spins to sustain back-to-backs may be more viable.
3. Using Simple All-Spins
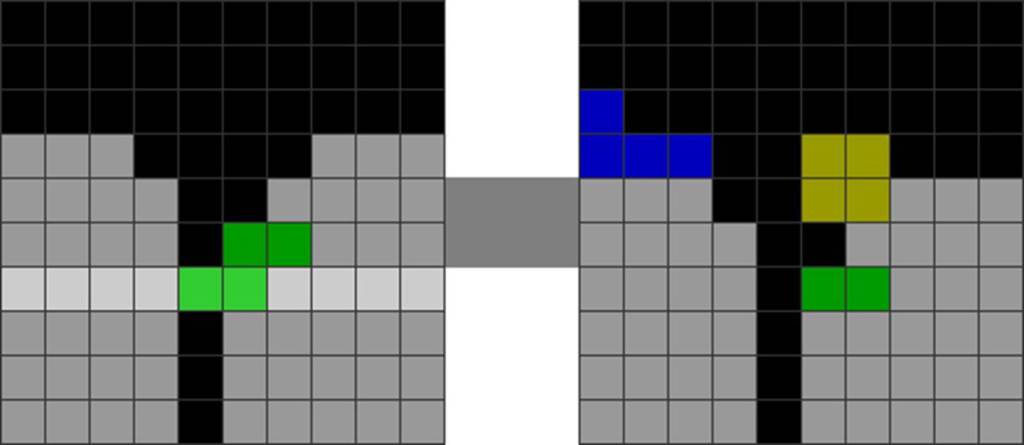
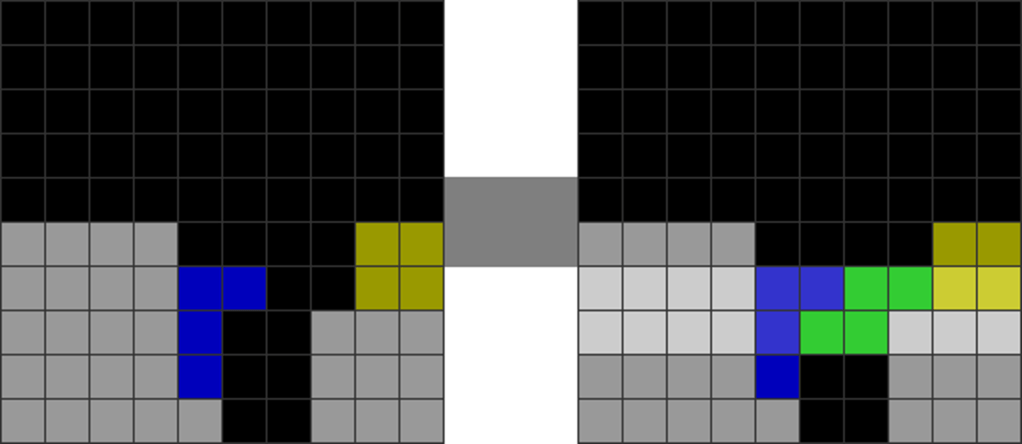
All-spin setups with multiple all-spins within (such as a setup having an L and J-spin) can be dangerous:
Diagram Set 13-17
1
2
An all-spin setup.
The first T-spin double concludes.
3
4
This leaves a Z-spin triple setup.
The Z-spin triple completes.
The above has a T and Z dependency, which may require some luck and decent RNG for them to arrive in time. However, because it incorporates a T-spin within, it is still semi-practical.
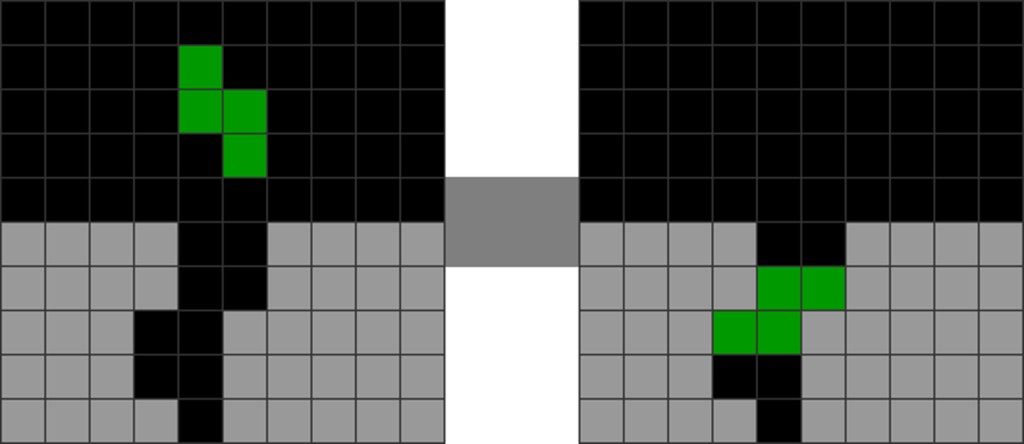
The real danger arises if such all-spin setups have 2 or more of the same piece (like a double or triple S), as shown below:
Diagram Set 13-18
1
2
An all-spin setup.
The first S-spin double concludes.
3
4
You get this.
The next S-spin triple concludes.
These setups will create dangerous piece dependencies that mandate “fishing” for a piece (waiting up to 12 pieces for a specific mino to arrive). During which you are susceptible to being spiked. It is worsened in more complex setups that need 2 similar pieces.
Therefore, setups that have minimal numbers of all-spins within are ideal. If you must use a spliced all-spin setup, incorporating a T-spin within is more optimal as it grants more firepower:
X – Not in TETRIO / Varies↓
Diagram Set 13-19
1
2
An all-spin setup.
A J-spin single. This is not awarded back-to-back bonus in TETR.IO.
3
4
You get a T-spin setup.
The T-spin double concludes.
4. Using All-Spins or T-Spins to Sustain Back-to-Backs
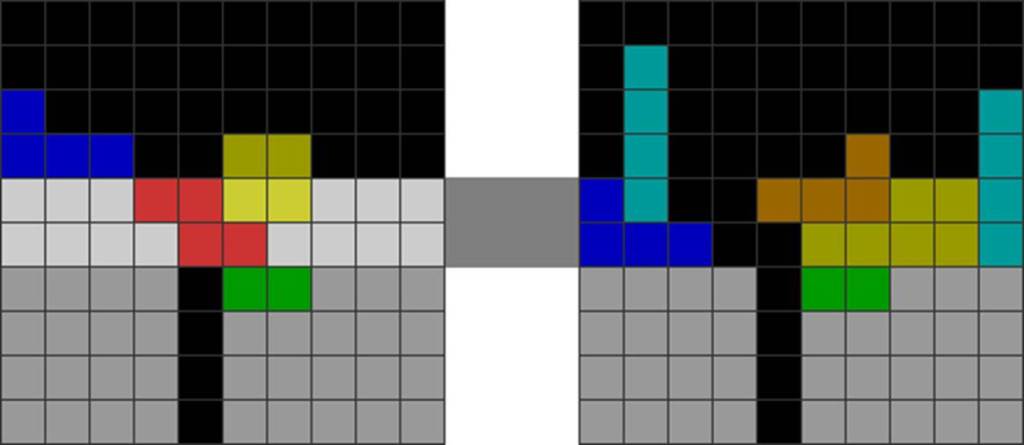
Some examples that I will feature involve the following:
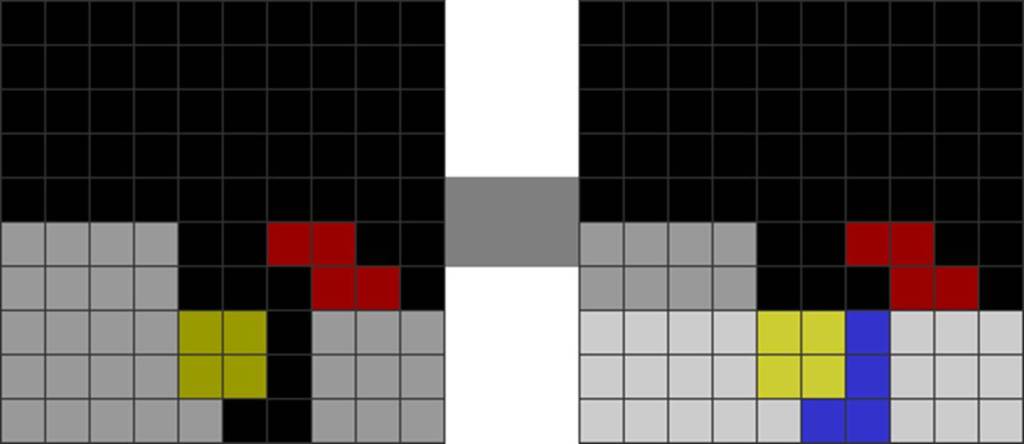
Diagram Set 13-20
1
2
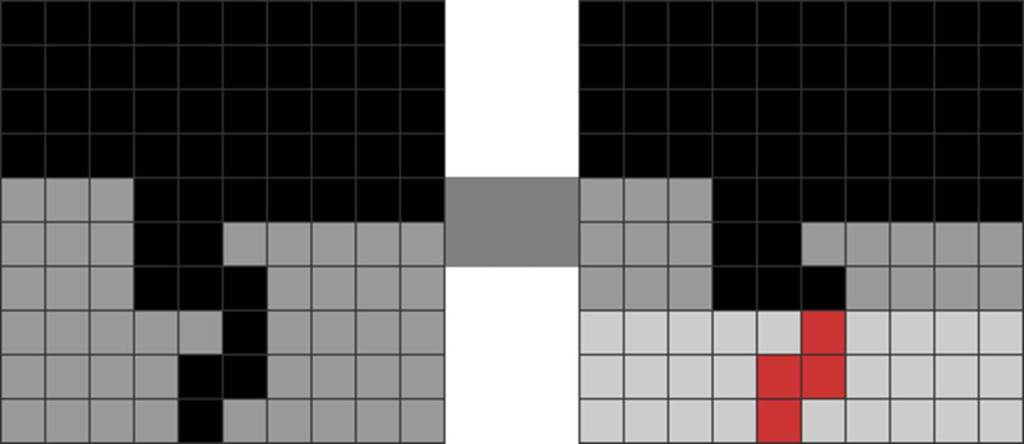
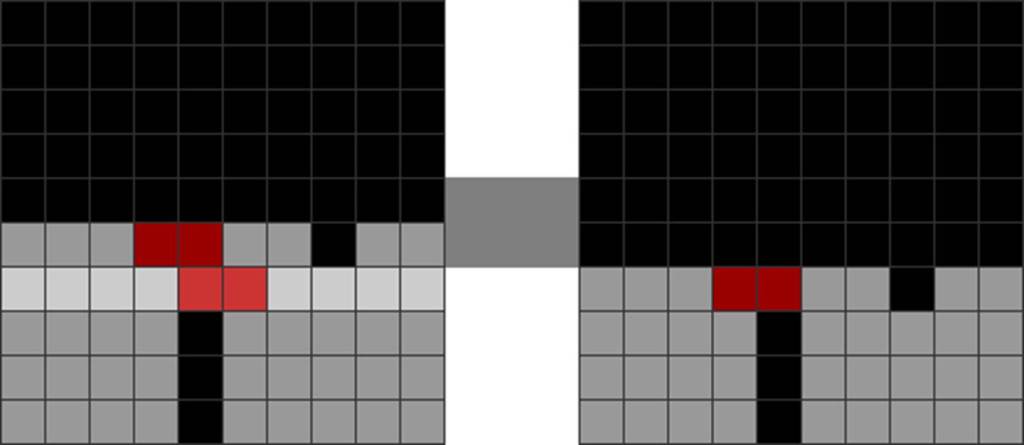
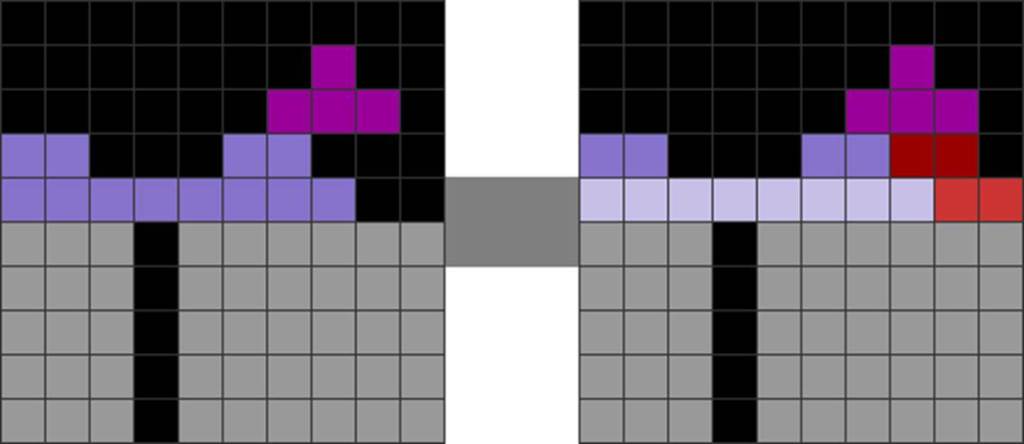
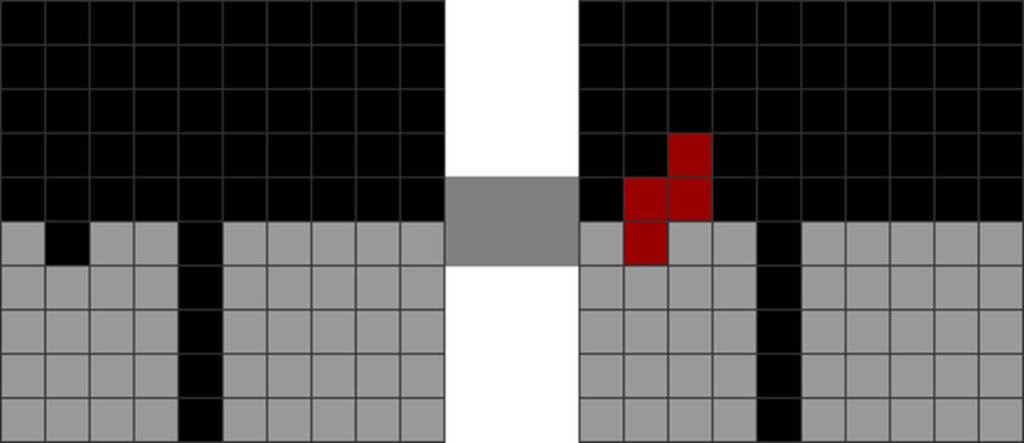
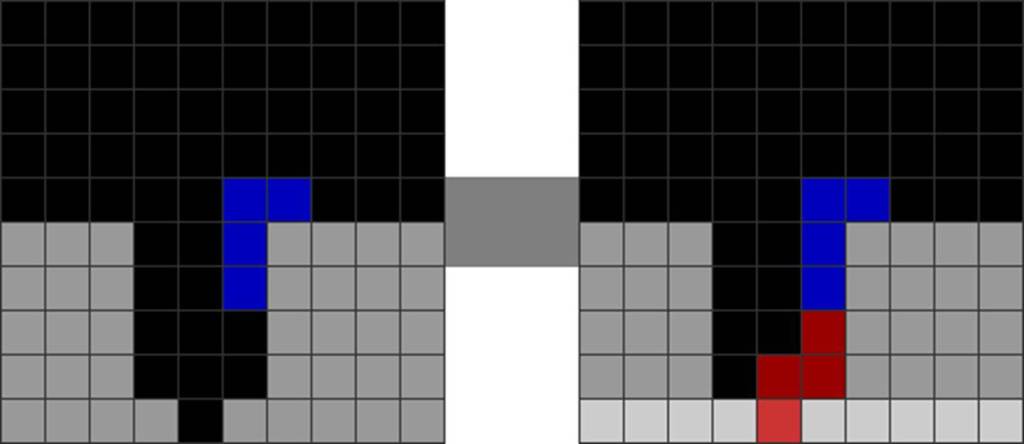
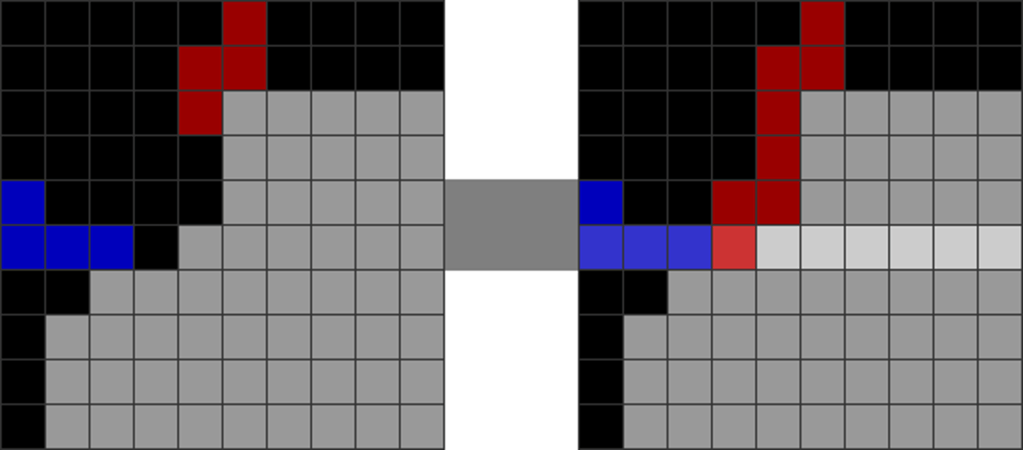
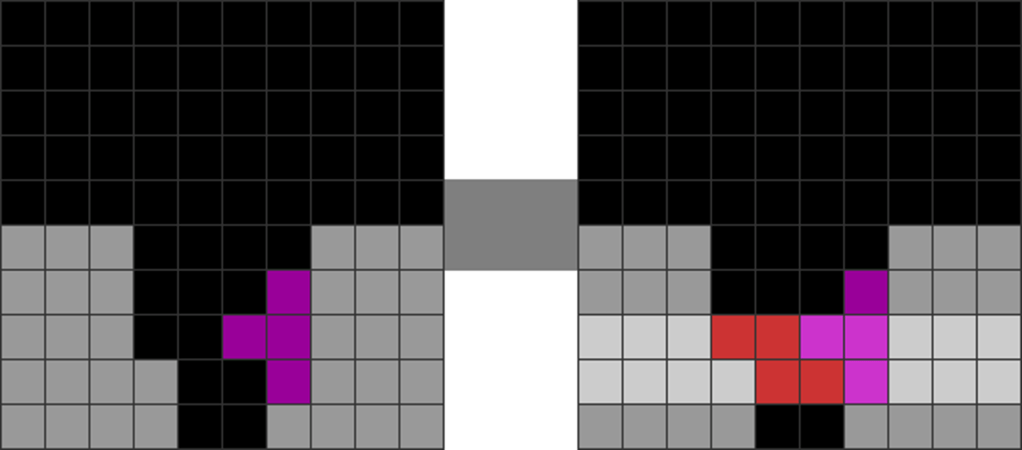
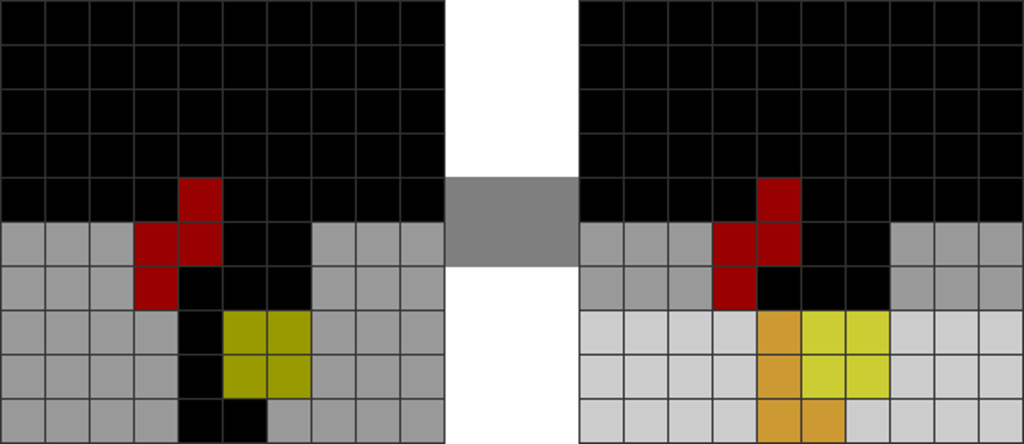
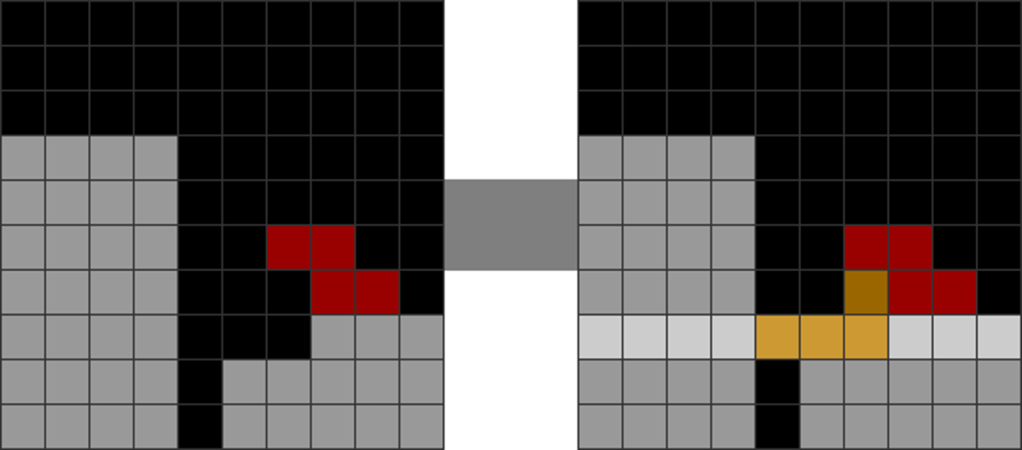
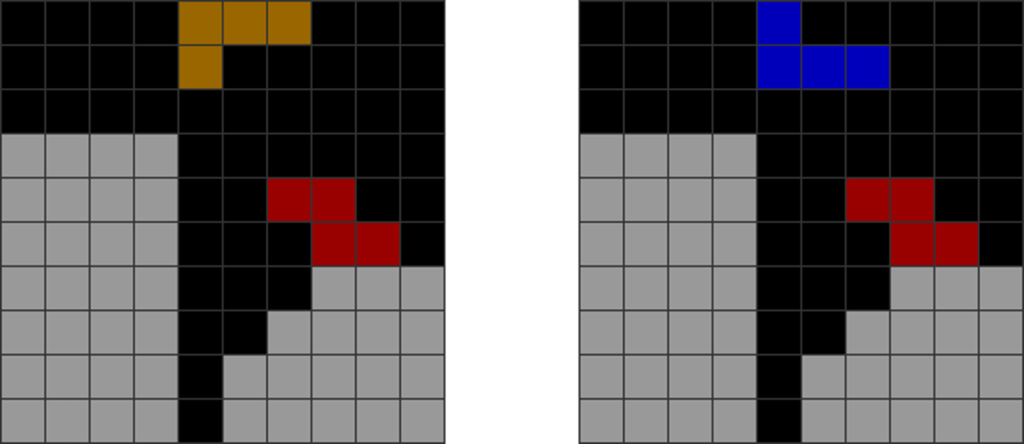
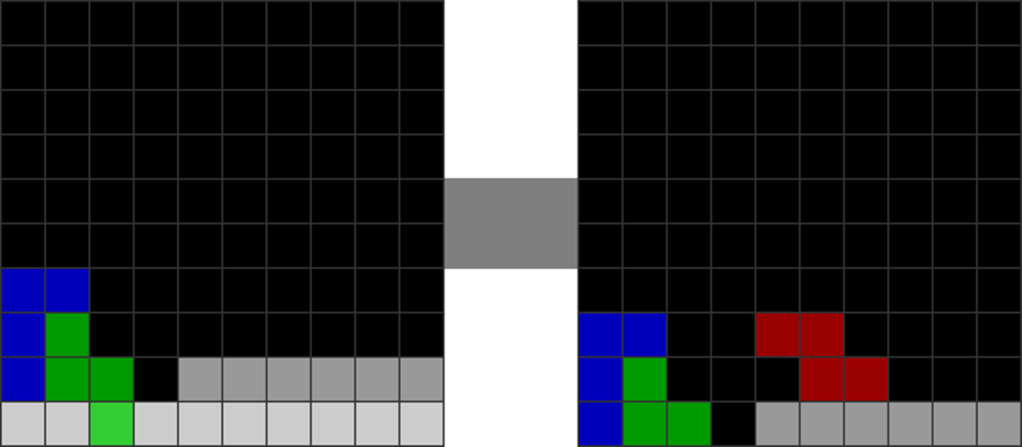
A Z-spin single line clear.
The red residue blocks obstruct the garbage hole in column 5.
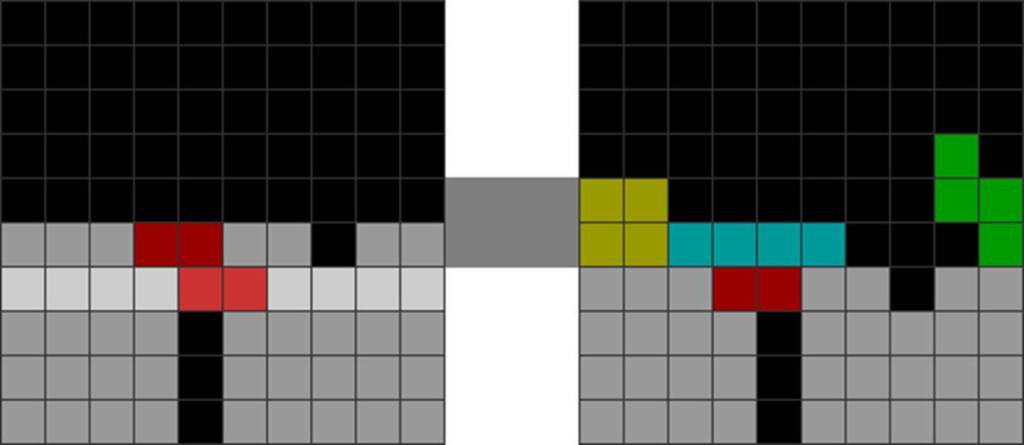
See how, after the first all-spin, the field is dirty and leaves residues covering the future garbage holes?
In such cases, one can skim off the residue cleanly with T-spins or other all-spins to sustain back-to-backs, such as:
Diagram Set 13-21
1
2
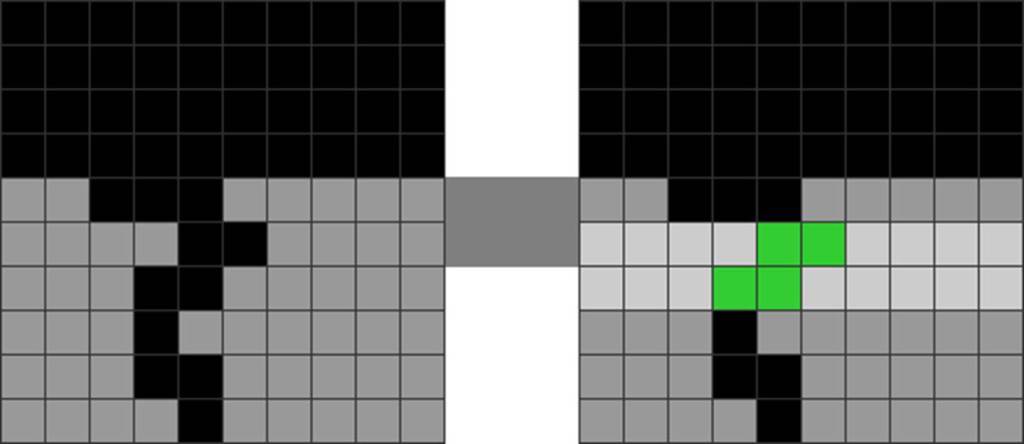
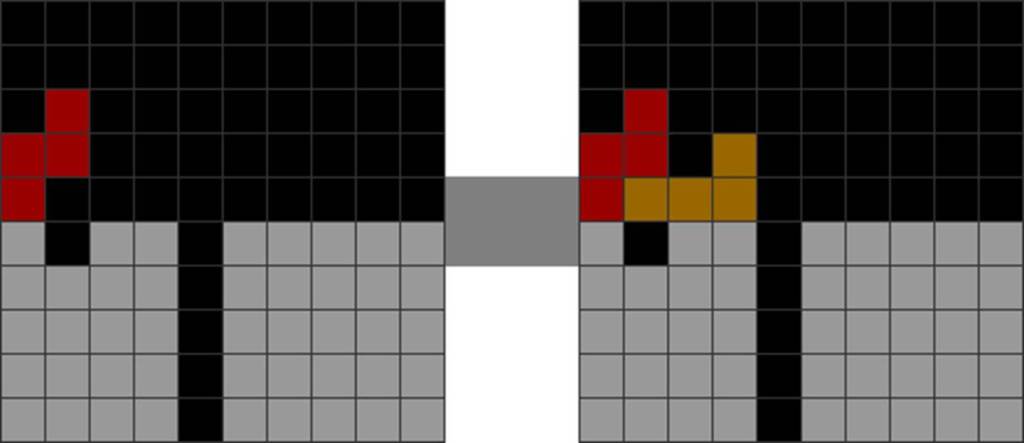
A Z-spin single line clear leading to the last diagram set’s step 2.
The player makes a T-spin double donation.
3
4
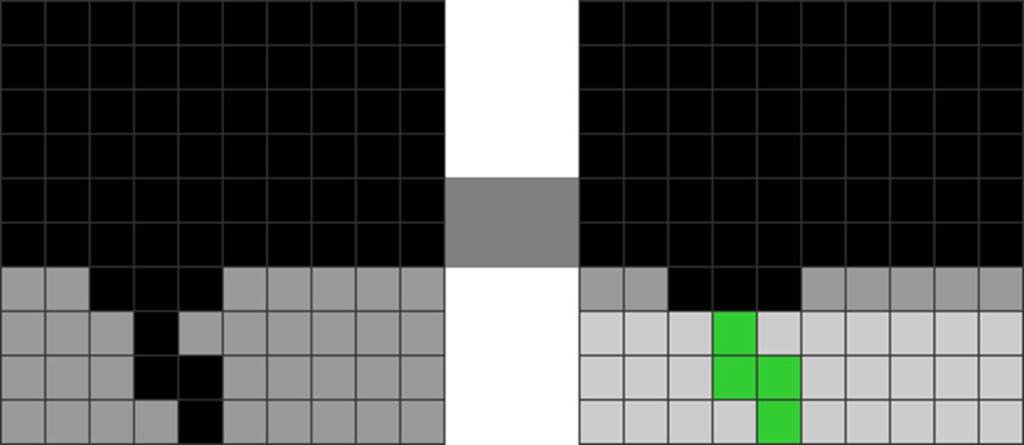
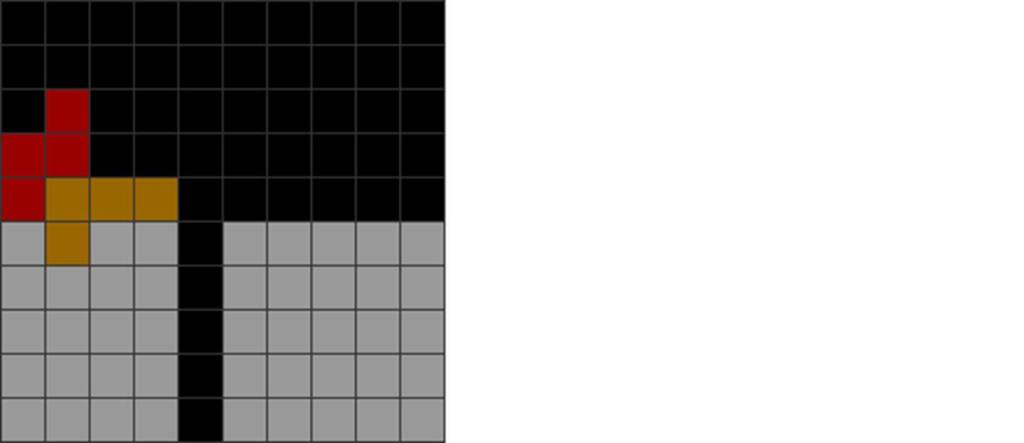
The T-spin double line clear finishes, exposing column 5’s garbage hole cleanly.
He continues T-spin double chaining. All-spin follow-ups are also fine (not shown).
This opens more options, as you can deliberately and strategically make some dirty all-spin setups that can be cleansed off. This is the key principle behind the Strategic Dirtiness chapter earlier.
B. Expanded All-Spin Setups
Here, I introduce new practical mid-game methods that heavily expand upon Book 3’s basic all-spin methods. Many examples involve holding “soft drop” as you rotate:
1. New S and Z-Spin Setups
Most methods here use S-spins to demonstrate. Their Z-spin equivalences are mirrored.
The setup below is an all-spin setup that shares the same mid-game opportunity as a T-spin double with a Sky Prop:
Diagram Set 13-22
1
2
Starting field.
Insert the S like this.
3
4
Rotate. An S-spin triple finishes.
Final shape.
Step 4 can then be followed by a T-spin mini, an S-spin single, or an L-spin single.
To use it, spot a Sky Prop chance:
Diagram Set 13-23
1
2
A Sky Prop chance.
Make the Sky Prop. This red-circled wall must be at least 3 blocks high for the S-spin to work.
The following is a tricky variant of an S-spin triple, but containing only an S-spin double:
Diagram Set 13-24
1
2
Starting field.
Put the S like this.
3
4
Rotate for an S-spin double line clear.
Final shape.
Step 4 can then be continued with T-spin chaining methods.
This is the easiest way to make it:
Diagram Set 13-25
1
2
Spot this.
Put a T piece.
The method below is tricky, allowing you to spin an S into the cavity:
Diagram Set 13-26
1
2
Starting shape.
Rest the S like this.
3
4
Rotate left to kick it into the cavity.
Rotate left again for an S-spin single.
The above method is mainly used for repairs. However, it can be helpful for extra firepower. I illustrate its repair use in the following diagram:
Diagram Set 13-27
1
2
The player misdrops the T this way.
Kick in the Z for a Z-spin single.
The method below is highly tricky. Perform the correct inputs to get the S-spin into the cavity:
Diagram Set 13-28
1
2
Insert the S piece.
Rotate left.
3
4
Rotate left again to kick it in for an S-spin double.
Final shape.
It shares the same mid-game opportunity as this:
Diagram Set 13-29
1
2
Spot this.
It is a Grim Grotto prophecy T-spin triple chance.
Alt. A
Instead of step 2, do this instead.
The following is a variant of the above:
Diagram Set 13-30
1
2
Insert the S piece.
Rotate left.
3
4
Rotate 180 degrees to make the S piece “float” upwards.
Rotate again left to kick the S piece into the cavity and perform an S-spin double.
It shares the following mid-game chance:
Diagram Set 13-31
1
2
Spot this.
Put a J piece.
This is another similar variant:
Diagram Set 13-32
1
2
Insert the S piece.
Rotate right.
3
4
Rotate right again to kick it in for an S-spin double.
Final shape.
This is its main mid-game situation:
Diagram Set 13-33
A
B
An ST-stacking chance.
Instead of an S piece, put a J piece.
2. New L and J-Spin Setups
Most methods here use L-spins to demonstrate. Their J-spin equivalences are mirrored.
The following involves an L-spin using 180-degree rotations in games that allow such:
Diagram Set 13-34
1
2
Starting field.
Insert the L like this.
3
4
180-degree rotation. This gets an L-spin double.
Final shape.
It is best used in the following mid-game chances:
Diagram Set 13-35
A
B
This method is most applicable in improving one’s stacking in the following example:
Diagram Set 13-36
1
2
Starting field.
Put the O like this.
3
4
Put the L inside the cavity.
Rotate 180 degrees to kick it in.
If you do not use this method, you could stack poorly like this:
Diagram Set 13-37
1
2
Starting field.
Put the O like this.
3
Alt. A
Putting the L this way leads to the red-circled field disharmony issue.
This is better, but it divides the field, creating a mound.
The following also mandates an 180-degree rotation to make the L-spin:
Diagram Set 13-38
1
2
Starting field.
Insert the L like this.
3
4
180-degree rotation. This gets an L-spin single.
Final shape.
This method is most used to improve stacking mid-game. One often encounters the following situation:
Diagram Set 13-39
1
2
Starting field.
This Z placement is jagged.
Here is how you can avoid the above issue by using 180-degree rotations:
Diagram Set 13-40
1
2
Put the Z like this.
Insert the L under the Z piece.
3
Rotate 180 degrees to kick it into the cavity.
The above is flatter and safer.
Another 180-degree rotation L-spin:
Diagram Set 13-41
1
2
Starting field.
Insert the L like this.
3
4
180-degree rotation.
Rotate right again for an L-spin double.
Remember the pattern for the partial T-spin triple? If you can spot one, you can make the L-spin setup:
Diagram Set 13-42
A
B
A partial T-spin triple setup.
Instead of placing the S overhang, you just make the L-spin.
The following is a variant of an L-spin triple:
Diagram Set 13-43
1
2
Starting field.
Insert the L like this.
3
4
Rotate right for an L-spin triple.
Final shape.
You can also do an L-spin single like this below, in this more obscure setup, which shares almost the same mid-game opportunity as a T-spin triple:
Diagram Set 13-44
1
2
Starting field.
Rotate the L right for an L-spin single.
3
The final field.
This setup is easy to use as it shares the same mid-game chance as certain T-spin triples. If you can spot the opportunity below, you can instead make the L-spin setup:
Diagram Set 13-45
1
2
A T-spin-triple-like shape.
Putting an I and O makes a T-spin triple.
The next setup is tricky, involving 180-degree rotations:
Diagram Set 13-46
1
2
Lower the L into the cavity this way.
Rotate right.
3
4
Rotate 180 degrees.
Rotate 180 degrees again.
It is, however, too obscure to spot mid-game. However, it can be created if one spots an L-like cavity, like in step 1, only to build an overhang on the right side like this:
Diagram Set 13-47
1
2
An L-like cavity.
Build the lavender parts.
3. New I-Spin Setups
There is only 1 viable new I-spin setup, called the Golden Ore:
Diagram Set 13-48
1
2
Lower the I into the cavity this way.
Rotate right for an I-spin triple.
It can mainly be freestyled. Most mid-game opportunities are too impractical to be listed here.
C. Common Mid-Game Chances
I have grouped the common mid-game all-spin opportunities into distinct categories. This makes it easier to memorize them mid-game and use them directly:
1. 3-Wide Setups
If you see a 3-wide gap that can typically be used for an STSD, you can make many all-spin setups:
Diagram Set 13-49
Mid-game Chance
This shares the same mid-game opportunity as an STSD.
A1
A2
This leads to an L-spin double.
B1
B2
This is also called One-piece Wonder.
X – Not in TETR.IO / Varies↓
Diagram Set 13-50
C1
C2
STSDs are dual-use methods. You can make 2 T-spin doubles or the above Boomerang L-spin double.
Diagram Set 13-51
Mid-game Chance
This shares the same mid-game opportunity as an STSD.
A1
A2
This leads to a J and S-spin hybrid. The starting condition is slightly dissimilar to the last diagram set.
B1
B2
This leads to an S-spin triple.
C1
C2
Z-spin single.
D1
D2
This leads to an L-spin double. Step 2 can then be followed up with another J-spin. This is almost similar to the earlier diagram set 13-49.
Diagram Set 13-52
Mid-game Chance
This shares the same mid-game opportunity as a Cremate.
A1
A2
This leads to an S-spin triple.
The one below is outstanding as it shares an STSD mid-game chance. It is mainly used if you cannot make the overhang in time and have to abort the STSD:
Diagram Set 13-53
1
2
3
4
The player abandons the STSD, instead going for the Z and S-spins.
2. 4-Wide Setups
4-wide gaps also allow for many setups:
Diagram Set 13-54
Mid-game Chance
A
B
C
All these are L or J-spin setups during a 4-wide well situation.
Diagram Set 13-55
Mid-game Chance
A1
A2
X – Not in TETR.IO / Varies↓
B1
B2
C1
C2
D1
D2
This is tricky, but you can spin the S piece into the cavity!
X – Not in TETR.IO / Varies↓
E1
E2
F1
F2
G1
G2
X – Not in TETR.IO / Varies↓
H
I
The above examples can be resolved in various ways, as illustrated by the floating pieces. I will leave it as an exercise for the reader. The J-spin in H would not be awarded back-to-back bonus in TETR.IO.
J
Same. It works with J or Z-spins.
Diagram Set 13-56
Mid-game Chance
A1
A2
B1
B2
C1
C2
D1
D2
The above setups are instrumental during 4-wide scenarios.
Diagram Set 13-57
Mid-game Chance
A1
A2
B1
B2
C1
C2
X – Not in TETR.IO / Varies↓
D1
D2
The above setups are highly useful during 4-wide chances.
These setups are best used to augment mid-game 4-wide combo setups, which I will cover in the All-Spin-Spliced 4-Wide chapter.
3. 5-Wide Setups
5-wide gaps also have many setups:
Diagram Set 13-58
Mid-game Chance
A1
A2
B1
B2
C1
C2
X – Not in TETR.IO / Varies↓
D1
D2
E1
E2
F1
F2
G1
G2
H
This can be spun with L or J pieces.
5-wide gap setups give rise to many I-spin situations. Be imaginative!
4. 9-0 Stacking Setups
9-0 stacking situations simplify things a lot more, as you only have to handle the right side of the stack for all subsequent examples:
Diagram Set 13-59
Mid-game Chance
A1
A2
B1
B2
C1
C2
D1
D2
E1
E2
X – Not in TETR.IO / Varies↓
F1
F2
They can be combined with side 4-wide during the mid-game.
Other situations are:
Diagram Set 13-60
Mid-game Chance
A1
A2
B1
B2
Diagram Set 13-61
Mid-game Chance
X – Not in TETR.IO / Varies↓
A1
A2
This is tricky! It is an I-spin mini.
X – Not in TETR.IO / Varies↓
B1
B2
Another tricky case: this an S-spin mini.
X – Not in TETR.IO / Varies↓
C1
C2
An L-spin mini.
Diagram Set 13-62
Mid-game Chance
A1
A2
B1
B2
C1
C2
D1
D2
E1
E2
5. Well-Like Situation Setups
Mid-game well-like situations also give rise to many all-spin chances:
Diagram Set 13-63
Mid-game Chance
A1
A2
B1
B2
X – Not in TETR.IO / Varies↓
C1
C2
This creates a T-spin after step 2.
D1
D2
Diagram Set 13-64
Mid-game Chance
A1
A2
This uses a 180-degree rotate L-spin double.
B1
B2
C1
C2
Diagram Set 13-65
Mid-game Chance
A1
A2
This is a tricky L-spin triple.
B1
B2
C1
C2
Diagram Set 13-66
Mid-game Chance
A1
A2
An L-spin triple.
Diagram Set 13-67
Mid-game Chance
A1
A2
B1
B2
This leads to a T-spin double.
6. Corner Setups
Finally, we have corner situations, where a distinct pattern often develops, involving hugging against a vertical wall:
Diagram Set 13-68
Mid-game Chance
This shares the same mid-game opportunity as ST stacking.
A1
A2
B1
B2
C1
C2
The J can be kicked under the I piece.
D1
D2
The above setups share the same opportunity as a mid-game S/Z prop or ST stacking (left as an exercise for the reader).
Diagram Set 13-69
Mid-game Chance
Shares the same mid-game chance as a Yoshihiro T-spin mini.
A1
A2
B1
B2
C1
C2
D1
D2
E1
E2
F1
F2
G1
G2
H1
H2
The below stair-like shape is highly common mid-game:
Diagram Set 13-70
Mid-game Chance
Shares the same mid-game chance as a Kaidan T-spin double.
A1
A2
B1
B2
C1
C2
D1
D2
You can kick in the S under the T like magic.
X – Not in TETR.IO / Varies↓
E
F
X – Not in TETR.IO / Varies↓
G
H
In all E to H, the spin line clear involves the floating pieces’ current orientation as the final orientation. Hence, E creates a T-spin after the L-spin.
The above situations share the same chances as a mid-game Kaidan.
Diagram Set 13-71
Mid-game Chance
A1
A2
B1
B2
X – Not in TETR.IO / Varies↓
C1
C2
This leads to a Cremate that creates a T-spin double.
D
E
D and E share the same follow-ups as A1 to C2. Depending on the orientation of the L and J-spins, some may not be awarded back-to-back bonuses in TETR.IO.
The above share the same chances as mid-game Cremates or Shallow Graves.
Diagram Set 13-72
Mid-game Chance
Same mid-game chance as an STSD.
A1
A2
B1
B2
The above share the same chances as an STSD.
Diagram Set 13-73
Mid-game Chance
Same mid-game chance as a Cremate or King Crimson.
X – Not in TETR.IO / Varies↓
A1
A2
A Cremate leading to a T-spin double.
B1
B2
X – Not in TETR.IO / Varies↓
C1
C2
Same. Cremate.
D1
D2
E1
E2
F1
F2
G1
G2
A J-spin triple.
Finally, the above share the same situation as a King Crimson or Cremate.
7. Other Situations:
These involve miscellaneous methods that do not fall into other categories:
Diagram Set 13-74
1
2
Mid-game chance.
Put a T this way. Get ready for the S-spin double.
Diagram Set 13-75
1
2
Mid-game chance.
Put a J this way. Get ready for the S-spin double.
A similar variant involves:
Diagram Set 13-76
1
2
3
4
An S-spin to T-spin setup.
Note the slightly different starting opportunity shape of the above setup, which leads to a T-spin setup.
Diagram Set 13-77
Main Chance
A
Starting field. It leads to A, B, or C.
An L-spin single.
B
C
A J-spin single.
A Z-spin single.
The following I-spin is useful sometimes. Step 1 shares the same mid-game chance as a T-spin double, needing just an S overhang:
Diagram Set 13-78
1
2
3
4
Substitute a horizontal S for an L piece in step 2, giving up the T-spin double for an I-spin instead.
D. All-Spin Donations and Props
This sub-section will be in the actual full chapter in Book 4.
Summary and Conclusion
This chapter lists many mid-game all-spin donations and props that are mostly practical. I have tested and used them experientially.
However, the player should be careful to follow up unclean ones properly, such as by using all-spins to skim off residues and sustain back-to-back bonuses.
More practical all-spin methods may still be discovered. As of the time of writing this book, all-spin methods are still inchoate because they have been newly introduced with back-to-back bonuses in some Tetris variants.
Hence, I will likely update my Howtotetris or Galactoid Tetris WordPress websites with new methods, which will be made free for everyone. Please be sure to check those sites occasionally for such updates!
Concept
Summarized Rules-of-Thumb
Flow
Minimize giving up too many T-spins for all-spins in games where the latter do not get many bonuses. Just like T-spins, simpler all-spins are almost always safer and better. Use all-spin meta methods to sustain back-to-backs while stacking along a line.
Form
Too many all-spin singles, triples, and separate line clears jumble up local parity. Use the new 180-degree all-spin methods to enhance stacking! Memorize this chapter’s various all-spin methods to boost firepower based on their shared and common mid-game opportunity for easier usage. All-spins can be donated! Memorize their common props.
Balance
Adapt this chapter’s all-spin methods to each Tetris game, depending on how they reward all-spins with bonuses.