Before one can jump into playing Tetris, it is vital to learn how to crawl before jumping (metaphorically).
Unlike Chess, which only involves moving pieces intuitively with your hand and fingers, Tetris requires a trained series of inputs to get tetrominoes to the right location.
Do not worry! I have streamlined this to only a few easy-to-memorize guidelines!
You can finish reading this chapter in minutes and apply it to your game straight away!
I advise the player to spend about a week mastering the controls first, simply by stacking pieces in single-player mode, until they are ready for tactical thinking.
Placing Pieces Gracefully
Before one can experience the tactical and strategic elements of Tetris, one must first learn how to place pieces efficiently.
This means reducing extra, redundant keypresses.
1. Dropping Pieces
Let us start with the beginning:
13.8 billion years ago, the universe was created in a super flash of light called the Big Bang.
Alright, not so far to the beginning! I meant to the first baby steps of placing tetrominoes on the field.
How do we place pieces on the field?
First, you can let gravity pull down the pieces very, very, very slowly until it touches down and locks onto the location like this:
| Diagram Set 3-1 | |
| 1 | 2 |
| The I piece spawns. | Even if you do nothing, gravity will pull it down very, very, very slowly. |
| 3 | 4 |
| The player waits for 5 more seconds. | And another 6 to 7 seconds. The I piece finally reaches the bottom and locks in. |
But surely, if one does that, one would have reached one’s retirement age by the time a single game finishes. Here is a faster way: soft dropping:
| Diagram Set 3-2 | |
| 1 | 2 |
| The T piece spawns. | To make it move faster down, pressing the soft drop key will do the trick. This function is essential for things like T-spins later. |
Here, the player presses and holds down the “soft drop” button until the piece moves faster to the location, locks, and is placed.
Here is an even faster way: hard dropping.
| Diagram Set 3-3 | |
| 1 | 2 |
| This shows a faster way to get the pieces down: pressing the hard drop button, which drops the T piece to the bottom immediately by bypassing gravity. |
Here, the player presses the “hard drop” key. The piece instantly zaps to the correct spot and is placed!
Hence, if hard dropping is so fast, why do we even need soft dropping? It is to perform tucks and advanced techniques (like T-spins, to be covered later) like this:
| Diagram Set 3-4 | |
| 1 | 2 |
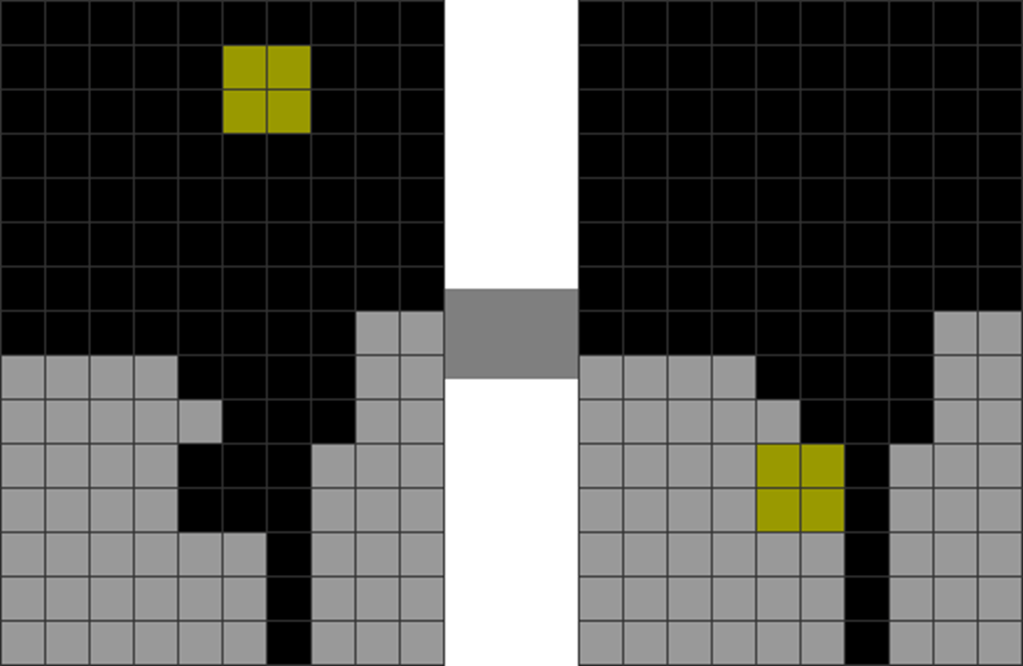
| There is a cavity. The player soft drops the O piece. | He tucks the O piece under the cavity. This results in a connected, clean field. |
This maneuver is used mainly to repair a damaged stack.
2. Easy Tapping
The most straightforward way to move your tetrominoes around is to press your “move left” or “move right” keys, like this:
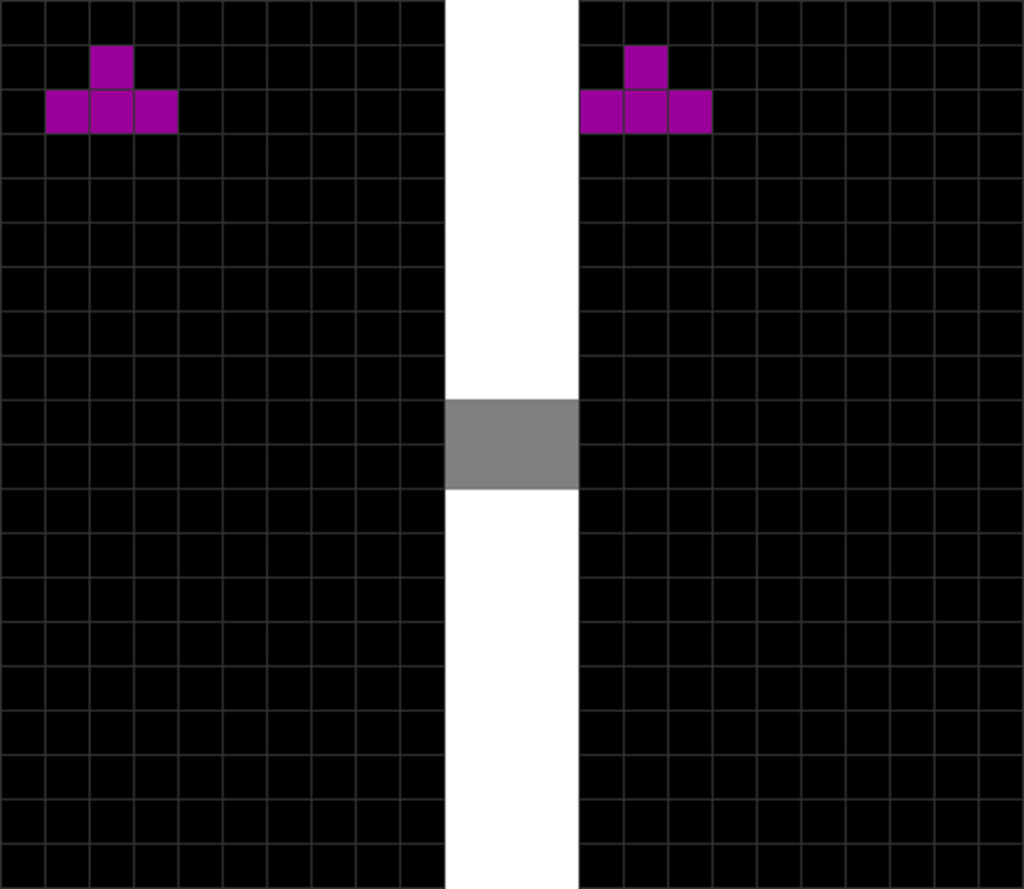
| Diagram Set 3-5 | |
| 1 | 2 |
| The T piece spawns in its default columns. The T piece will naturally fall to the bottom due to gravity. | The player presses “move right,” which shifts it 1 block to the right. The player can then hard drop. |
This movement set is ideal for moving a piece slightly left or right of the default spawn location.
3. Minos Rotate Too, Like Planets
Pressing the rotate left or right keys will turn a piece counterclockwise or clockwise, respectively.
Here is a demonstration:
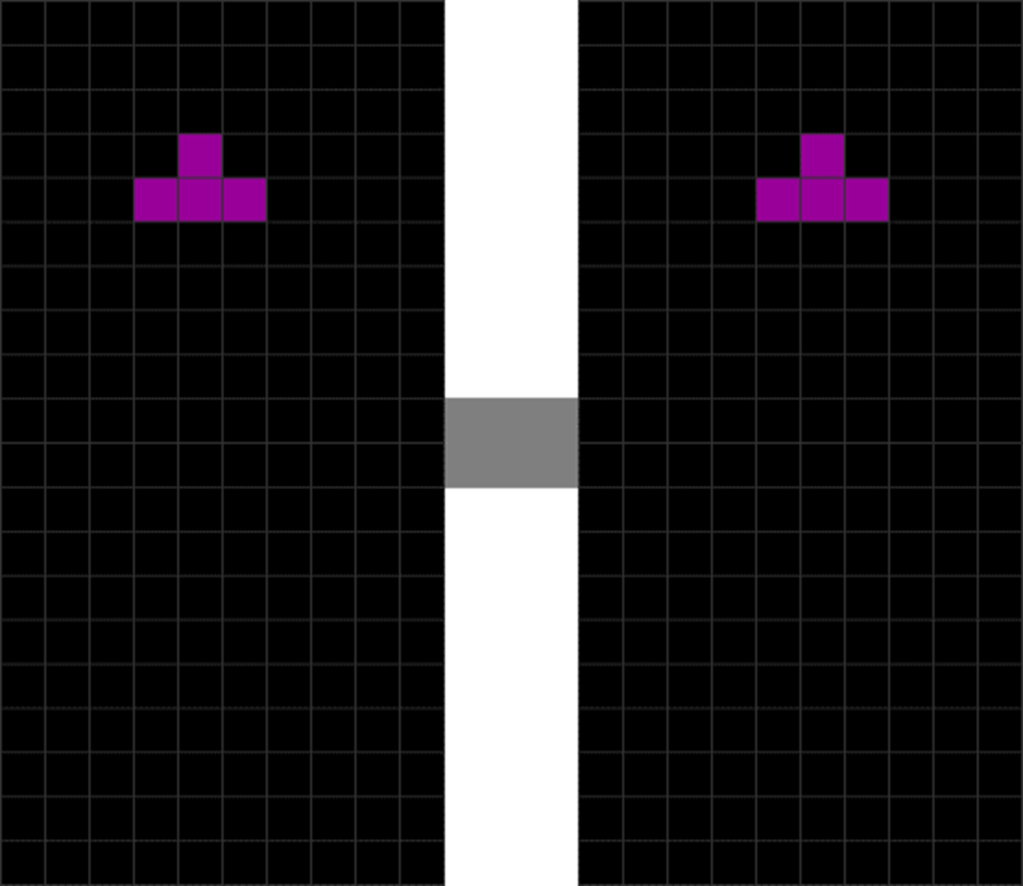
| Diagram Set 3-6 | |
| 1 | 2 |
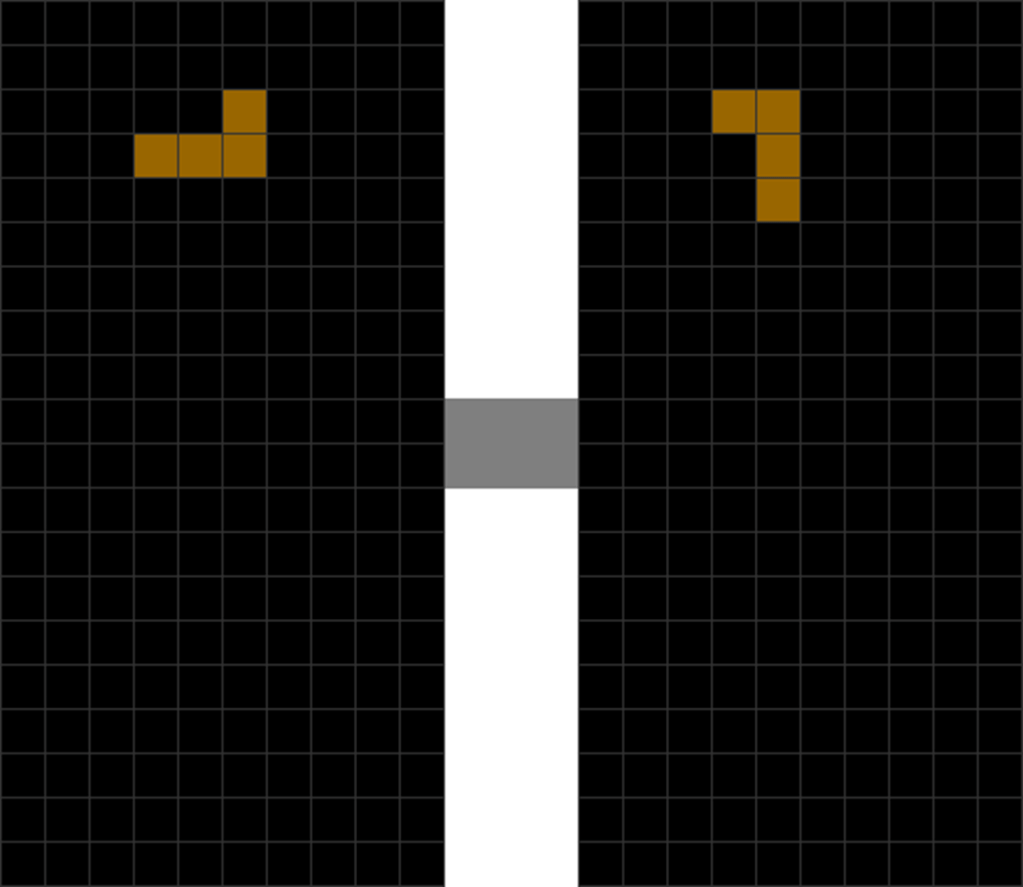
| The L piece spawns in its default column. | The player presses “rotate left.” This turns the L piece counterclockwise. |
4. DAS: So You Need Not Tap, Tap, & Tap
What about moving pieces to the extreme far-ends of the field?
Of course, you can tap “move left” or “move right” many times until your piece reaches the far ends, like this:
| Diagram Set 3-7 | |
| 1 | 2 |

| The T piece spawns. | The player presses “move left” once. |
| 3 | 4 |
| The player presses “move left” again. | And another time. The T piece finally moves to the extreme left. |
However, this is extremely exhausting and inefficient. Hence, there is a trick to get you out of this, in the following:
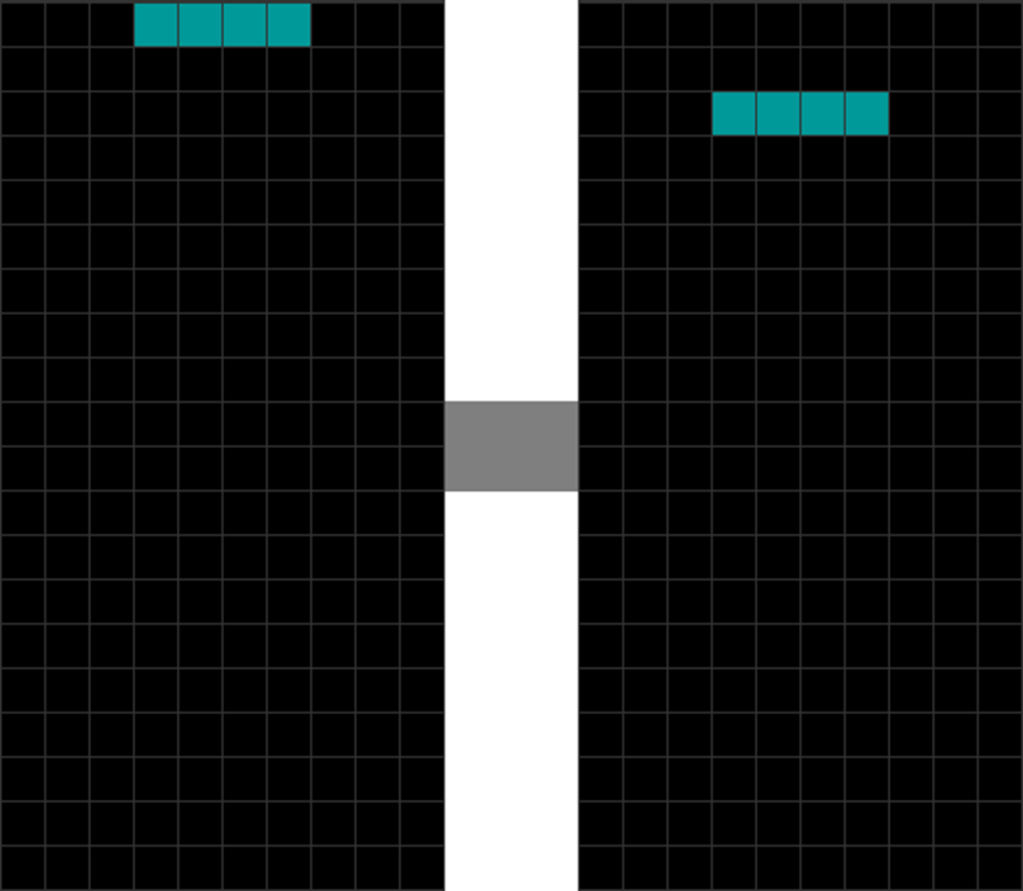
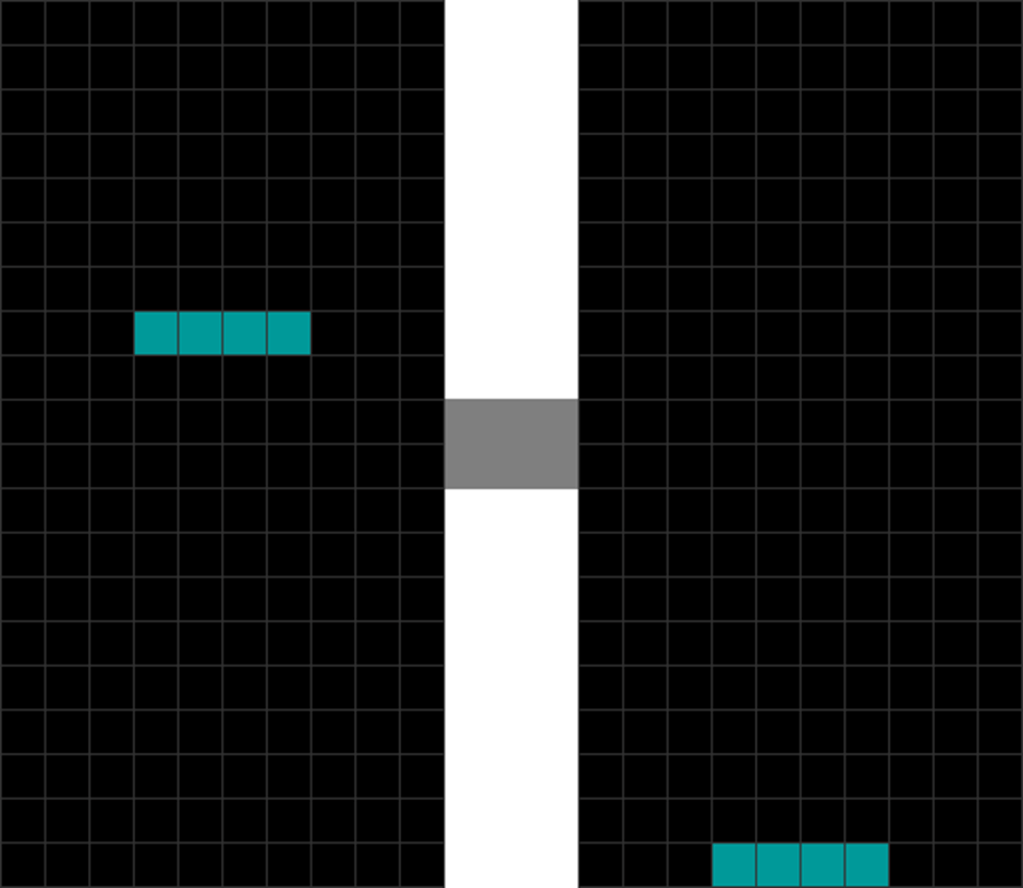
| Diagram Set 3-8 | |
| 1 | 2 |
| The T piece spawns, and then the player holds “move left,” triggering DAS. | This causes the T piece to zoom quickly to the field’s left side. |
Here, the player presses and holds down the “move left” or “move right” key. After a split second, the piece will zoom in the direction of the held key nearly instantly.
This mechanism is called DAS, or Delayed Auto-Shift.
Without scaring you with technical details, it is simply a way to protect your fingers from repetitive strain injury (RSI) caused by hyper-tapping.
5. DAS and Tap Back
What about moving pieces to a position just 1 block off from the left and right walls of the field, like this?
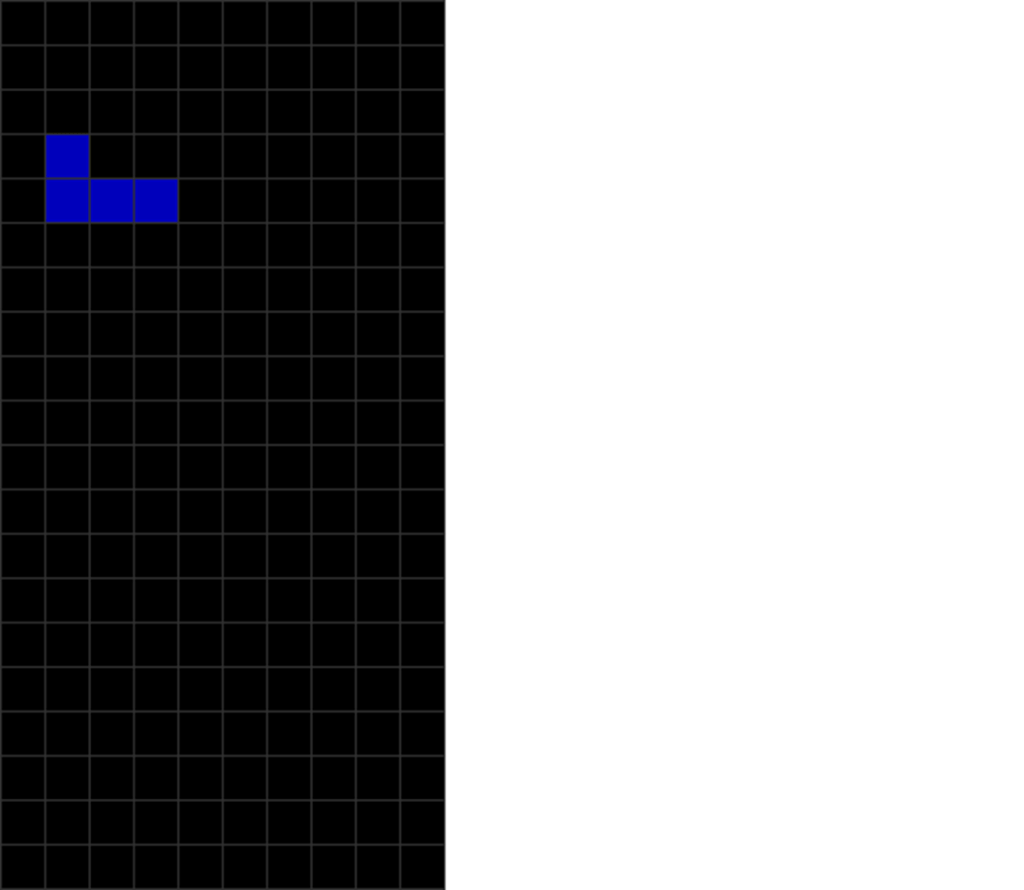
| Diagram Set 3-9 | |
| A | |

| How do you move this J piece 1 block to the right of the left wall? |
You do not need to press “move left” or “move right” a thousand times. You only need to use the last section’s DAS mechanism:
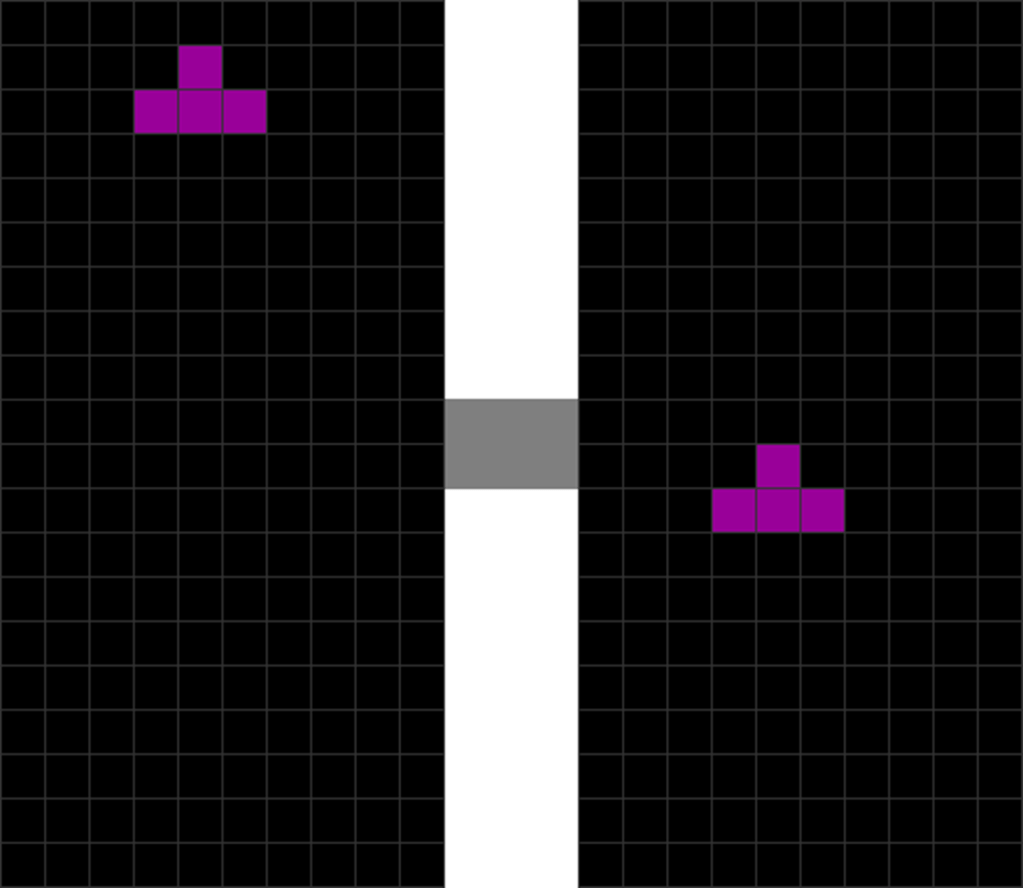
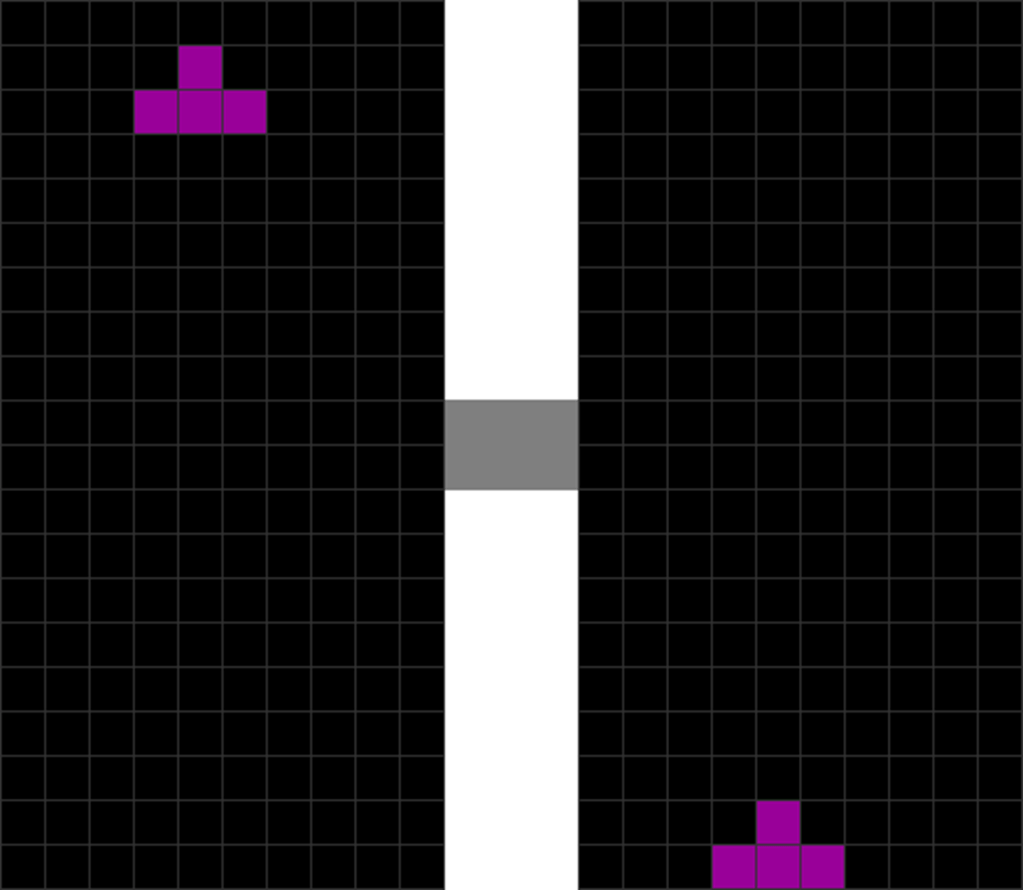
| Diagram Set 3-10 | |
| 1 | 2 |
| The J piece spawns. Gravity pulls it down. | The player holds “move left” to activate DAS, causing J to quickly move to the left wall. |
| 3 |
| He then presses “move right” to tap off the left wall. |
Hold the “move” key until your piece zooms to the left or right. Then, tap back in the opposite direction.
This saves you plenty of time and presses.
6. Kung Fu Wall Kicks
I will now teach you an extra trick called a “wall kick.”
This involves a movement where one presses either “rotate left” or “rotate right” to bounce a piece off the wall.
Here is what happens if you do not use a wall kick:
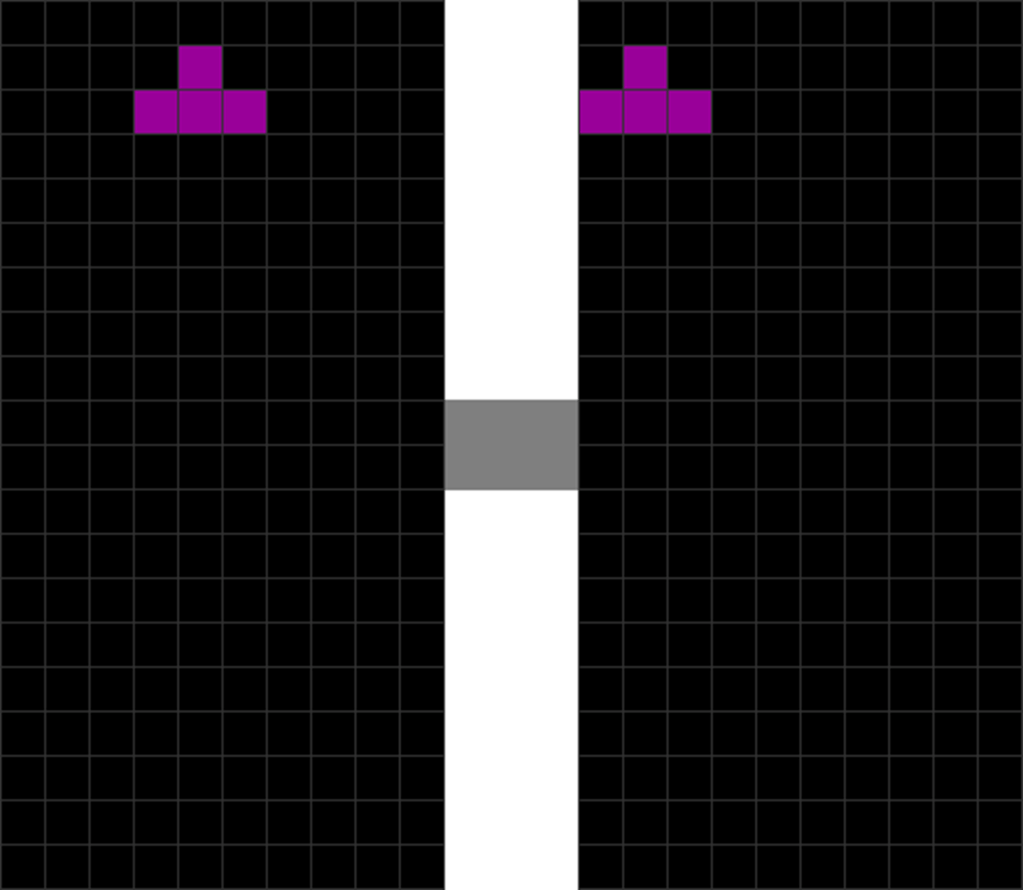
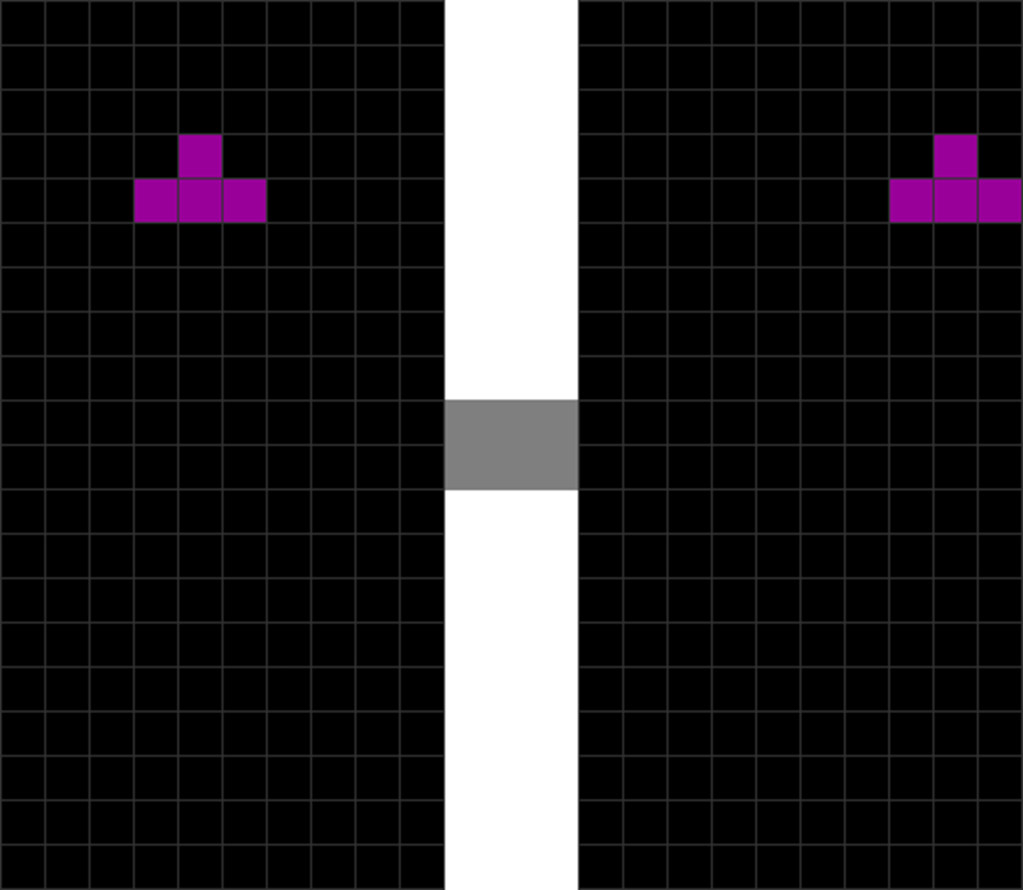
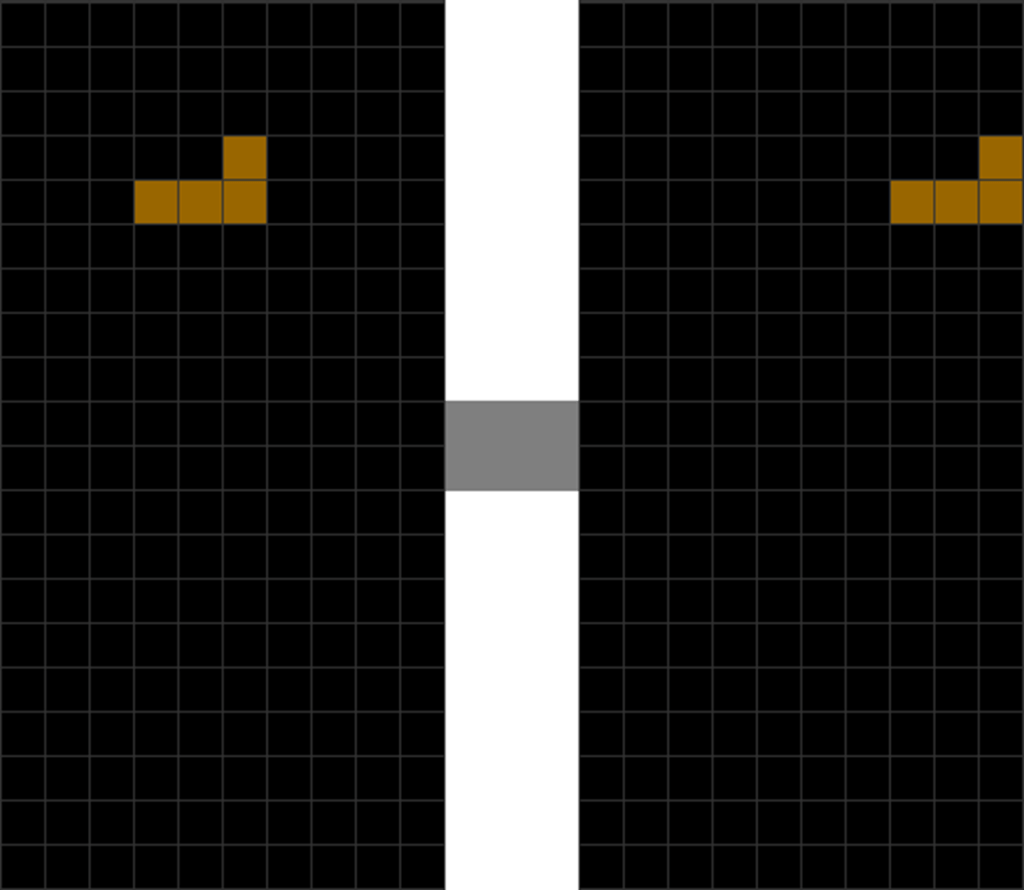
| Diagram Set 3-11 | |
| 1 | 2 |
| The T piece spawns. | The player rotates T counterclockwise. |
| 3 | 4 |
| He presses and holds “move right,” which causes T to reach the right wall fast. | The player releases DAS and presses “move left.” |
This requires more finger presses. However, I can reduce the number of taps slightly using a wall kick:
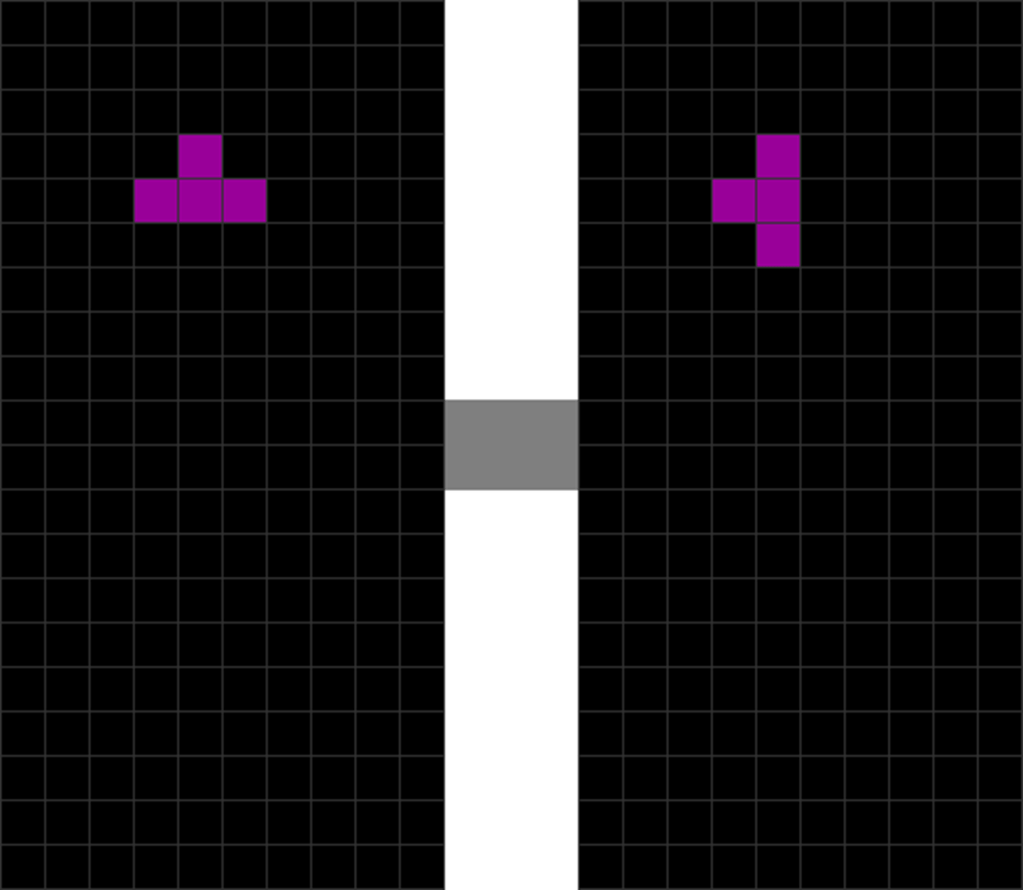
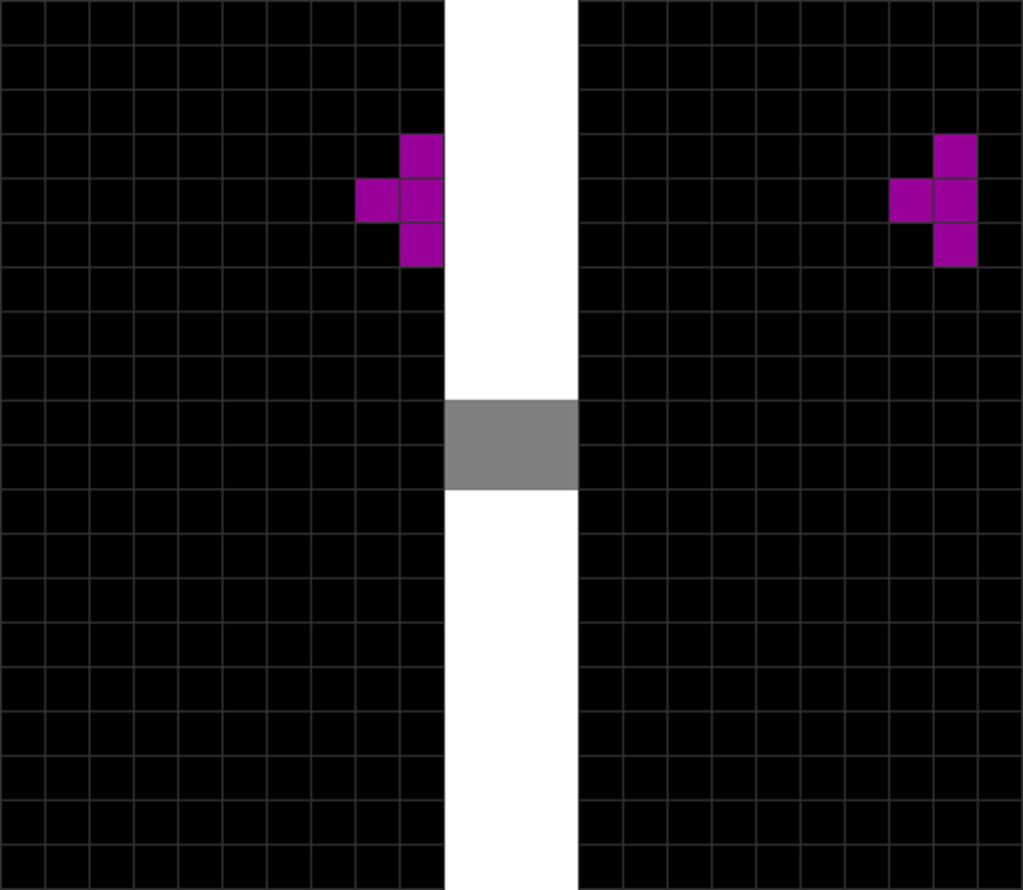
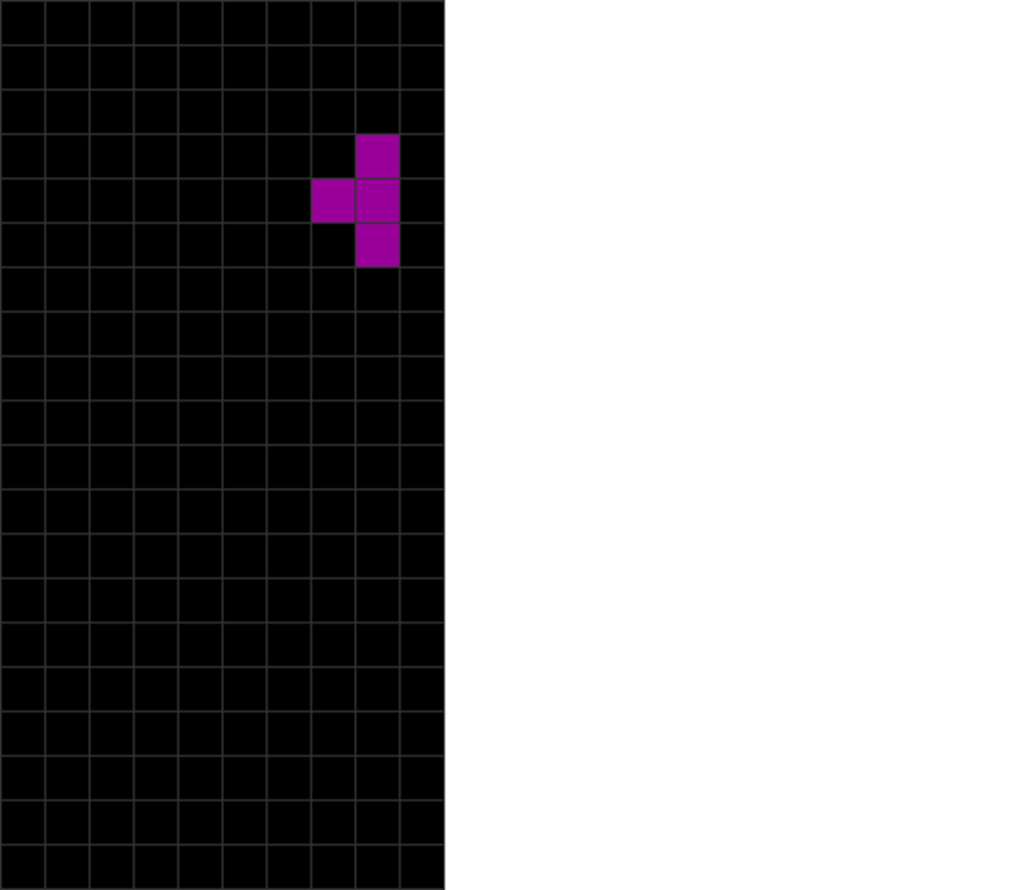
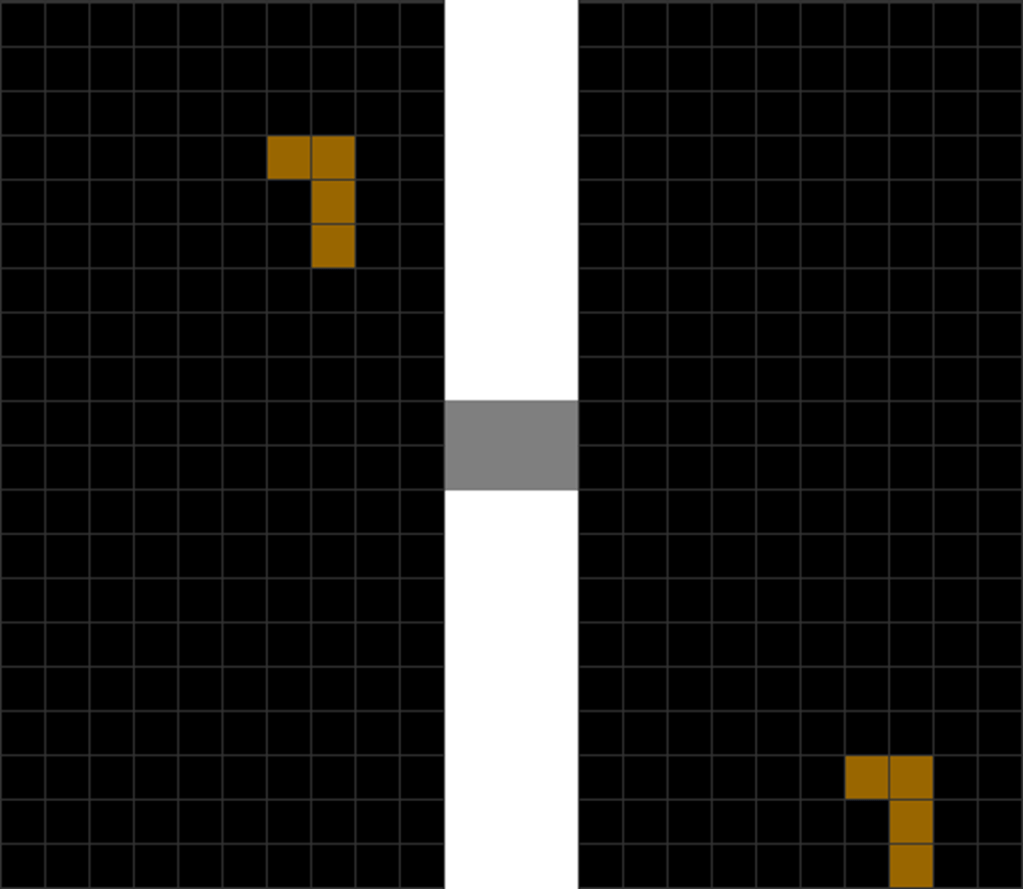
| Diagram Set 3-12 | |
| 1 | 2 |
| The T piece spawns. | The player holds down “move right,” which causes the T to zoom to the right wall fast. |
| 3 |
| Rotate the piece counterclockwise to cause it to “bounce off” the wall, saving 1 step. |
See how much more graceful and efficient this movement is?
With this, you have opened a new way to quickly get pieces to the correct location!
Not all pieces wall-kick off the wall. I will leave this to the reader to experiment.
7. The Triple Combo DAS Trick
What about getting pieces 2 blocks away from the left or right walls of the field, like these?
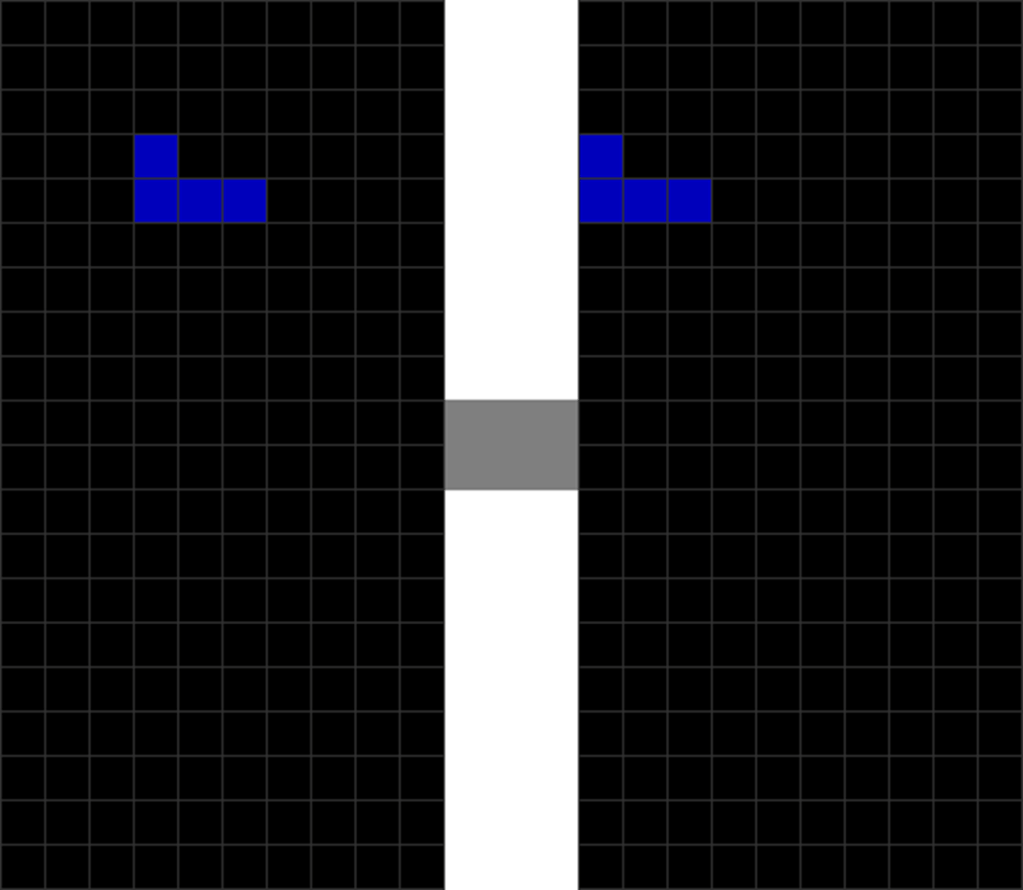
| Diagram Set 3-13 | |
| A | |
| The player wants to place the L this way at this location and orientation. |
You can use a triple combo trick:
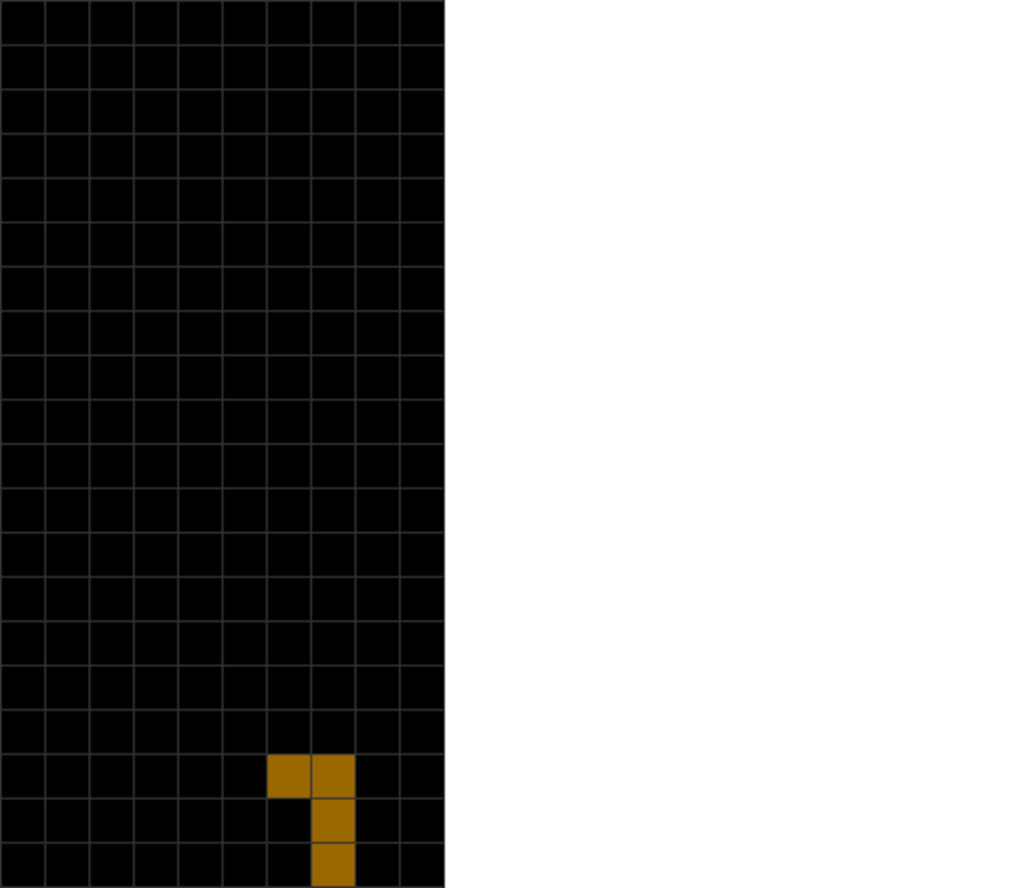
| Diagram Set 3-14 | |
| 1 | 2 |
| The L piece spawns. | The player holds “move right” to activate DAS, causing L to rush to the right. |
| 3 | 4 |
| The player rotates counterclockwise and simultaneously taps “move left.” | He hard drops the L piece. |
Here, the player holds the move key to let the piece zoom to the extreme wall. The player then presses “move” in the opposite direction and the “rotate” button to kick off the wall.
If you time it right and press the “rotate” and “move” buttons together, the piece’s location becomes 2 blocks away from the wall!
This does not work with every piece, such as the O piece.
In a Nutshell
Before going into other, more advanced Tetris tactics, it is vital to learn the “feel” of Tetris by mastering optimal movement controls.
Spend at least a week familiarizing yourself with this if you have just started playing Tetris.
If you have already had some practice with this, please use this chapter’s shortcuts to reduce unnecessary keypresses.
It will make you faster and more accurate.
| Summary |
| Learn to move and rotate pieces. Use soft drops and hard drops to place pieces quickly. Minimize excessive keypresses by using this chapter’s various shortcuts: DAS, tapping back from a wall, wall-kicking, and using simultaneous presses of many movement buttons. |
